If you’re an avid overlander or off-roader or enjoy traveling down fire roads at night, you’ve probably considered adding ditch lights to your rig. This auxiliary lighting is a great solution to combat some of the darkness and give you more visibility off the beaten path.
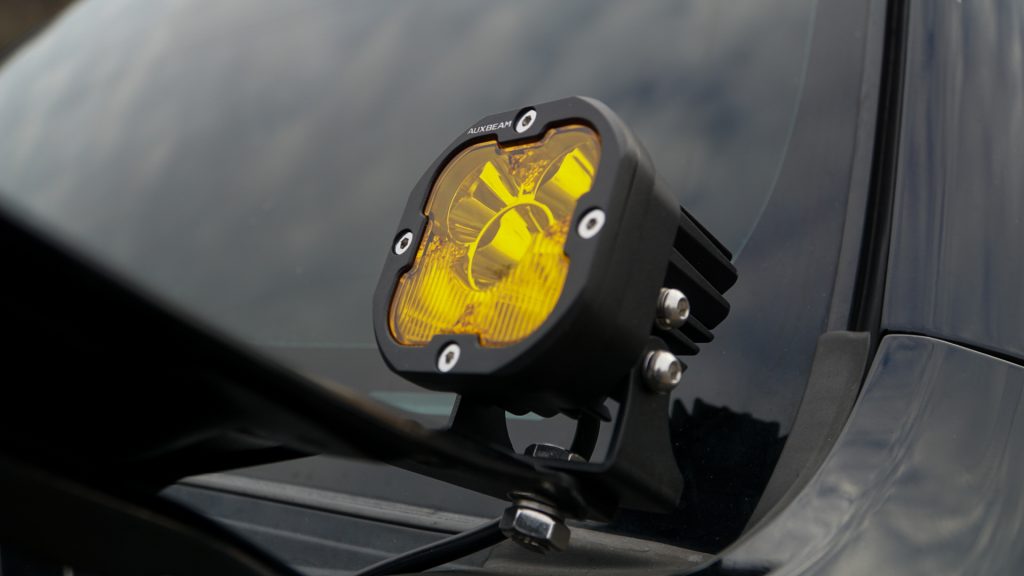
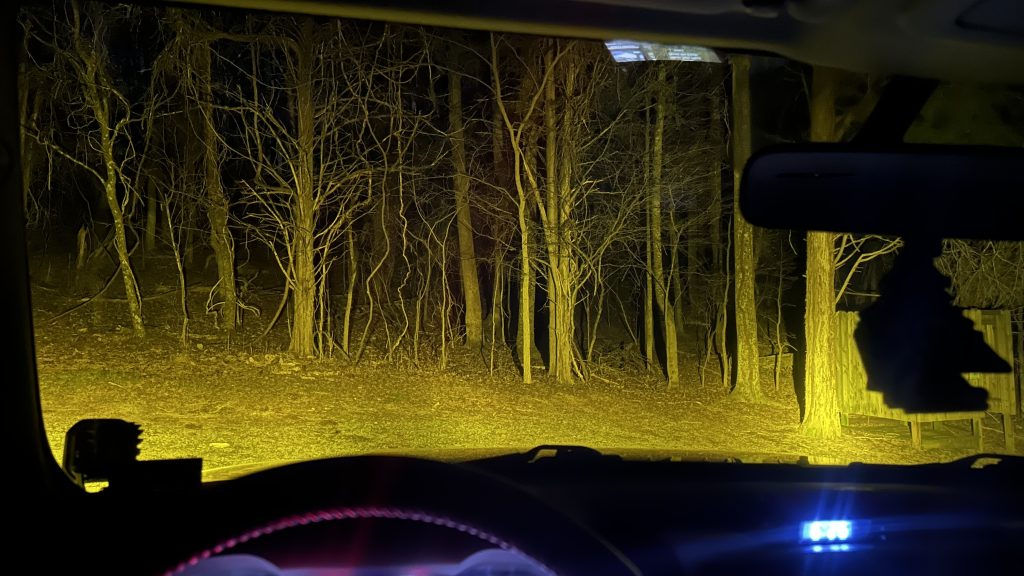
The most popular light colors are white and yellow, and the Auxbeam XP-Ultras can cover both those bases thanks to their easily interchangeable lenses. If you’re unsure of the benefits of light color, check out our post – understanding lighting color temperature.. I prefer yellow light, especially when driving in the snow.
In this post, we’ll cover installing these LED pods as ditch lights on my 5th Gen using an OEM-style switch to control them from inside the cabin.
Table Of Contents
Installation
This was also one of the easiest installs I’ve ever done, coming in at just under an hour for the full install.
Tools & Materials:
- Hood Mount Bracket
- OEM-Style Switch
- Dremel w/ Cut-Off Wheel
- 17mm Wrench
- Soldering Iron
- Heat Shrink for Wires
- Plastic Pry Tool
- Washers (flat and lock)
- Socket Wrench
- 12mm Socket
- Long Needle Nose Pliers
- Electrical Tape
Step 1. Mount Ditch Light Bracket
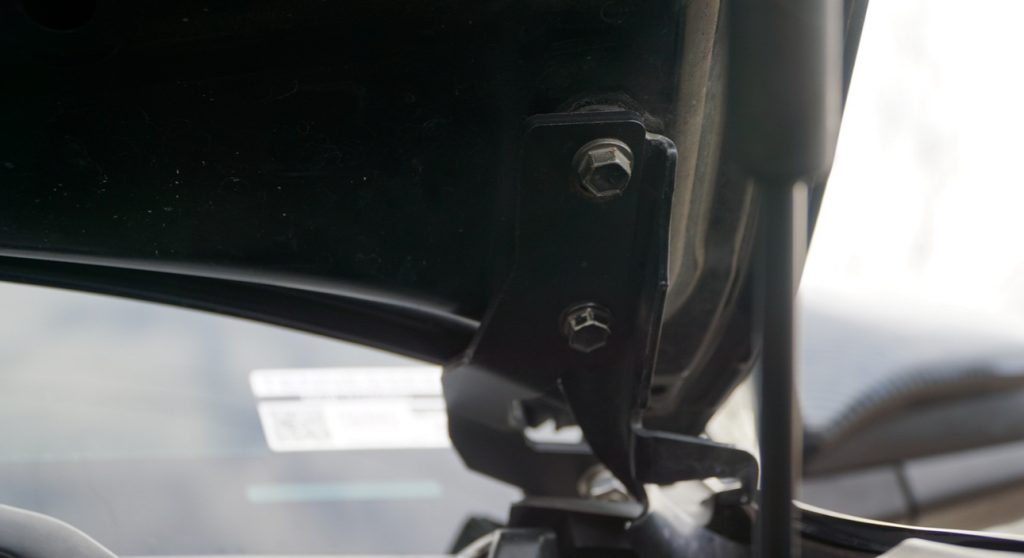
I found that preassembling the bracket and lights together would save me a wiring mess later. I had to use a Dremel to shorten the bolts as the ones that come with the lights are about 1/2” too long,
Once the brackets were ready to install onto the hood, I removed the bolt closer to the nose of the car with a 12mm socket. Then, I lined up the bracket and replaced the bolt. Leave it decently loose for now so that you can install the second bolt.
Before removing the second bolt, it will help to have a second set of hands to hold the hood in place. When you remove the second bolt, the hood may want to shift a bit. Once the second bolt has been reinstalled with the bracket in place, reposition your hood to proper alignment and fully tighten the bolts.
Repeat this process on the opposite side.
Step 2. Route Wires
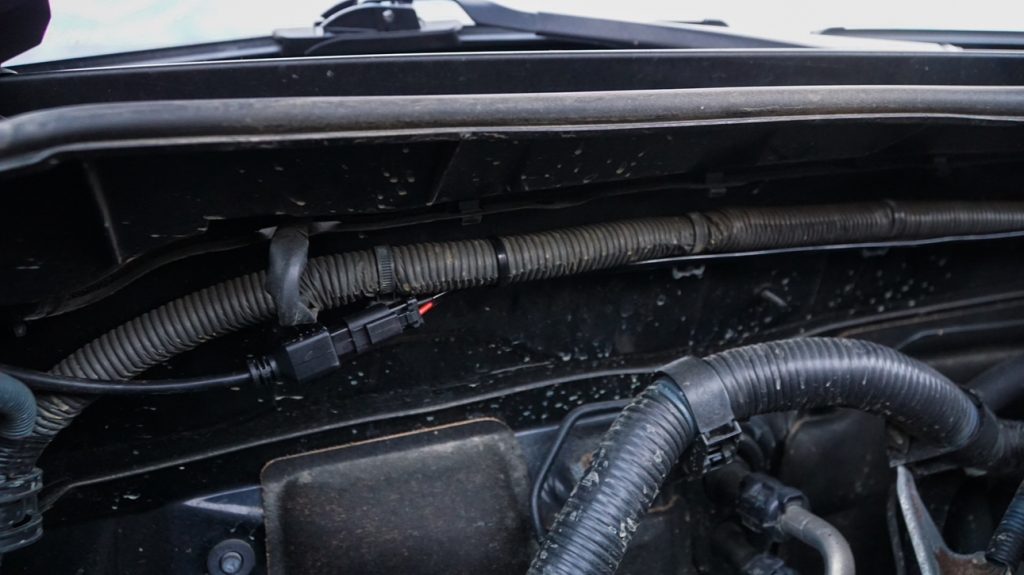
Next, I plugged the wires into the lights and routed the wire from the passenger side along the plastic sheathing pictured above. Then, I zip-tied the wire to the sheathing to hold it in place.
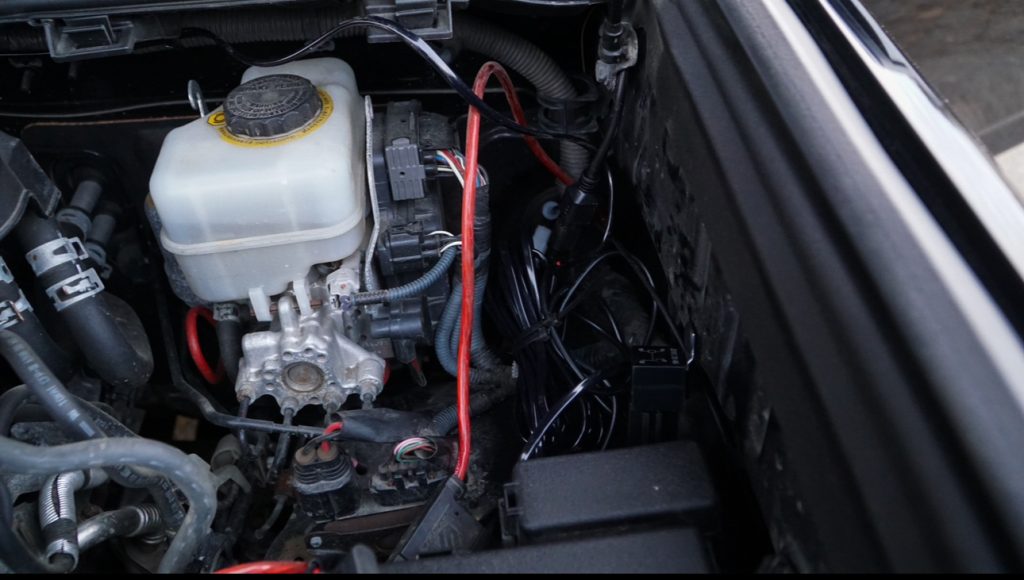
On the driver’s side, I bunched up the remaining wire, as there was quite a bit left, and zip-tied it together into a bundle. I tucked the excess wire in the open space behind the battery; it’s tight enough not to cause any issues.
The relay for the lights, which I bolted into one of the factory holes in the engine bay near the battery, is not pictured.
Step 3. Install Switch
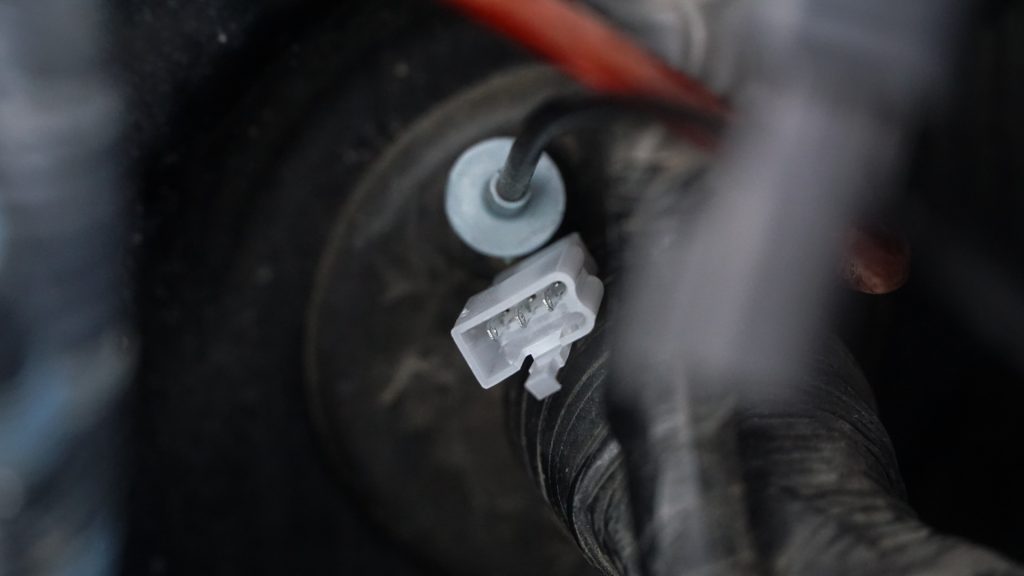
Next, I unplugged the button that the Auxbeam lights came with as I was installing an OEM-style switch. I ran this wire through the firewall and into my floorboard. To assist with routing the wire through the firewall, you can tape one end to a straightened-out coat hanger and pull it through.
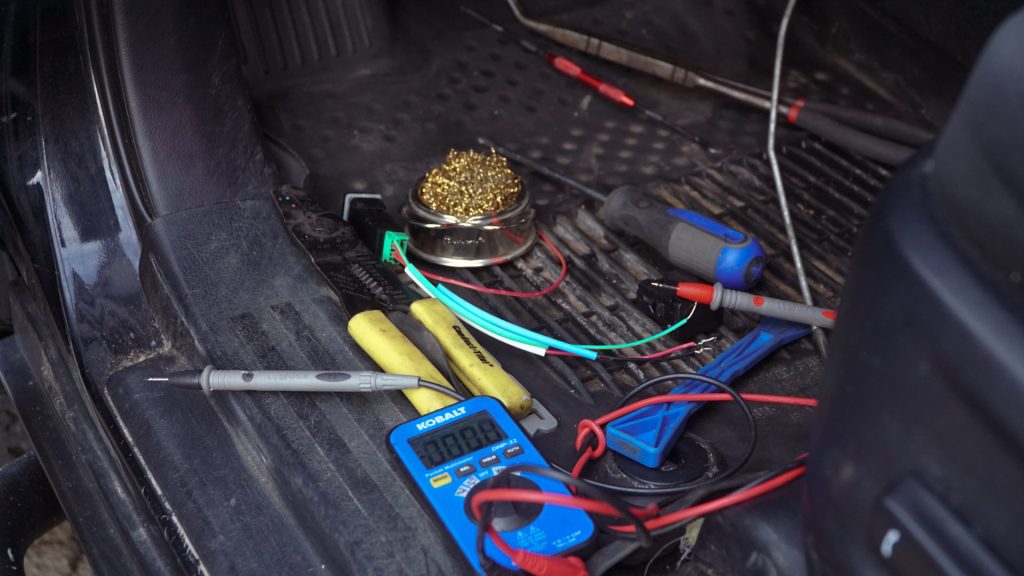
The OEM-style switch has its own wiring. The soldering process I used to connect the Auxbeam wiring to this is not pictured. The wiring is color-matched except for one, the green wire, which should be connected to the yellow wire.
After soldering, I used a small torch to shrink the heat around the wires before wrapping them in electrical tape. One wire remained, which I wrapped in electrical tape secured to the other wires.
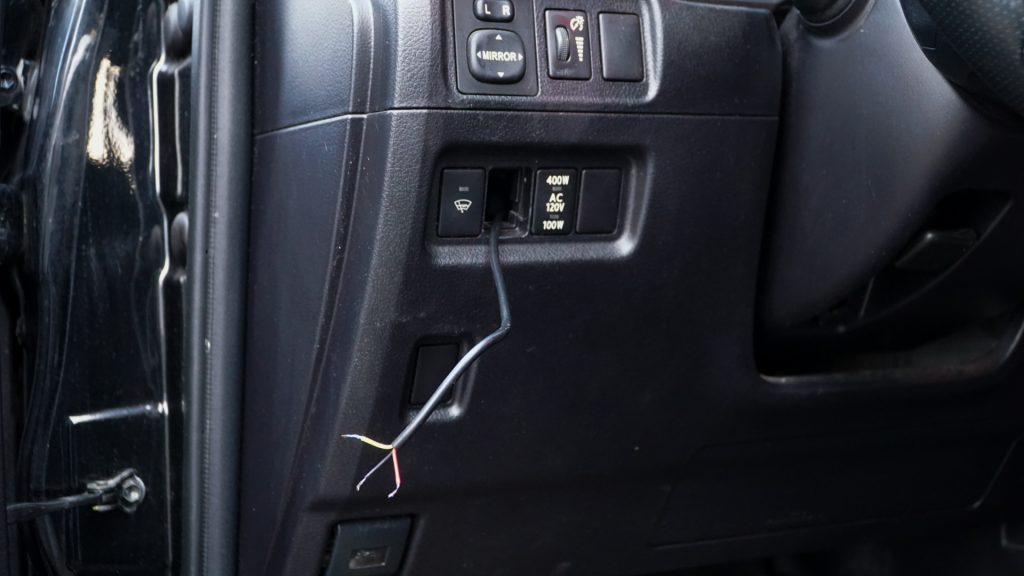
I removed the factory blank switch to the left of my steering wheel and ran the wires through the open hole. After soldering the wires together, the button will click into place and be ready to use.
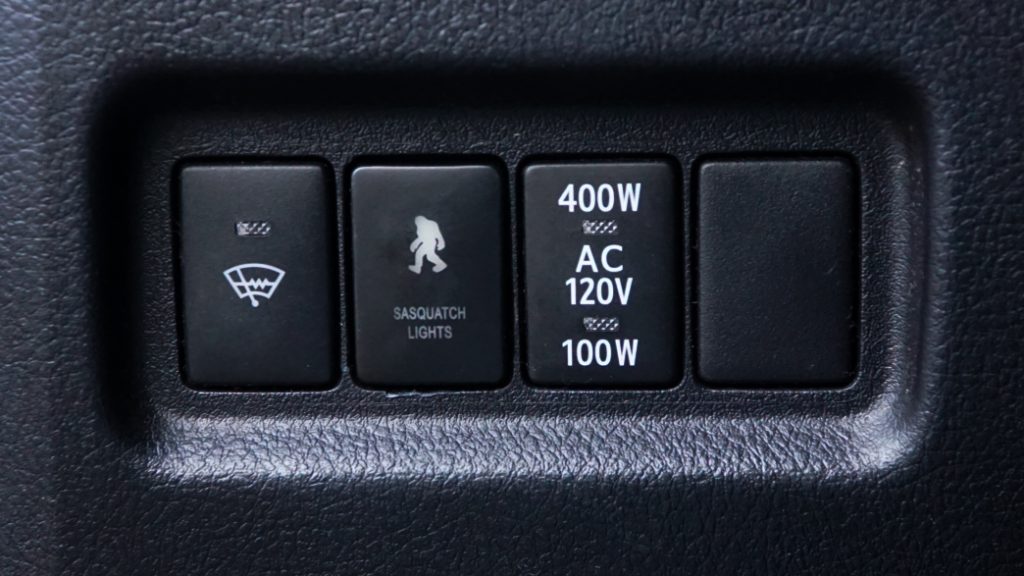
This is the OEM-style switch after installation and the first few uses. I love this switch; it fits perfectly flush! It also illuminates when I turn my low beams on, just like the factory switches.
Final Thoughts
These lights are the best bang for your buck. For less than $200, including the brackets, they’re an excellent value. If you need ditch lights and are on a modest budget, these lights are hard to beat. I’d argue they even hold their own against the big brands in the industry.
Ditch lights are one of the best mods I’ve put on my 4Runner, and I can’t believe I didn’t install them sooner. They will be a game changer for those midnight trail runs or even just for some extra lighting at the campsite. I’ll be putting these to the test in the coming months, both in the harsh, ever-changing Tennessee weather and the hot New Mexico Desert.
Do you have a favorite set of budget-focused ditch lights? Let us know in the comments!
I am currently running a few of these lights on my 4runner @blacksheep_sr5 and they are honestly extremely bright. I have had multiple friends follow and get a set. Worth the price point for sure.
Great post!