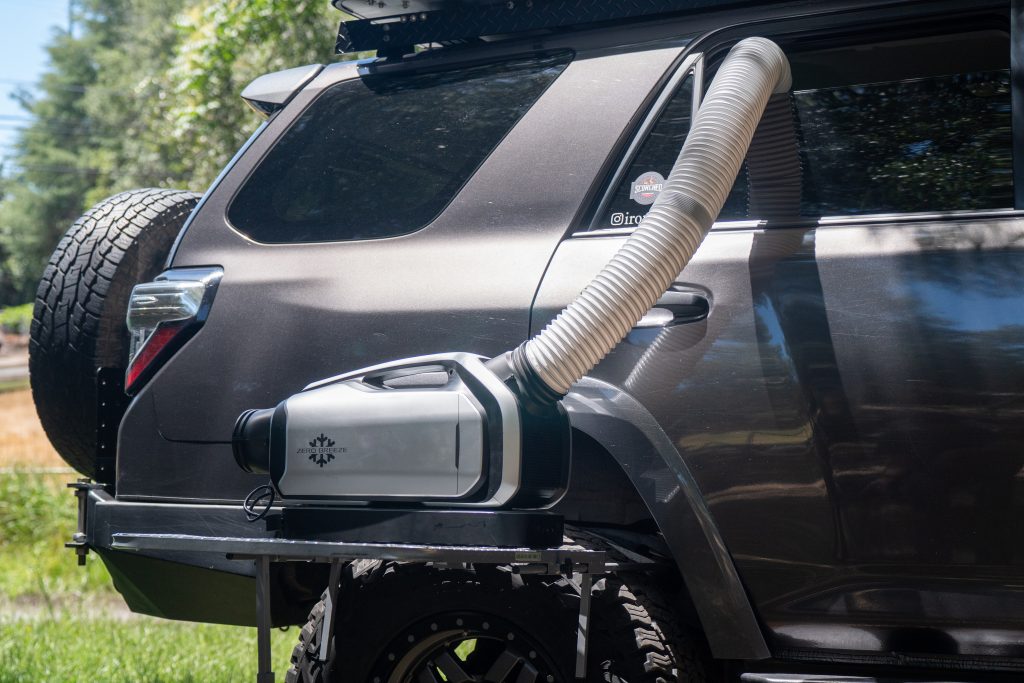
As we come out of winter camping season, things are heating up in California. If you’re a car camper, you know the struggle with staying cool and comfortable on those warm summer nights. Zero Breeze makes this possible with their battery-powered AC unit that easily adapts to any sleeping situation.
The Mark 2 AC unit puts out 2,300 BTUs of cooling power using a modular 24V battery pack. This equates to an estimated run time of 5-8 hours depending on the ambient temperature. We understand that when looking into this unit, it might appear expensive at first. However, based on our testing, we can confidently say that it works quite well to cool down a small space. Just like your home AC, this is an investment.
With this, we no longer need to climb in elevation to find cooler camping weather. Now, we can camp next to the beach without any issues.
Table Of Contents
How It Works
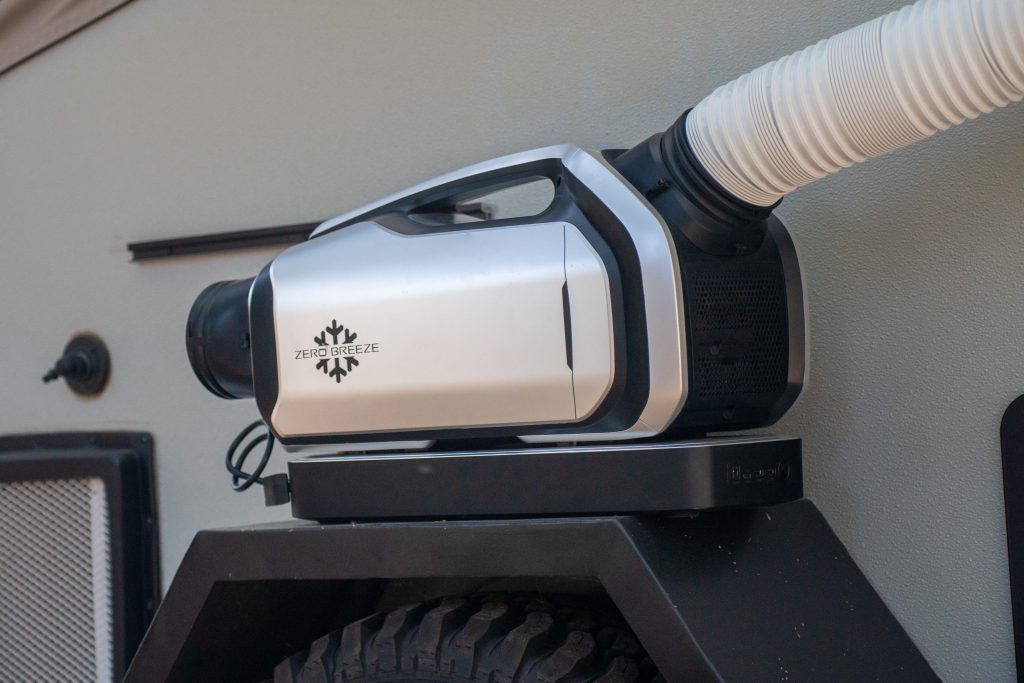
The Mark 2 unit serves as the base station for the other components in the system. This compact AC unit utilizes the same technology used in RVs for years and is powered by a 24-volt compressor. The micro twin-cylinder compressor is similar in size to a soda can.
The modular 24V battery pack attaches directly to the bottom of the unit and has USB ports on the battery pack to charge mobile devices. You can also use the Mark 2 without the battery pack via a 120V power outlet or a 12V to 24V inverter.
This functions just like a traditional AC unit and uses refrigerant to regulate temperature and exhausts hot air out of the rear of the unit. The hot air should be vented outside the space you’re cooling for optimal performance.
Worth The Money?
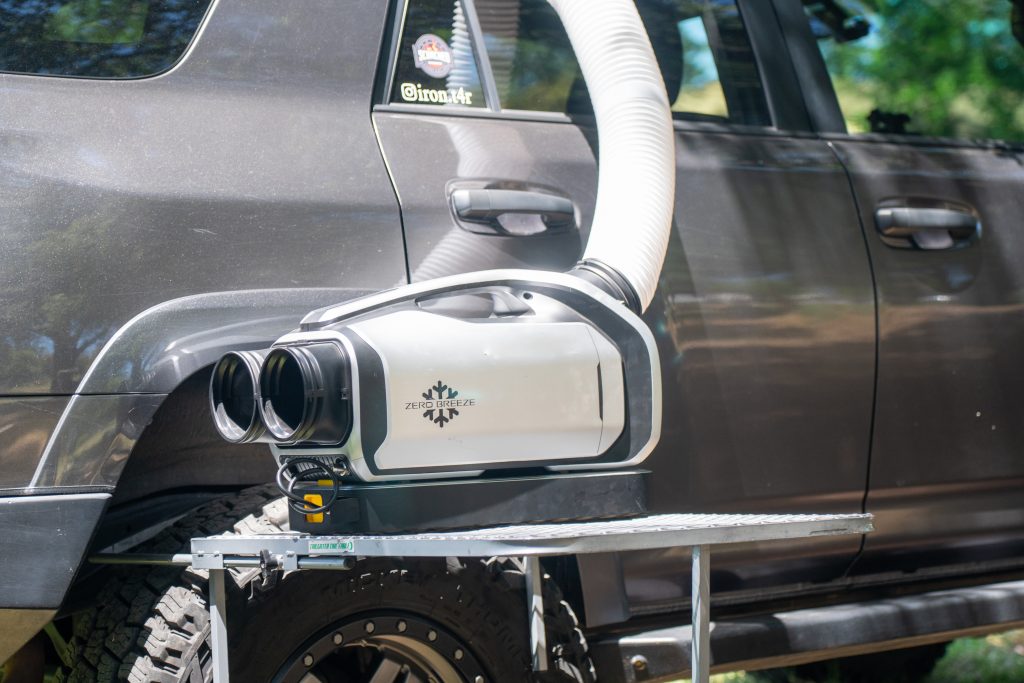
Coming in at around $1,700 (MSRP) for the whole kit (as tested), the price point is not an easy pill to swallow. However, based on my research, a few key features put it ahead of the competition. Let’s dive into those.
- Compact Size: It’s far smaller than others on the market and the elongated form factor takes up less space.
- Top-Tier Support: They offer excellent customer support. While I received a response via email, the best experience came from a direct message on Instagram.
- Accessories: They provide a wide range of accessories to adapt the unit to your needs. Most notably, a new Front Inlet Duct for full air recirculation. What impressed me the most was the ability to charge the batteries directly from solar power – an option I didn’t find with other brands.
- Enhanced Comfort: This is a game changer if you have a fully built camp setup and want to elevate your outdoor comfort. It lets you cool off quickly during the day and maintain a comfortable sleeping temperature at night.
Testing
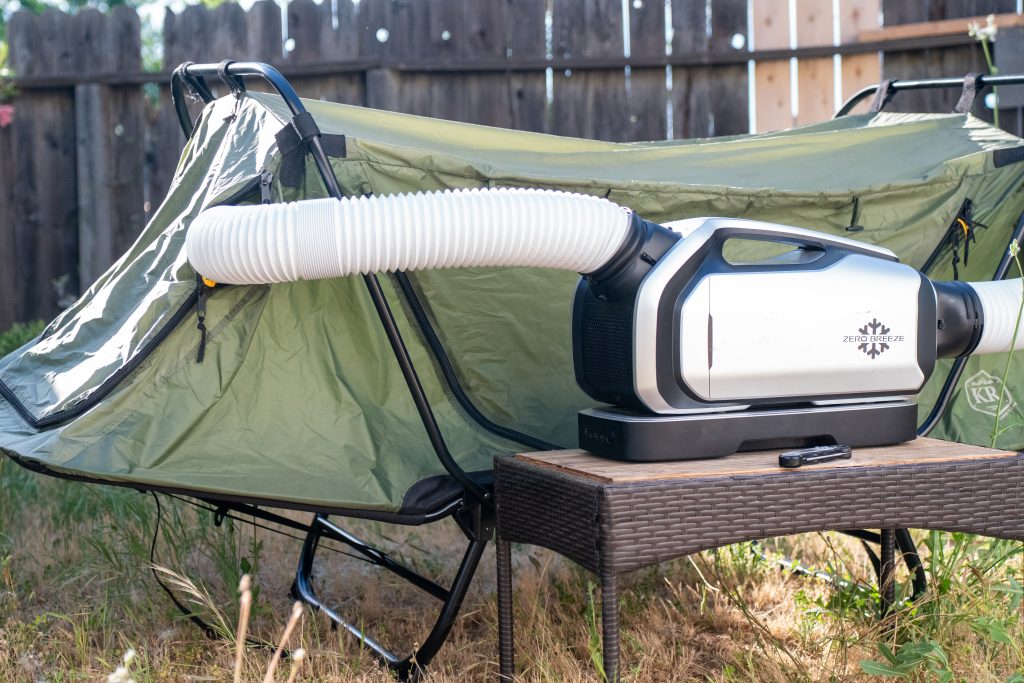
To test the unit, we set up an outdoor camping cot in the sun. We used a couple of different temperature sensors to measure the difference. First, we set up a Meater+ thermometer to measure outside and inside temperatures. Second, we set up a thermometer on top to capture the temperature of the dark fabric.
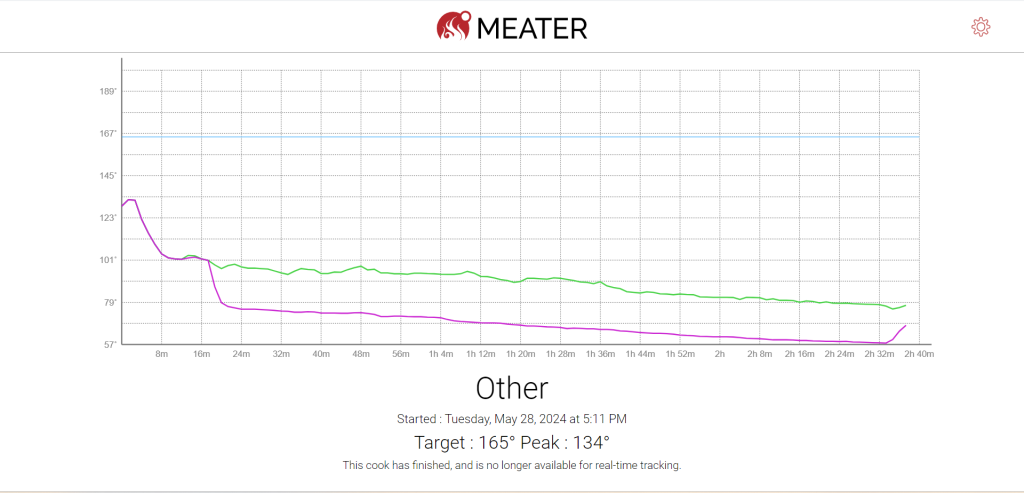
Looking at the graphs above, we achieved a temperature reduction of about 30 degrees Fahrenheit inside the tent. This was done in a small, uninsulated space over 3 hours. On the outside, the temperature of the tent fabric was 115F by the end of the day but the Zero Breeze was able to cool the inside down to 57F. We also tested this unit on a small insulated trailer and saw an even greater difference.
Battery Features
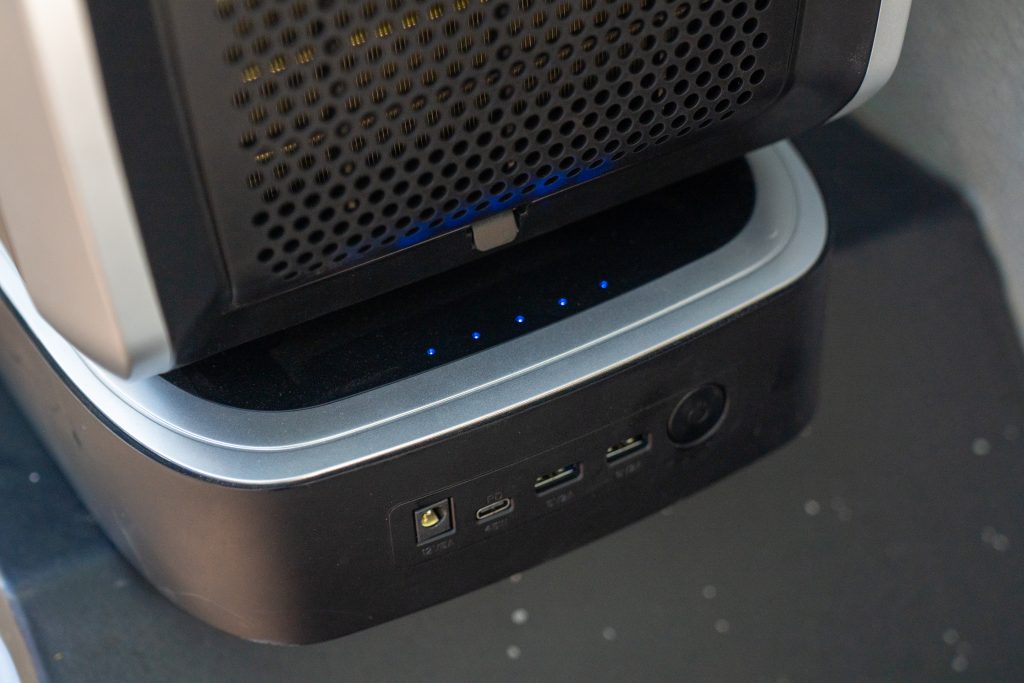
On the back of the battery pack is a DC jack that does 12V at 5 amps to run fridges or lights. There are also (2) USB Type-A ports that do 5V at 2 amps for mobile devices. My favorite port, however, is the USB Type-C port that does PD(5V,9V,12V,20V/45W Max) and can charge higher-end laptops.
I can also charge the Zero Breeze’s battery pack with the vehicle and portable battery generators.
Set Up
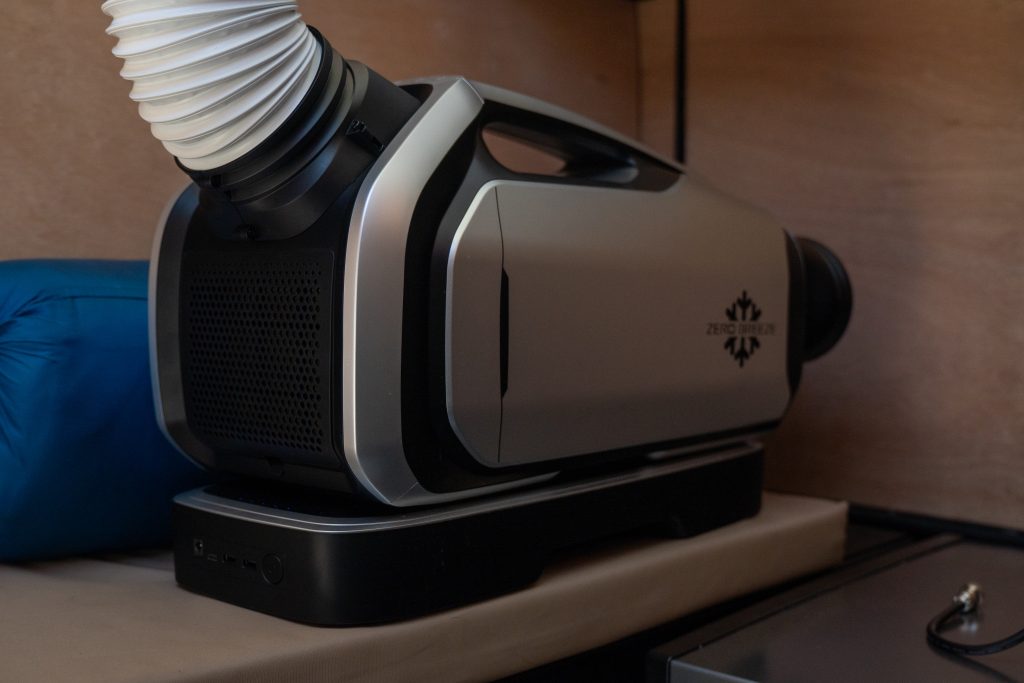
Since this device is meant to be portable, the setup process is straightforward.
- Charge the Battery: There’s a battery indicator at the top, just above the USB ports.
- Attach the Condensation Hose and Tubes: I typically run the tube into a soda can or cup to collect the condensation.
- Position the AC Unit: On the rear of the unit, you’ll find two ports:
- The left tube is the hot air exhaust tube and should be directed outside your sleeping area
- The right tube is the intake tube, which should draw air from outside your sleeping area
- Adjust the Settings: Use the buttons on the top of the device to set the speeds. Unlike traditional units, this one doesn’t operate based on temperature. Instead, it cools the intake air as much as possible. Here are the available settings…
- Rocket Setting: Cools down the area as quickly as possible
- Snowflake Setting: A moderate cooling setting
- Sleep Setting: The lowest and longest-lasting cooling option
- Additionally, there’s a fan-only and a light setting
- Optimal Cooling: I recommend placing the unit inside the cabin with both tubes extending to the exterior of the sleeping area. Alternatively, putting the unit outside the cabin and using an air intake adapter allows the front ports to draw in and blow cool air from inside the sleeping area.
Battery Life
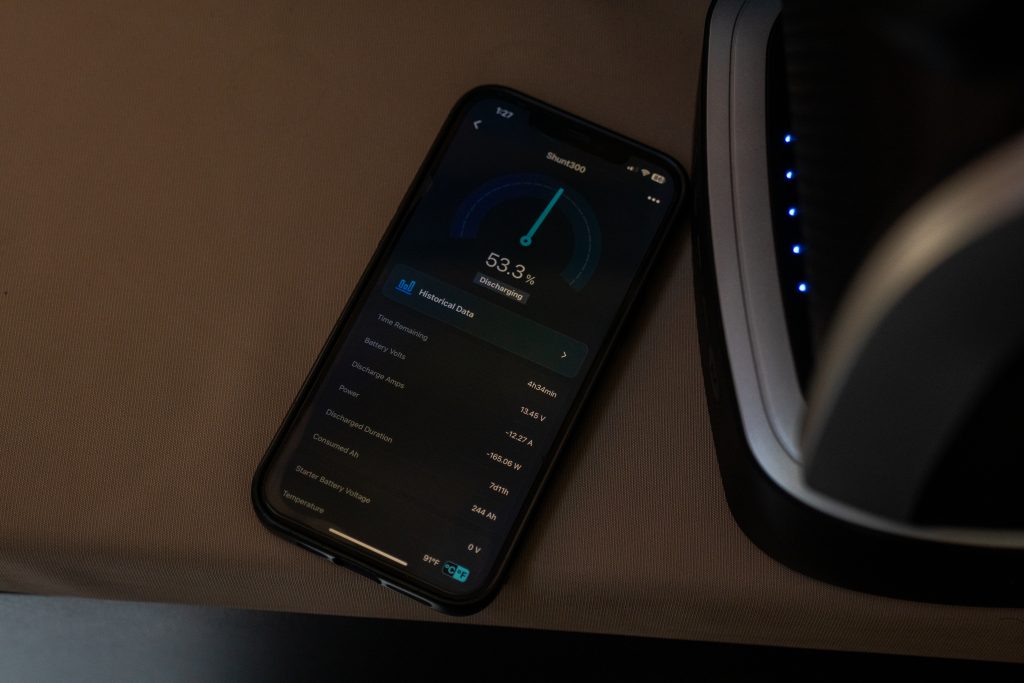
As part of the testing process, we wanted to evaluate the run-down time of the unit. We also tested how much power it consumes when running off a secondary power source, such as when connected to my 100Ah camping battery with a 12V to 24V converter. Realistically, you can expect around 5 hours of operation on the Rocket setting and 8 hours on the Sleep setting.
Important: You cannot charge this unit from a 12V system without the 12V to 24V inverter. When operating at its highest setting, it draws up to 170W, which can drain a 100Ah battery in 7 hours. This underscores the importance of using the batteries provided by Zero Breeze to avoid depleting the house batteries that power other overland accessories, including the fridge.
Engineering
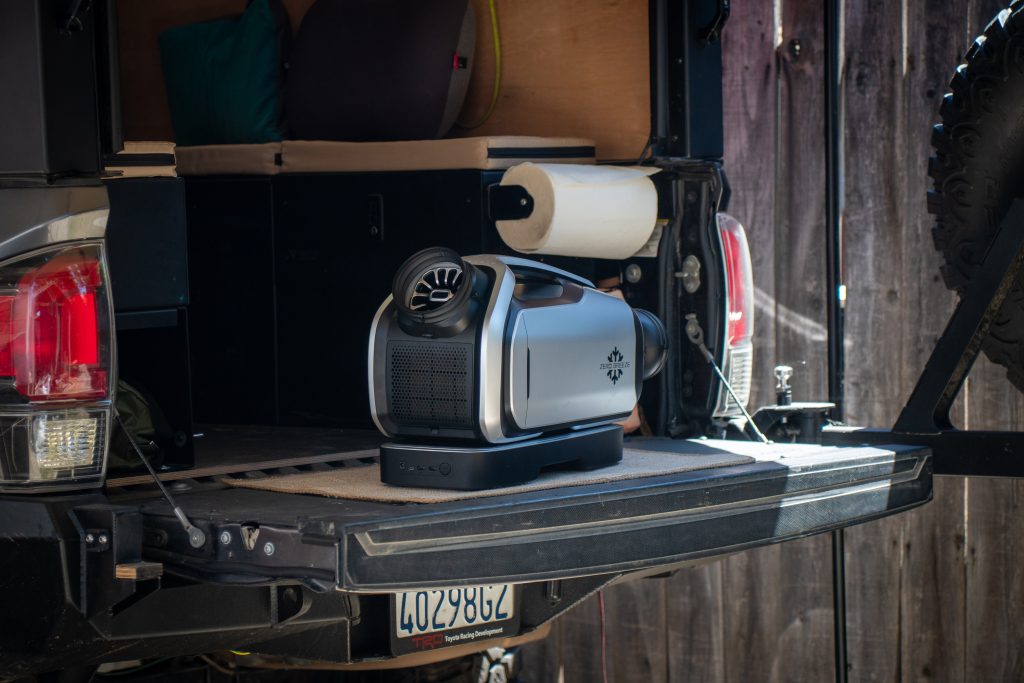
Respectfully, as an engineer, condensing the components of an air conditioning system into a portable unit is no small feat. You need a condenser, fluid, heat exchanger, and a fan, to name a few. Additionally, a control board is essential to coordinate the functioning of all these components.
Once you have these components, the challenge lies in packaging them together to create a portable solution that looks good and performs well. There are both physical and technological constraints at play here, and they all need to align seamlessly.
Thankfully, they managed to achieve all of this. Not only did they address the technical complexities, but also designed an elegant and functional unit that’s user-friendly.
Final Thoughts
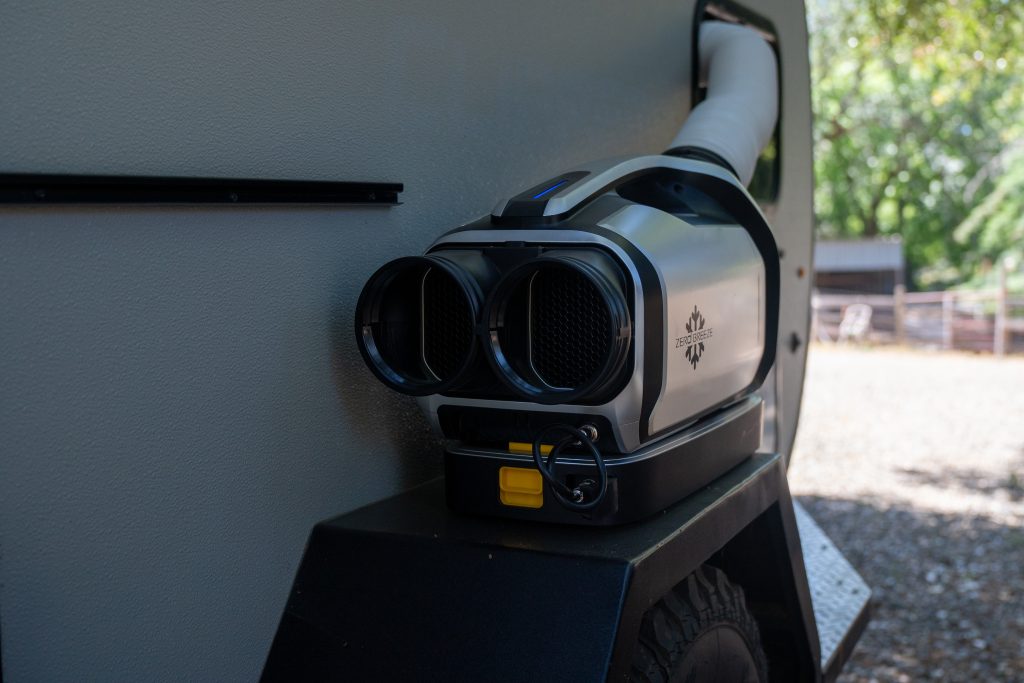
Overall, the Zero Breeze Mark 2 has proven to be a handy piece of equipment that we can’t camp in the summer without. Even at high elevations in California, camping can often become uncomfortably warm. The unit’s design is robust, lightweight, and effective.
While the cost might be intimidating, seasoned campers looking to take their experience to the next level should consider the investment. I’ve found the unit to be useful beyond just camping. For instance, it works well at sporting events or when cooling down an outdoor workshop.
In the future, I’d like to test it using the 12V to 24V converter connected to a vehicle’s built-in battery system. This would help determine if we can run it for longer periods in warmer climates, such as during 100°F days in the California Valley.

How has it been holding up? All good? Any issues?
So far so good. Really saved us at a 90 Degree night in Joshua Tree
Nice but I would say that the intake tube should also go into the area you are cooling so that you are cooling cooled air instead of hot air. Phrased in an other way, it takes less energy to cool from 75 to 70 vs 95 to 70. Thus recirculating cooled air will require less work and equate to a longer run time.
You are 100% correct. Zero Breeze does make and adapter to do this which I will be looking to pick up in the future.
Front Air Inlet Duct adapter for Mark 2 – ZERO BREEZE
$1700?!?!?
I guess I need to get the kind of job you guys have! Are you hiring?
Hey Mark!
Yes the unit is pricey but it is just like when the Cell Phone came out. Once the technology is more common the prices start to come down. By far the battery is most of the cost of the unit.
And to answer your question TrailCo.org is always looking for good authors.
Apply – Trail4R.com – 5th Gen 4Runner Mods (trail4runner.com)