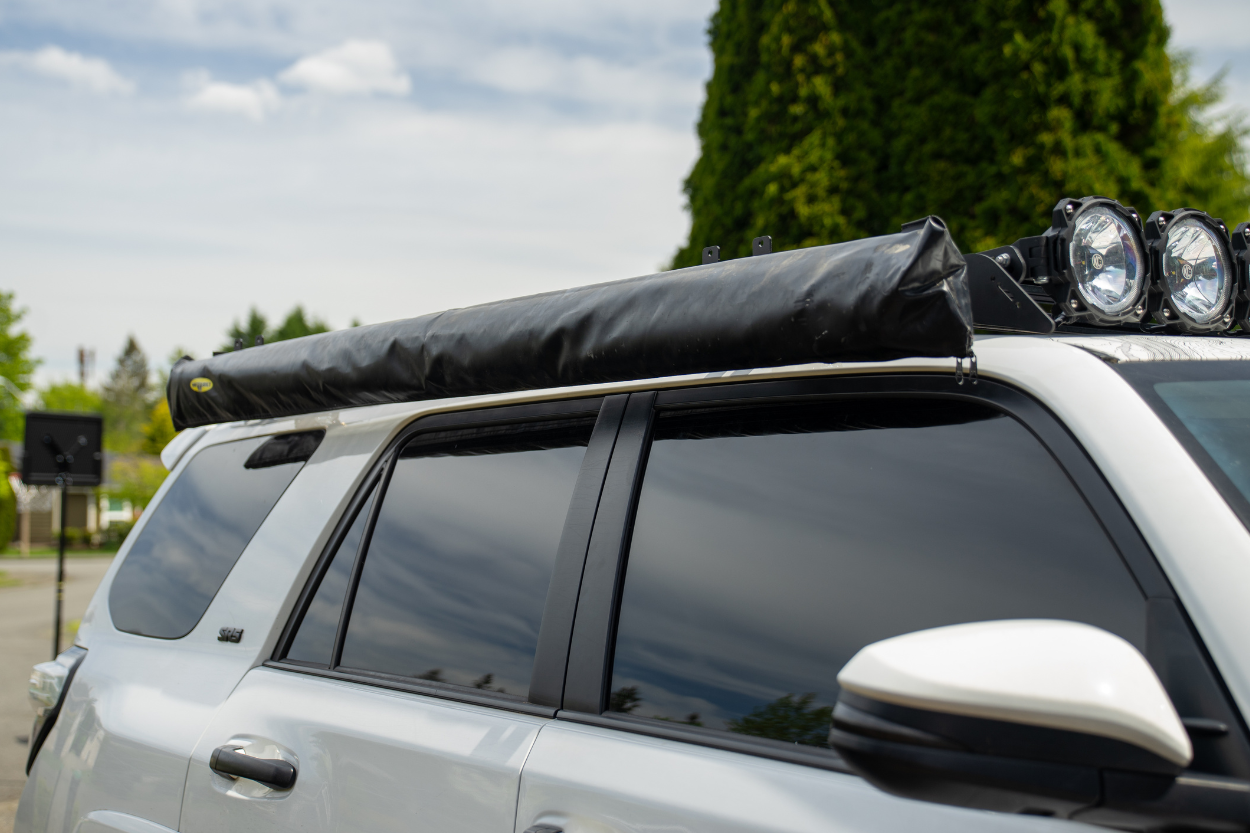
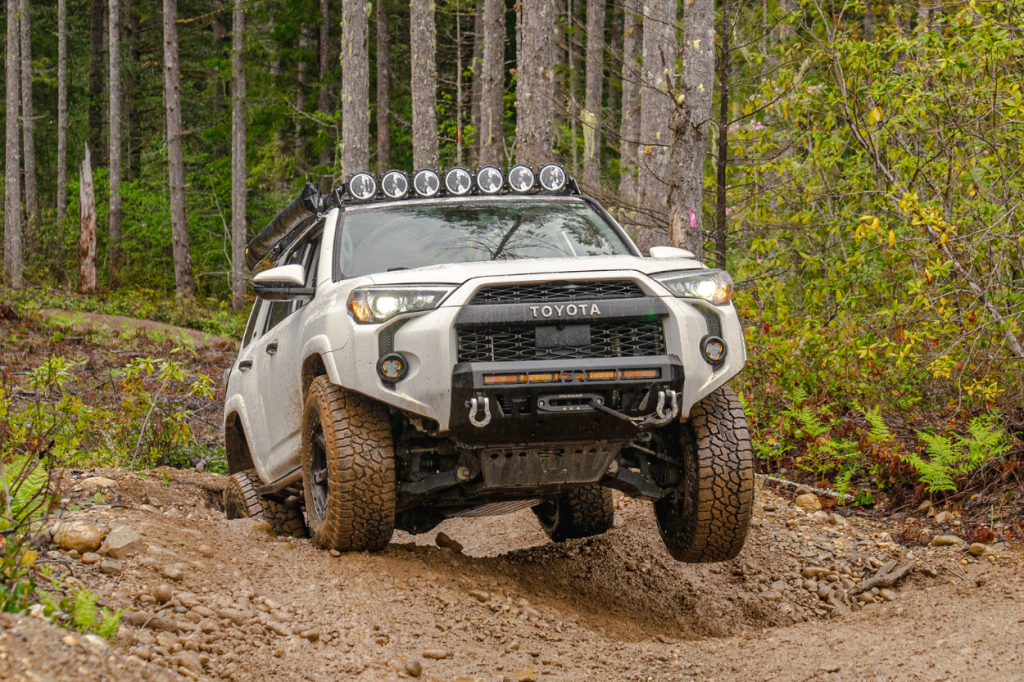
Having an awning mounted to your 4Runner can be a game changer. Whether it’s for a single trip or all season long, you want a sturdy and secure way to achieve this. Fortunately, Prinsu offers three different mounts for their original roof rack: standard, low profile, and quick-release.
Today, I’ll cover how these three mounts differ, the installation process for each, and which one I ultimately chose.
Be aware that these are for the original Prinsu roof rack, not the newer Pro model.
Find It Online
- Original Prinsu Roof Rack: Check Price
- Different Mounts
- “Regular”: Check Price
- Low Profile: Check Price
- Quick Release: Check Price
Use code – TRAILCO – to save an extra 5% off! Usually stacks with any sale going on.
Table Of Contents
Comparison
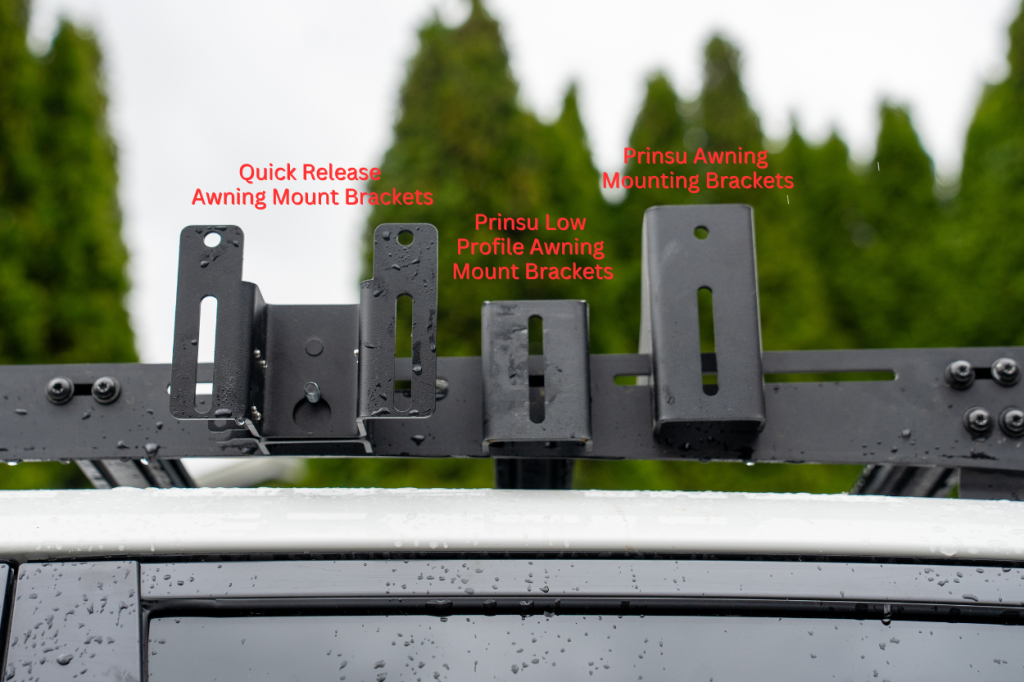
Prinsu offers three different awning mounts for their racks; each comes powder-coated in a satin black finish and made from 1/8″ steel construction.
Regular
Tied for most affordable with low profile.
Features
- Universal awning bracket
- Accommodates a variety of different awnings
- Features a “lock-in” design to secure the mounts to the crossbars and side plates
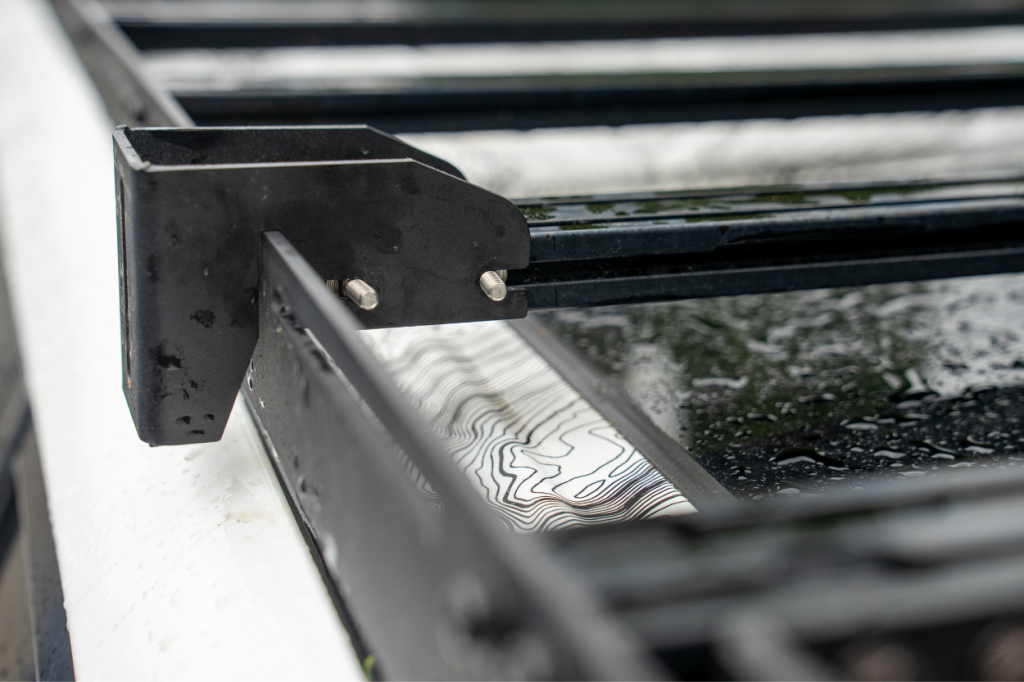
The standard awning mounting brackets will cause the awning to sit much higher than the other options. This may be good for taller people to comfortably stand under the awning, though.
However, the added height may cause issues with mounting items on the roof rack such as an RTT.
Low Profile
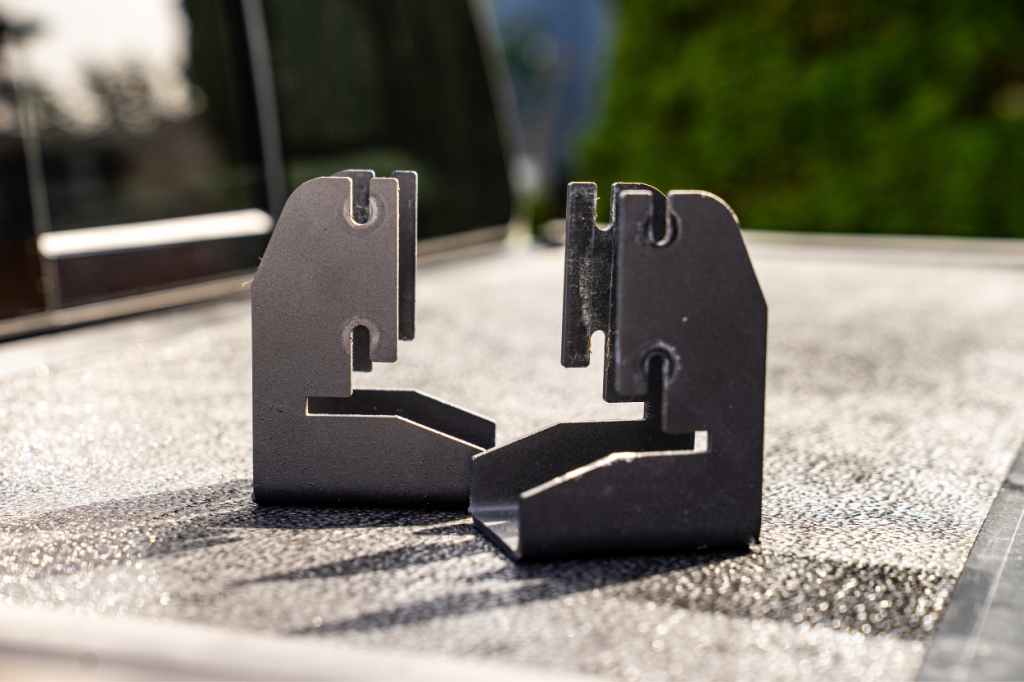
Tied for most affordable with the standard version.
Features
- Lightweight
- Smallest mount of the three options
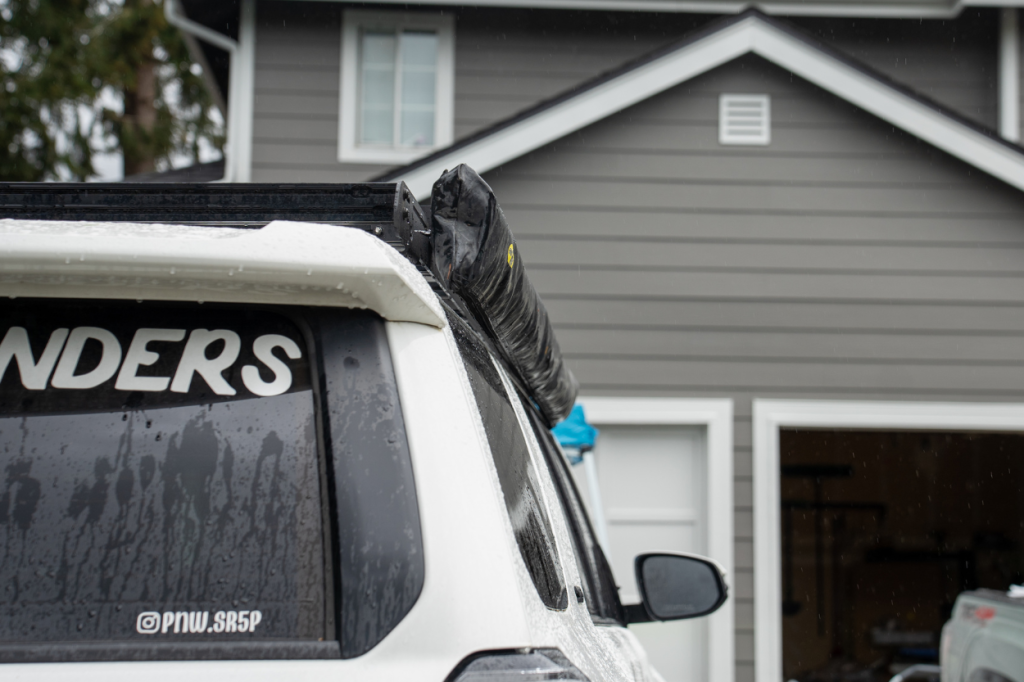
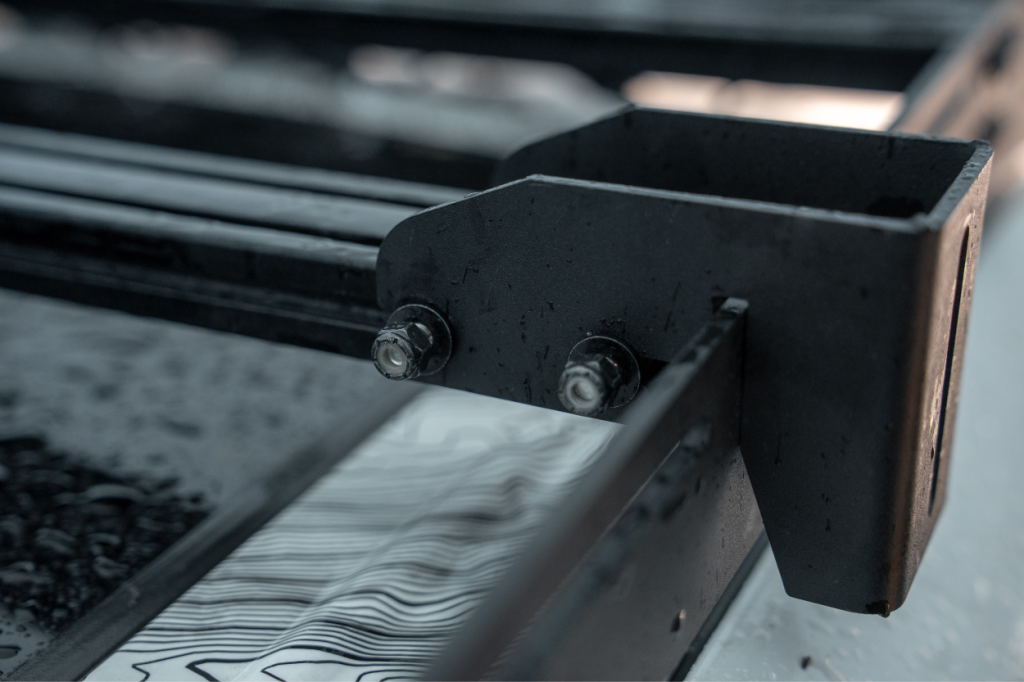
From the side, you will see that this one sits closest to the roof rack and is a bit lower. Due to this, when I installed these mounts last summer, I sometimes had difficulty closing the doors as the zippers would get caught between the body and the door.
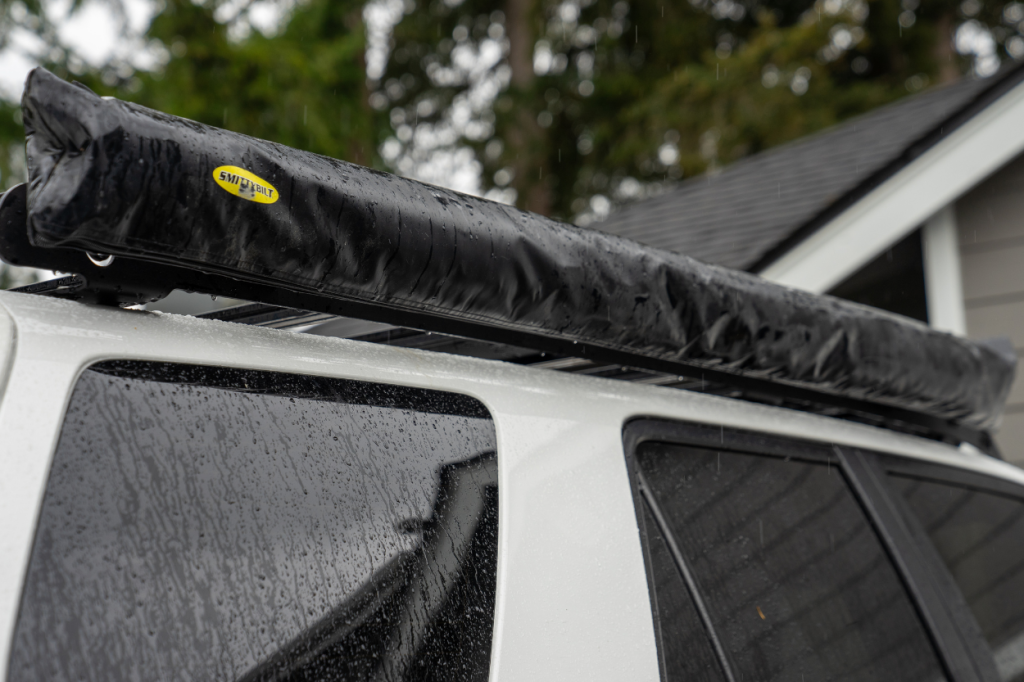
However, I think this one looked the best with the awning sitting high and tight to the rack.
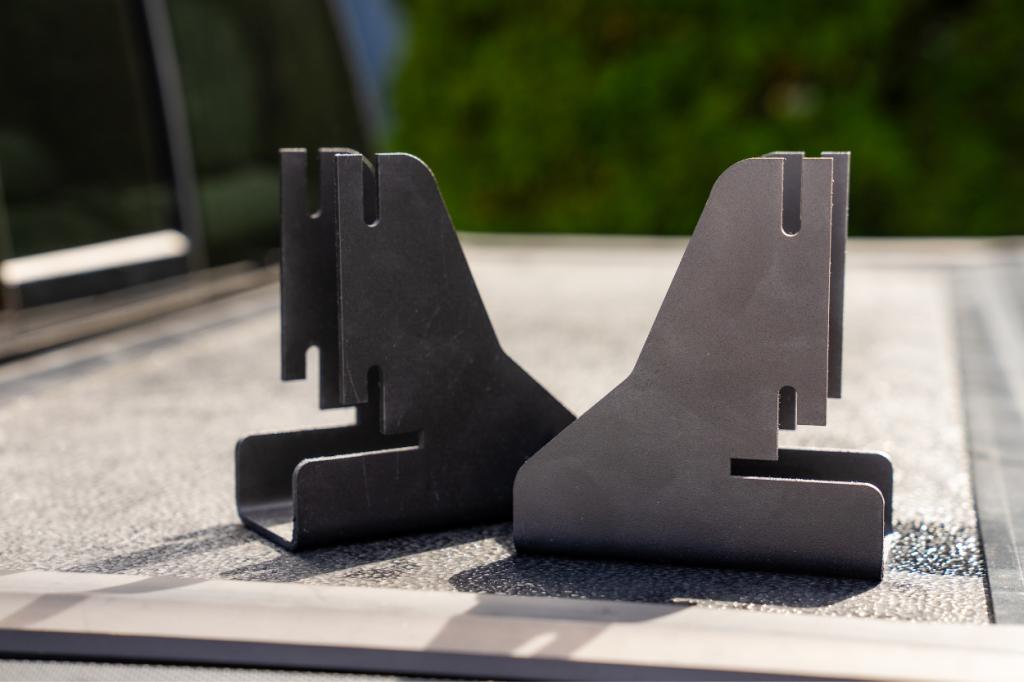
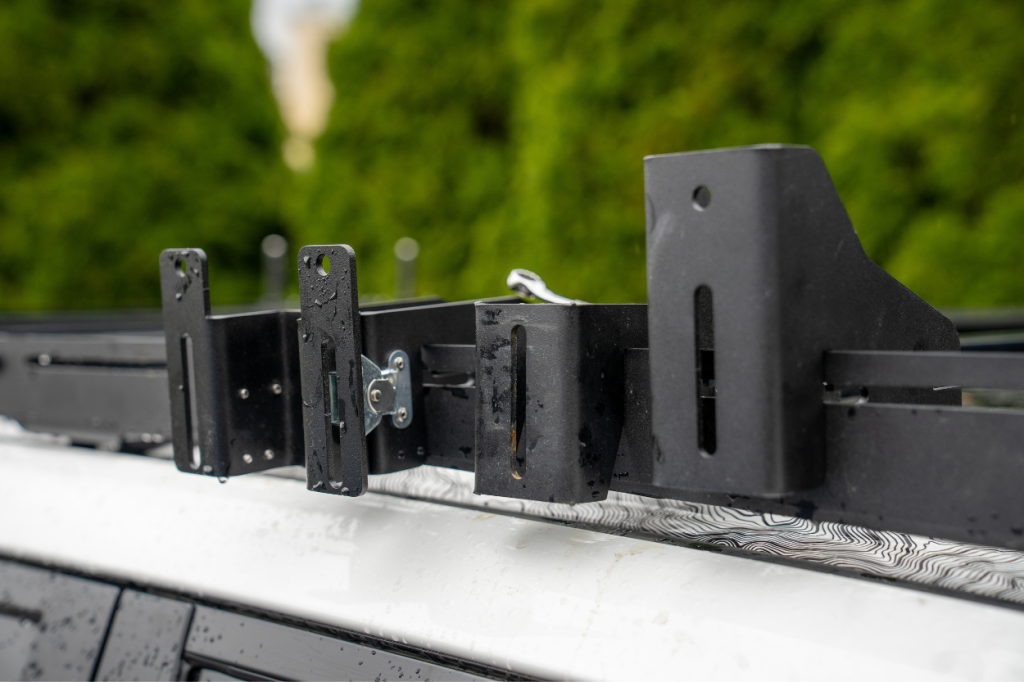
Quick Release
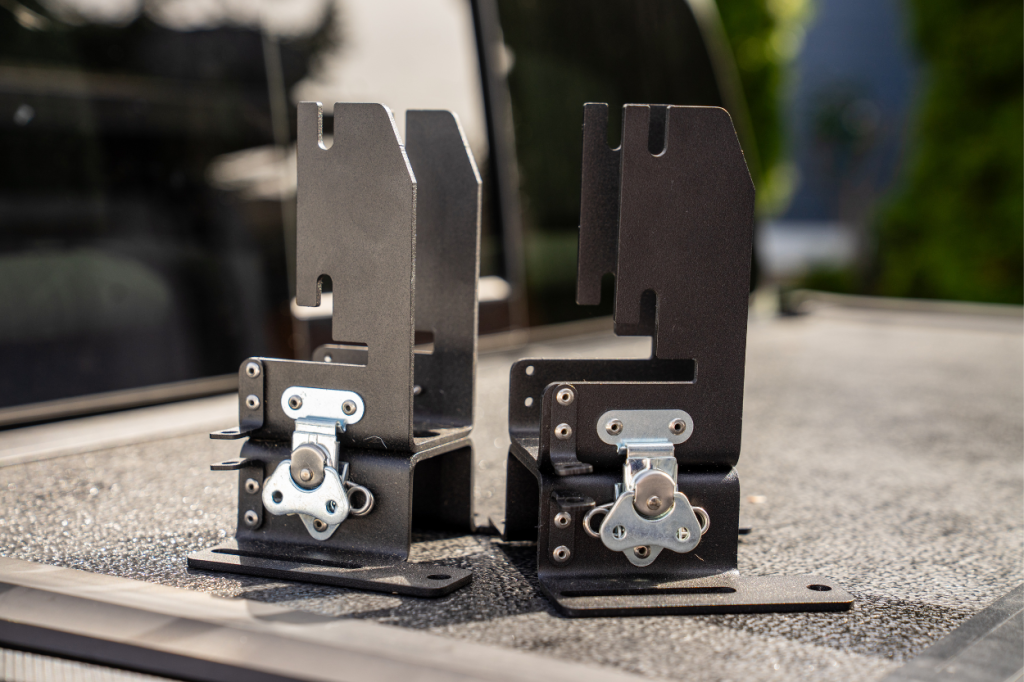
Highest price option overall.
Features
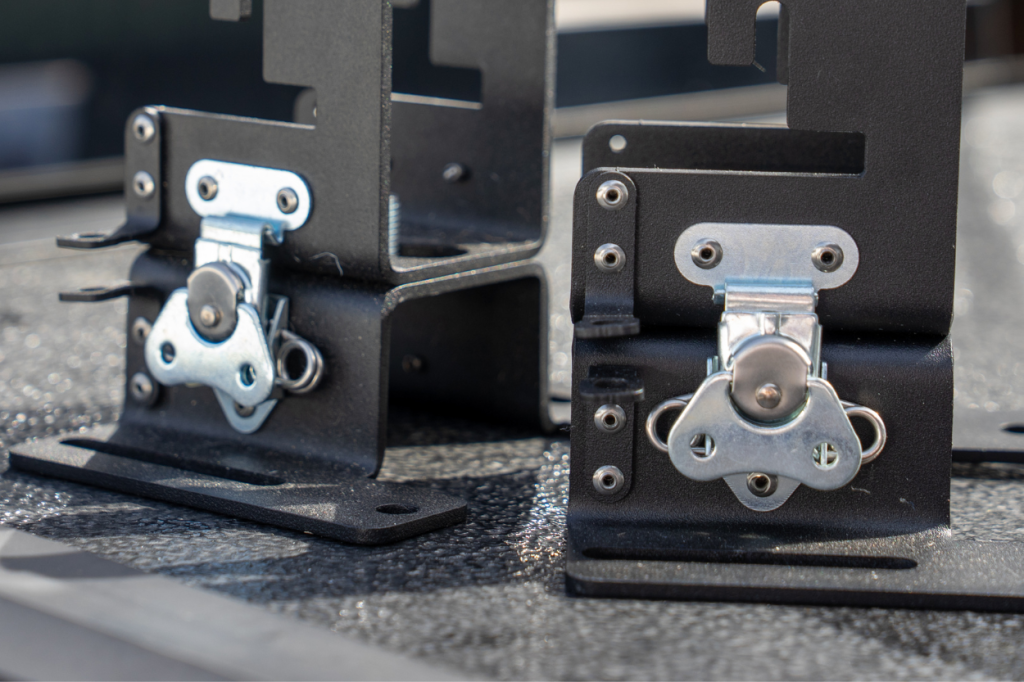
- The awning can be installed and removed in one minute
- Has integrated tamper-proof lock tabs and rivets
This mount sits much further out than the others to accommodate the quick-release feature. However, this makes it a good option for those with RTTs mounted to their roof rack. You can also adjust the height of the awning to fit your needs.
Installation
Both the standard and the low profile are installed the same on the Prinsu rack. However, there are some differences when installing the Quick Release version. All three are very easy to install and can be done in under 10 minutes.
Tools Required
- Impact Wrench
- T-30
- 11mm Socket
- 13mm Wrench (only for Quick Release)
1. Remove Bolts From Roof Rack

First, determine where to place the awning mounts on your roof rack. Select two crossbars and remove the bolts on each side.
Your specific awning will determine your placement.
2. Slide Bolts Onto Awning
Two different variations here…
Standard & Low Profile
The Standard and Low-Profile mounts require only (4) bolts, (2) on each side. Slide the bolts into the awning’s channels and place them on either end.
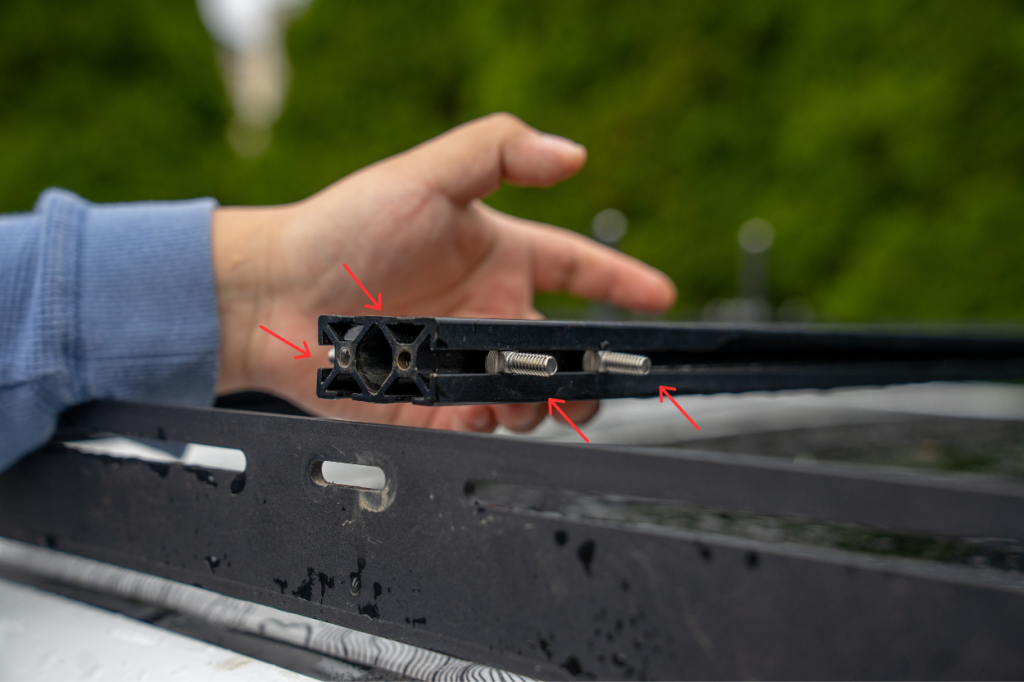
Quick Release

The Quick Release mount requires (8) bolts, (4) on each side. Slide the bolts into the awning and place them on either side.
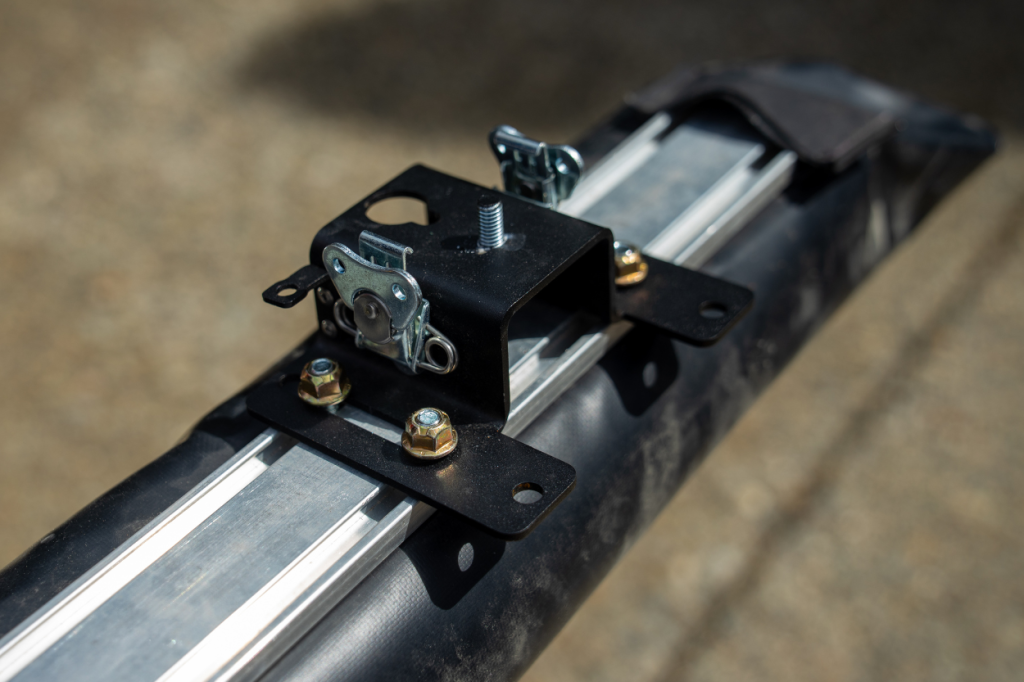
Once you have the bolts in place, install the release side of the awning mount. To do this, separate it from the mount by pulling the clips out, turning them clockwise, and then sliding the mount over each bolt.
Once it is lined up, place one nut over each bolt and secure them using a 13mm socket. Our packaging was missing these so we had to buy them at our local hardware store. Always check that you have all the necessary hardware before installing something.
2. Secure Mount To Rack
Now, it’s time to secure the mount to the roof rack. The steps will be the same for all three versions of the mounts.
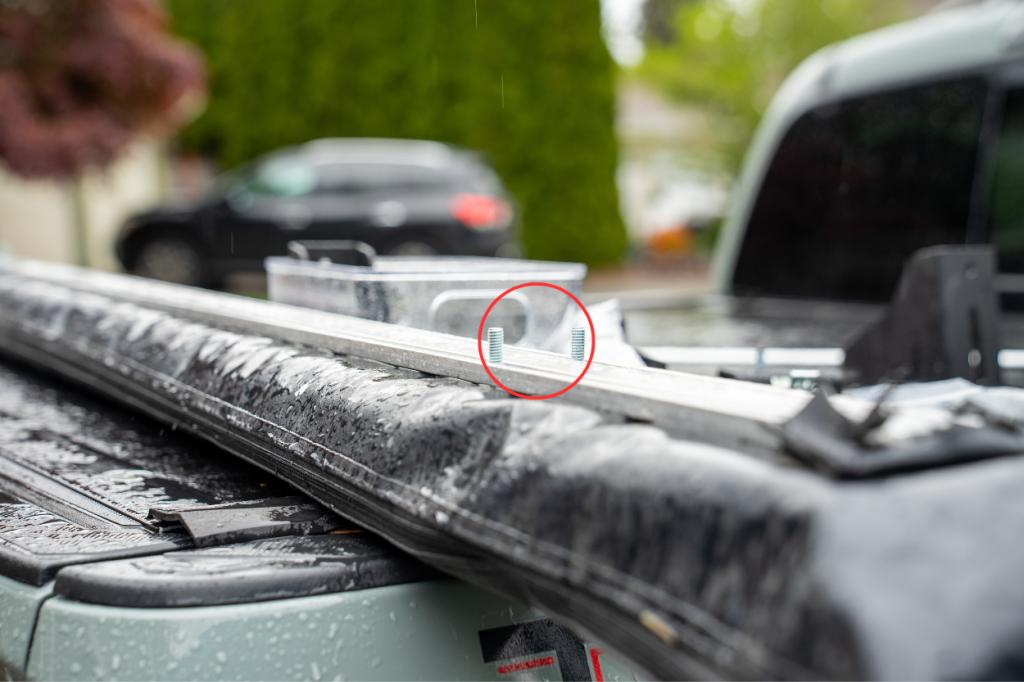
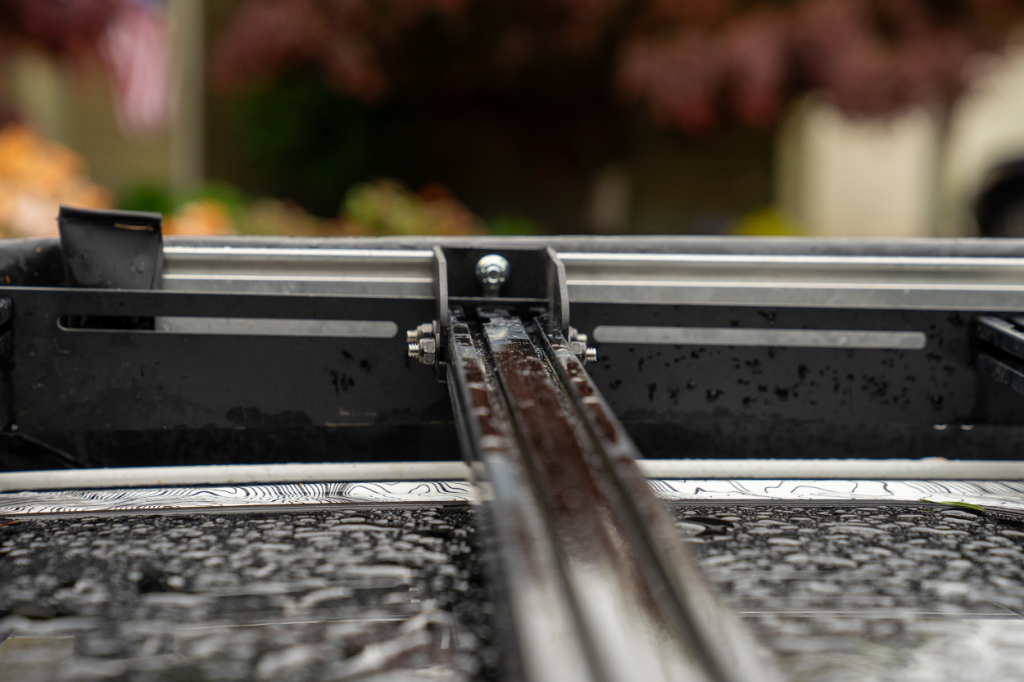
Begin by sliding (4) carriage bolts into the crossbar, (2) on either side. Repeat this for the second crossbar for the other mount. Once you have all of them placed into the crossbars, re-secure the crossbars to the side rail.
Then, slide your mount into place, over the bolts. Repeat with the second mount.
Finally, secure the mounts with the supplied washers and nuts. Tighten everything using an 11mm socket.
3. Attach Awning To Mount
Again, two different variations.
Standard & Low Profile Mount
Slide your bolts into the opening on the mount and secure them using nuts and an 11mm socket.
Quick Release
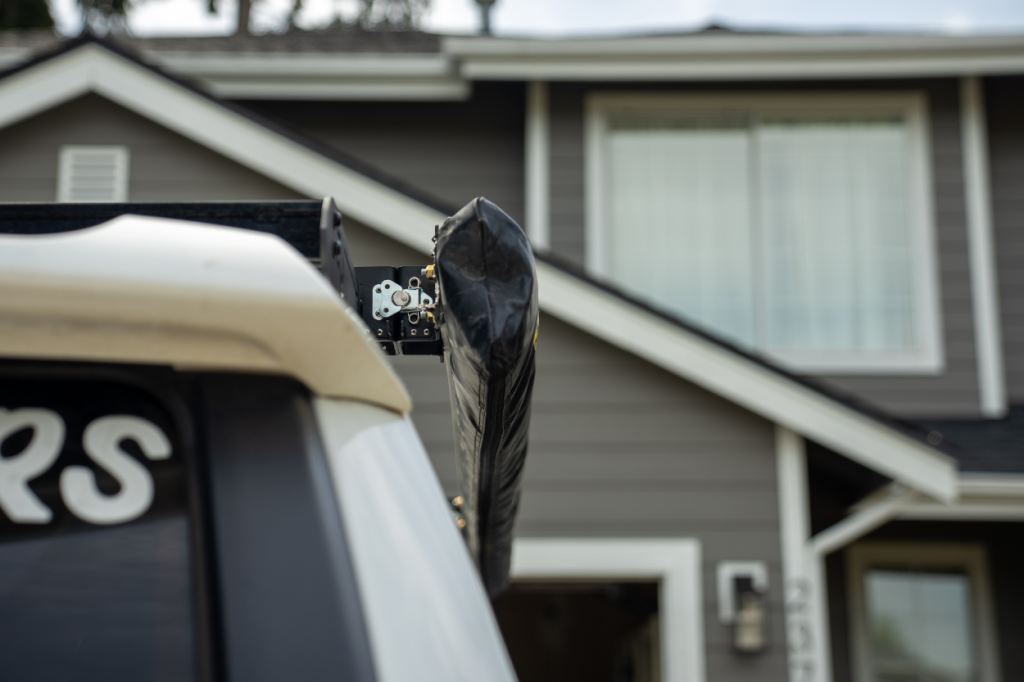
To use the Quick-Release mounts, slide the release mount into the roof rack mount, tighten the clips counterclockwise, and fold them down.
The Best One For My 4Runner
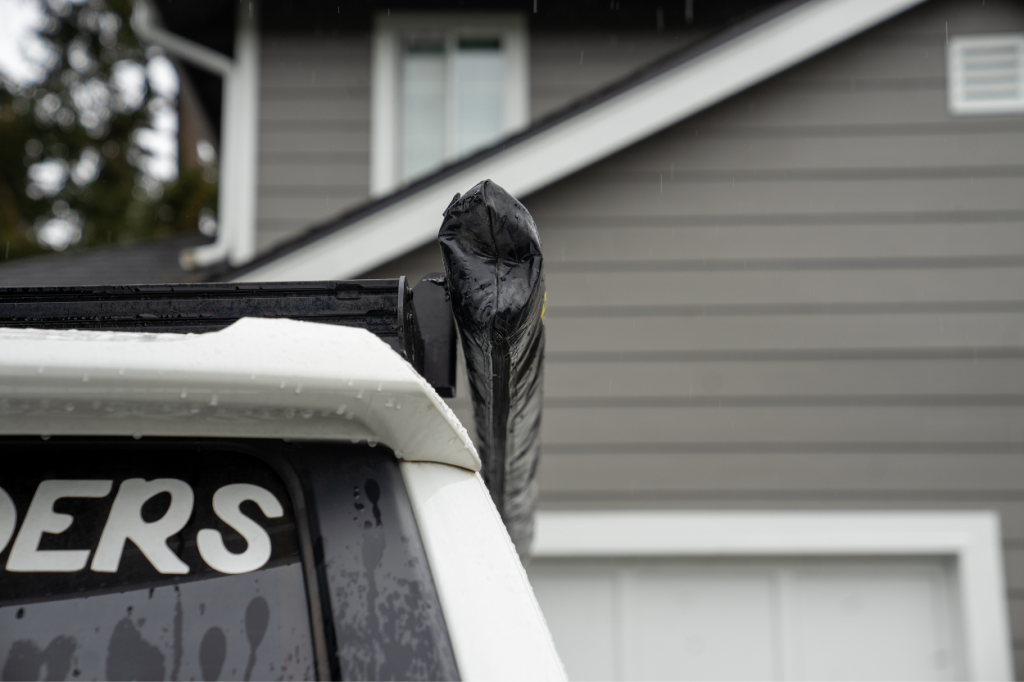
The Quick Release fit my needs the best since I only use my awning in Spring and Summer. Being able to detach the awning in a matter of seconds is a game-changer. It’s also easy to completely remove the mount from my roof rack if needed.
Final Thoughts
I hope this guide gave you the information needed to pick the right one for your needs. This may vary from person to person, but it’s good to see that Prinsu has all the bases covered. Now, get out there, and don’t forget to bring an awning to enhance your outdoor experience!
