It’s finally here, the heated steering wheel upgrade we’ve all been waiting for.
This CarTrimHome (CTH) kit is compatible with 2010-2022 (non-heated) and 2023+ with an OEM heated steering wheel. The kit is designed for 2010-2022, however, we installed it on our 2023 SR5P with an OEM heated wheel. With a little modification, we made it work with the OEM circuit board.
If you have a 2010-2022 4Runner, your installation will be easier as the kit is 100% plug-and-play.
If you have a 2023-2024 with an OEM heated wheel, you will find the modified step-by-step installation below.
If you have not installed a steering wheel, check out our previous installation guide on the carbon fiber option from CTH. The same removal and re-installation process applies. Please go read that post, there are quite a few safety precautions to keep in mind when installing/un-installing a steering wheel. The install below assumes you have read that article.
Find It Online
- Heated Steering Wheel (2010-2024): Check Price
Table Of Contents
2023+ Installation Overview
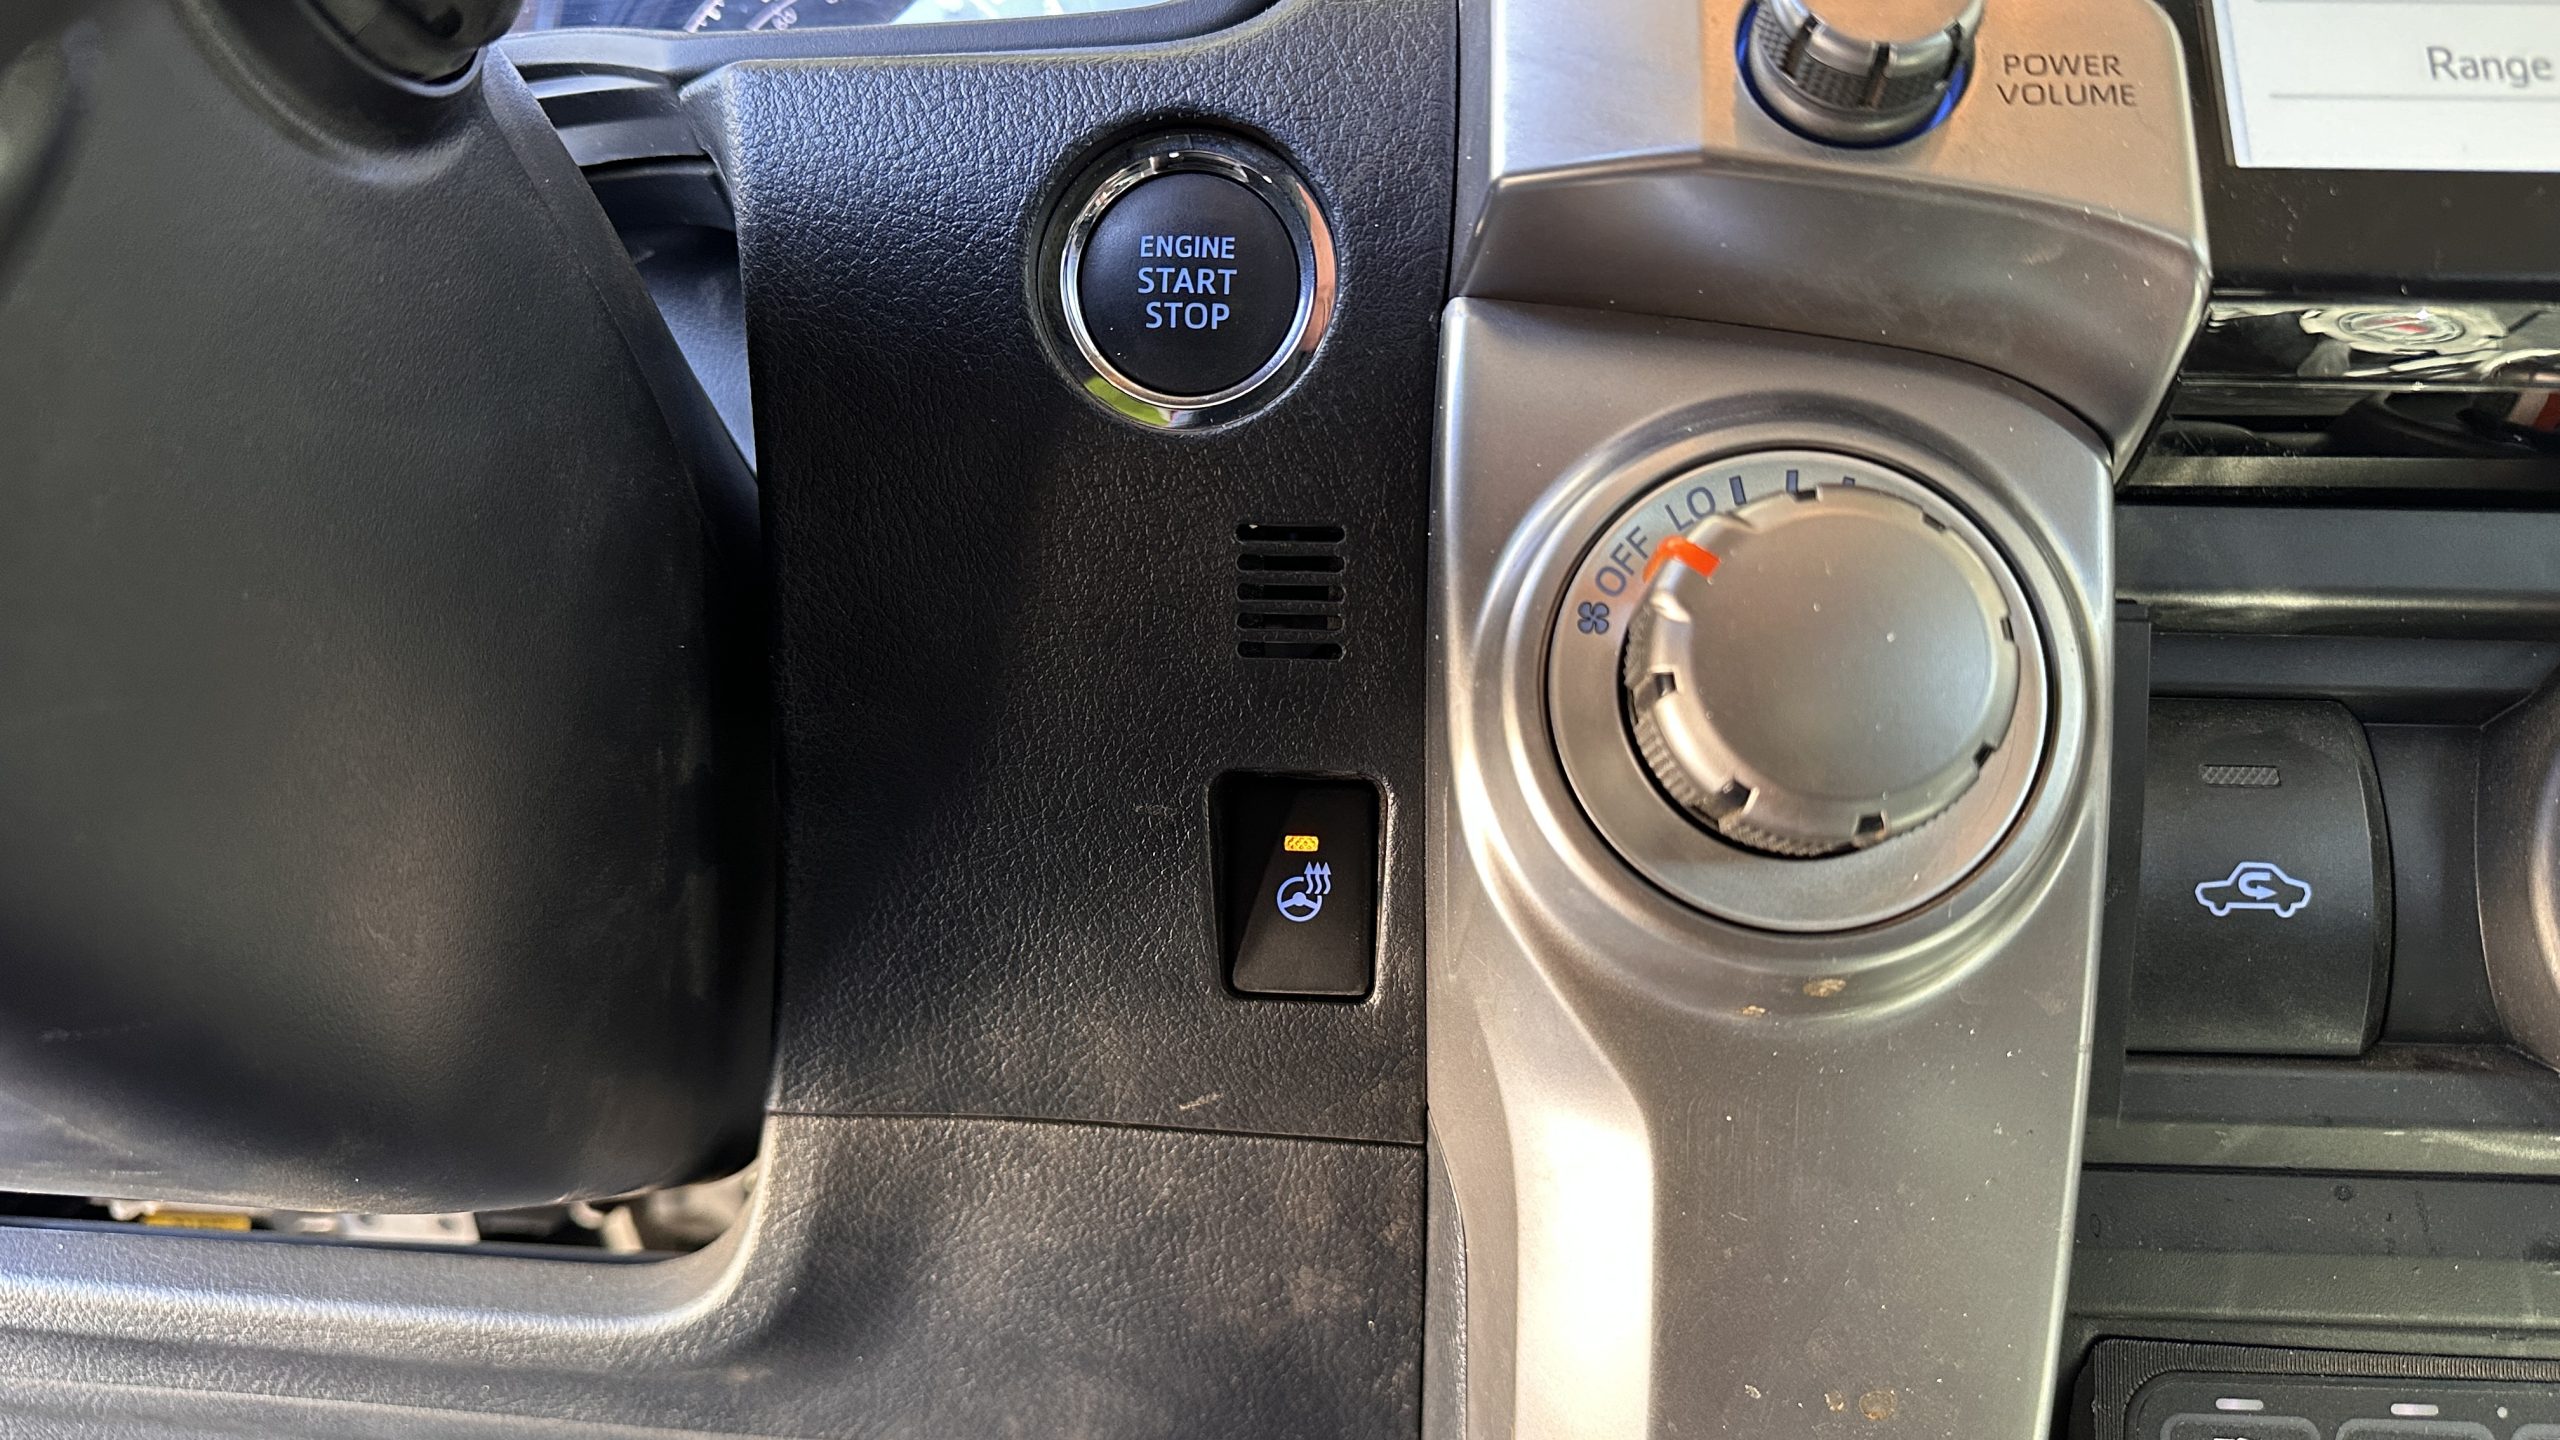
CTH originally told me that the OEM clock spring should connect to the harness on their steering wheel, however, that did not trigger the OEM switch. Upon plugging the OEM clock spring into the wheel, 12V was not noticed, nor was any heat functionality apparent on the wheel.
For the heated element to work, you need a circuit board inline, whether that’s the CTH circuit board or the OEM circuit board.
Two Options:
- Use the provided CTH circuit board harness & clock spring: Tap a fuse, ground the circuit, run a switch to a blank, and install a new clock spring.
- Keep the OEM circuit board & OEM clock spring: Cut the CTH switch harness & OEM circuit board harness and then connect the two. This is much easier and utilizes mostly OEM parts.
I opted to keep the OEM circuit board, and the OEM clock spring to avoid tapping another fuse, installing a different switch, and removing the OEM clock spring. Like many of you, I like to keep most of my electronics OEM if possible.
Without knowing if this would work or not, I took my chances and sent it. I wired the circuits from the OEM board to the consistent wires on the CTH harness; power -> power, ground -> ground, and heat supply to heat supply. I tested the heating functionality for about 20min and everything was fine so I proceeded with building the new harness.
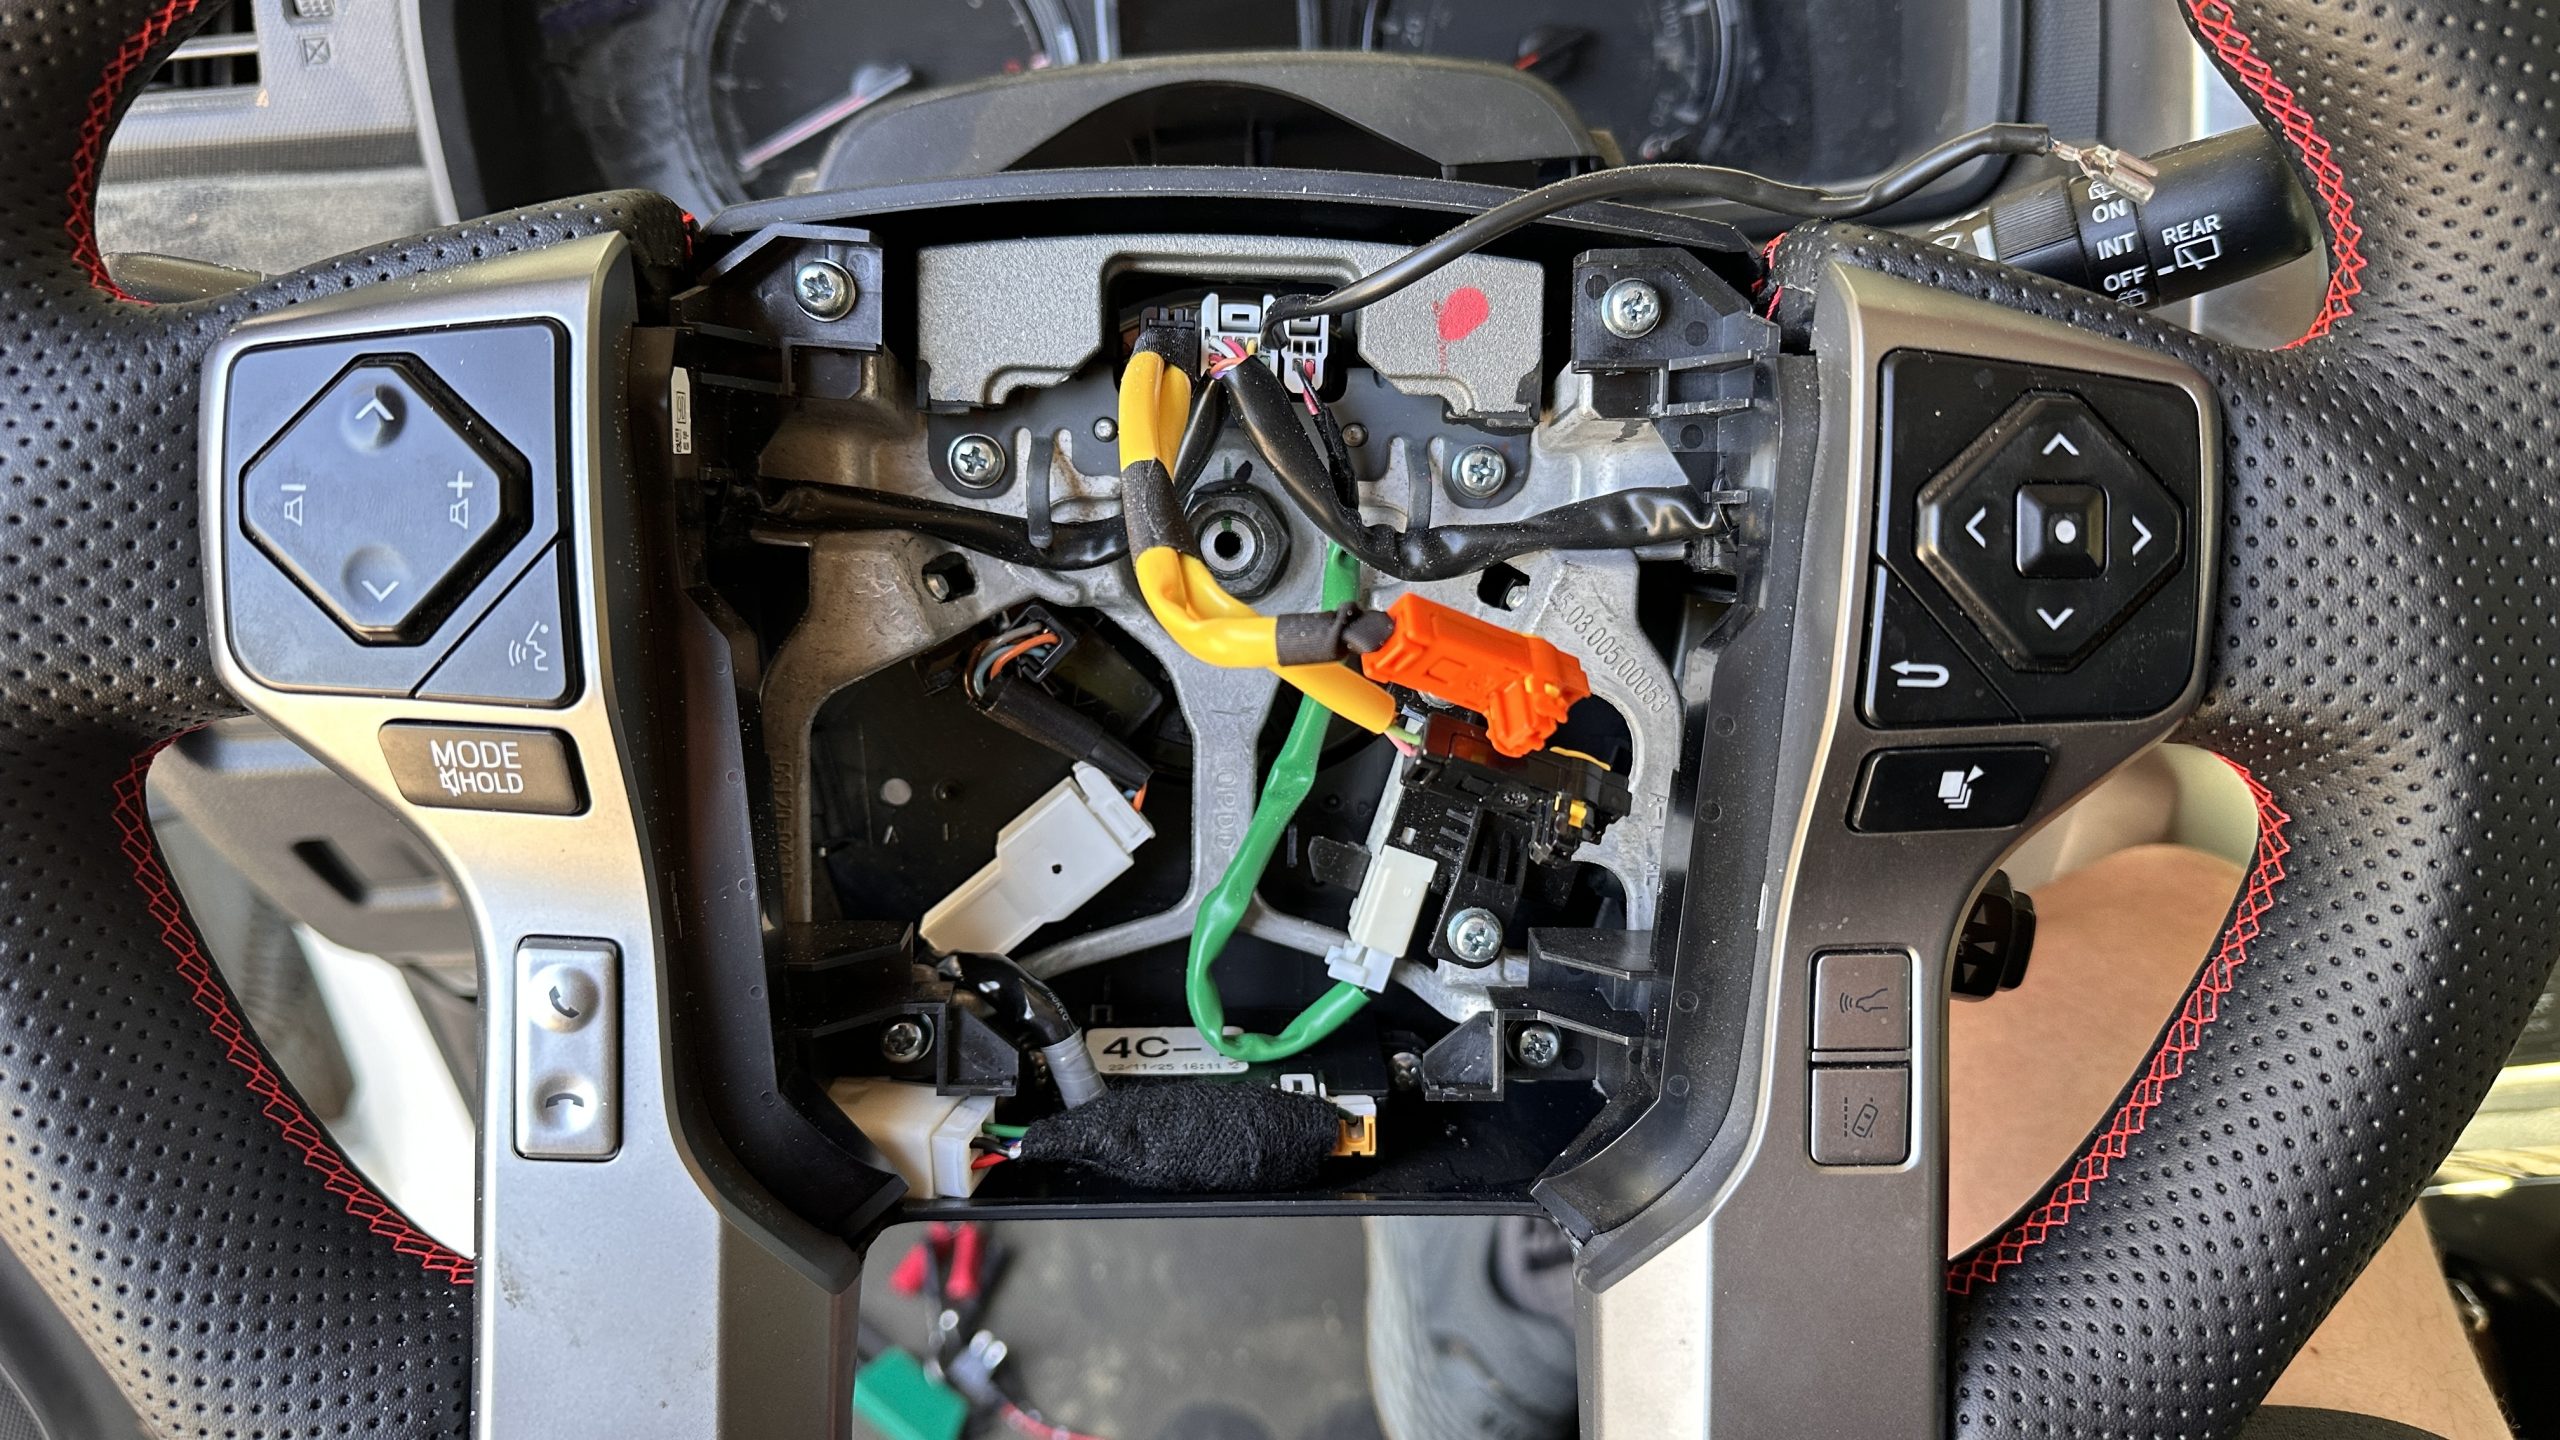
Step 1. Cut Circuit Board Wires
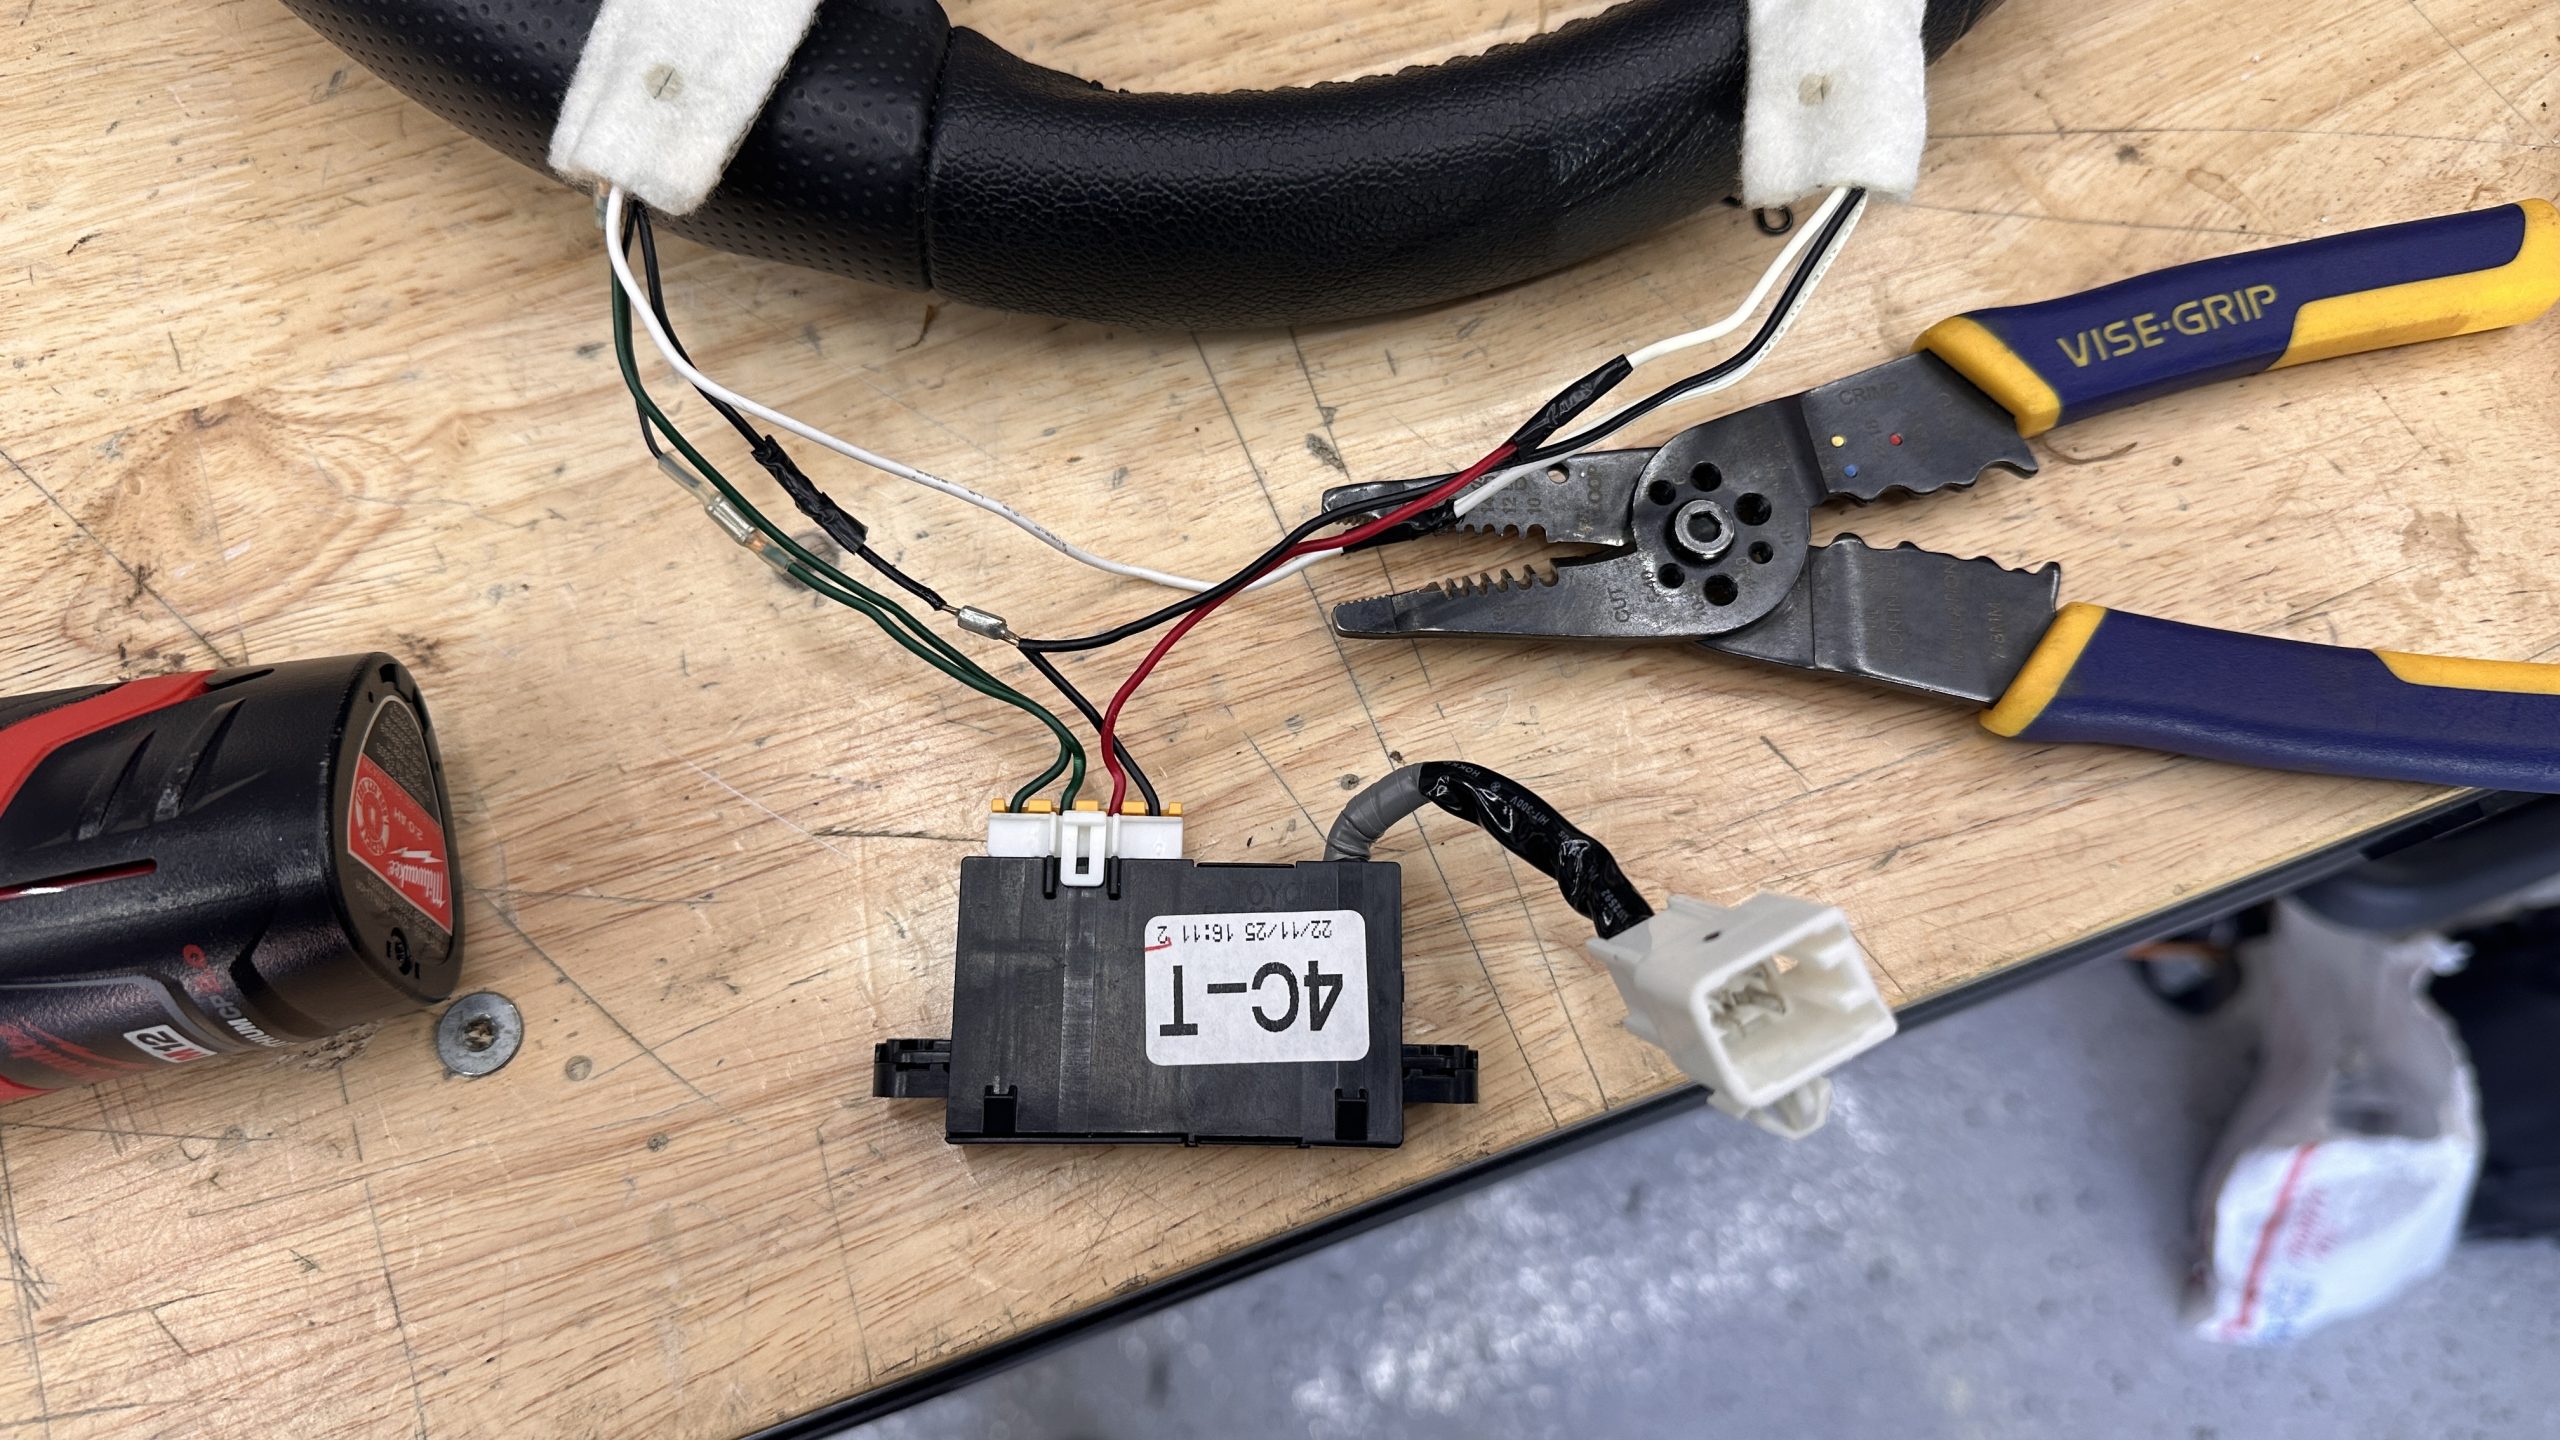
Cut the power, ground, and both green wires about 1″ away from the OEM heated wheel circuit board.
Step 2. Cut Down CTH Switch Harness
Cut the provided CTH harness at any length just to test the heating functionality.
Step 3. Connect Circuit Board & Harness
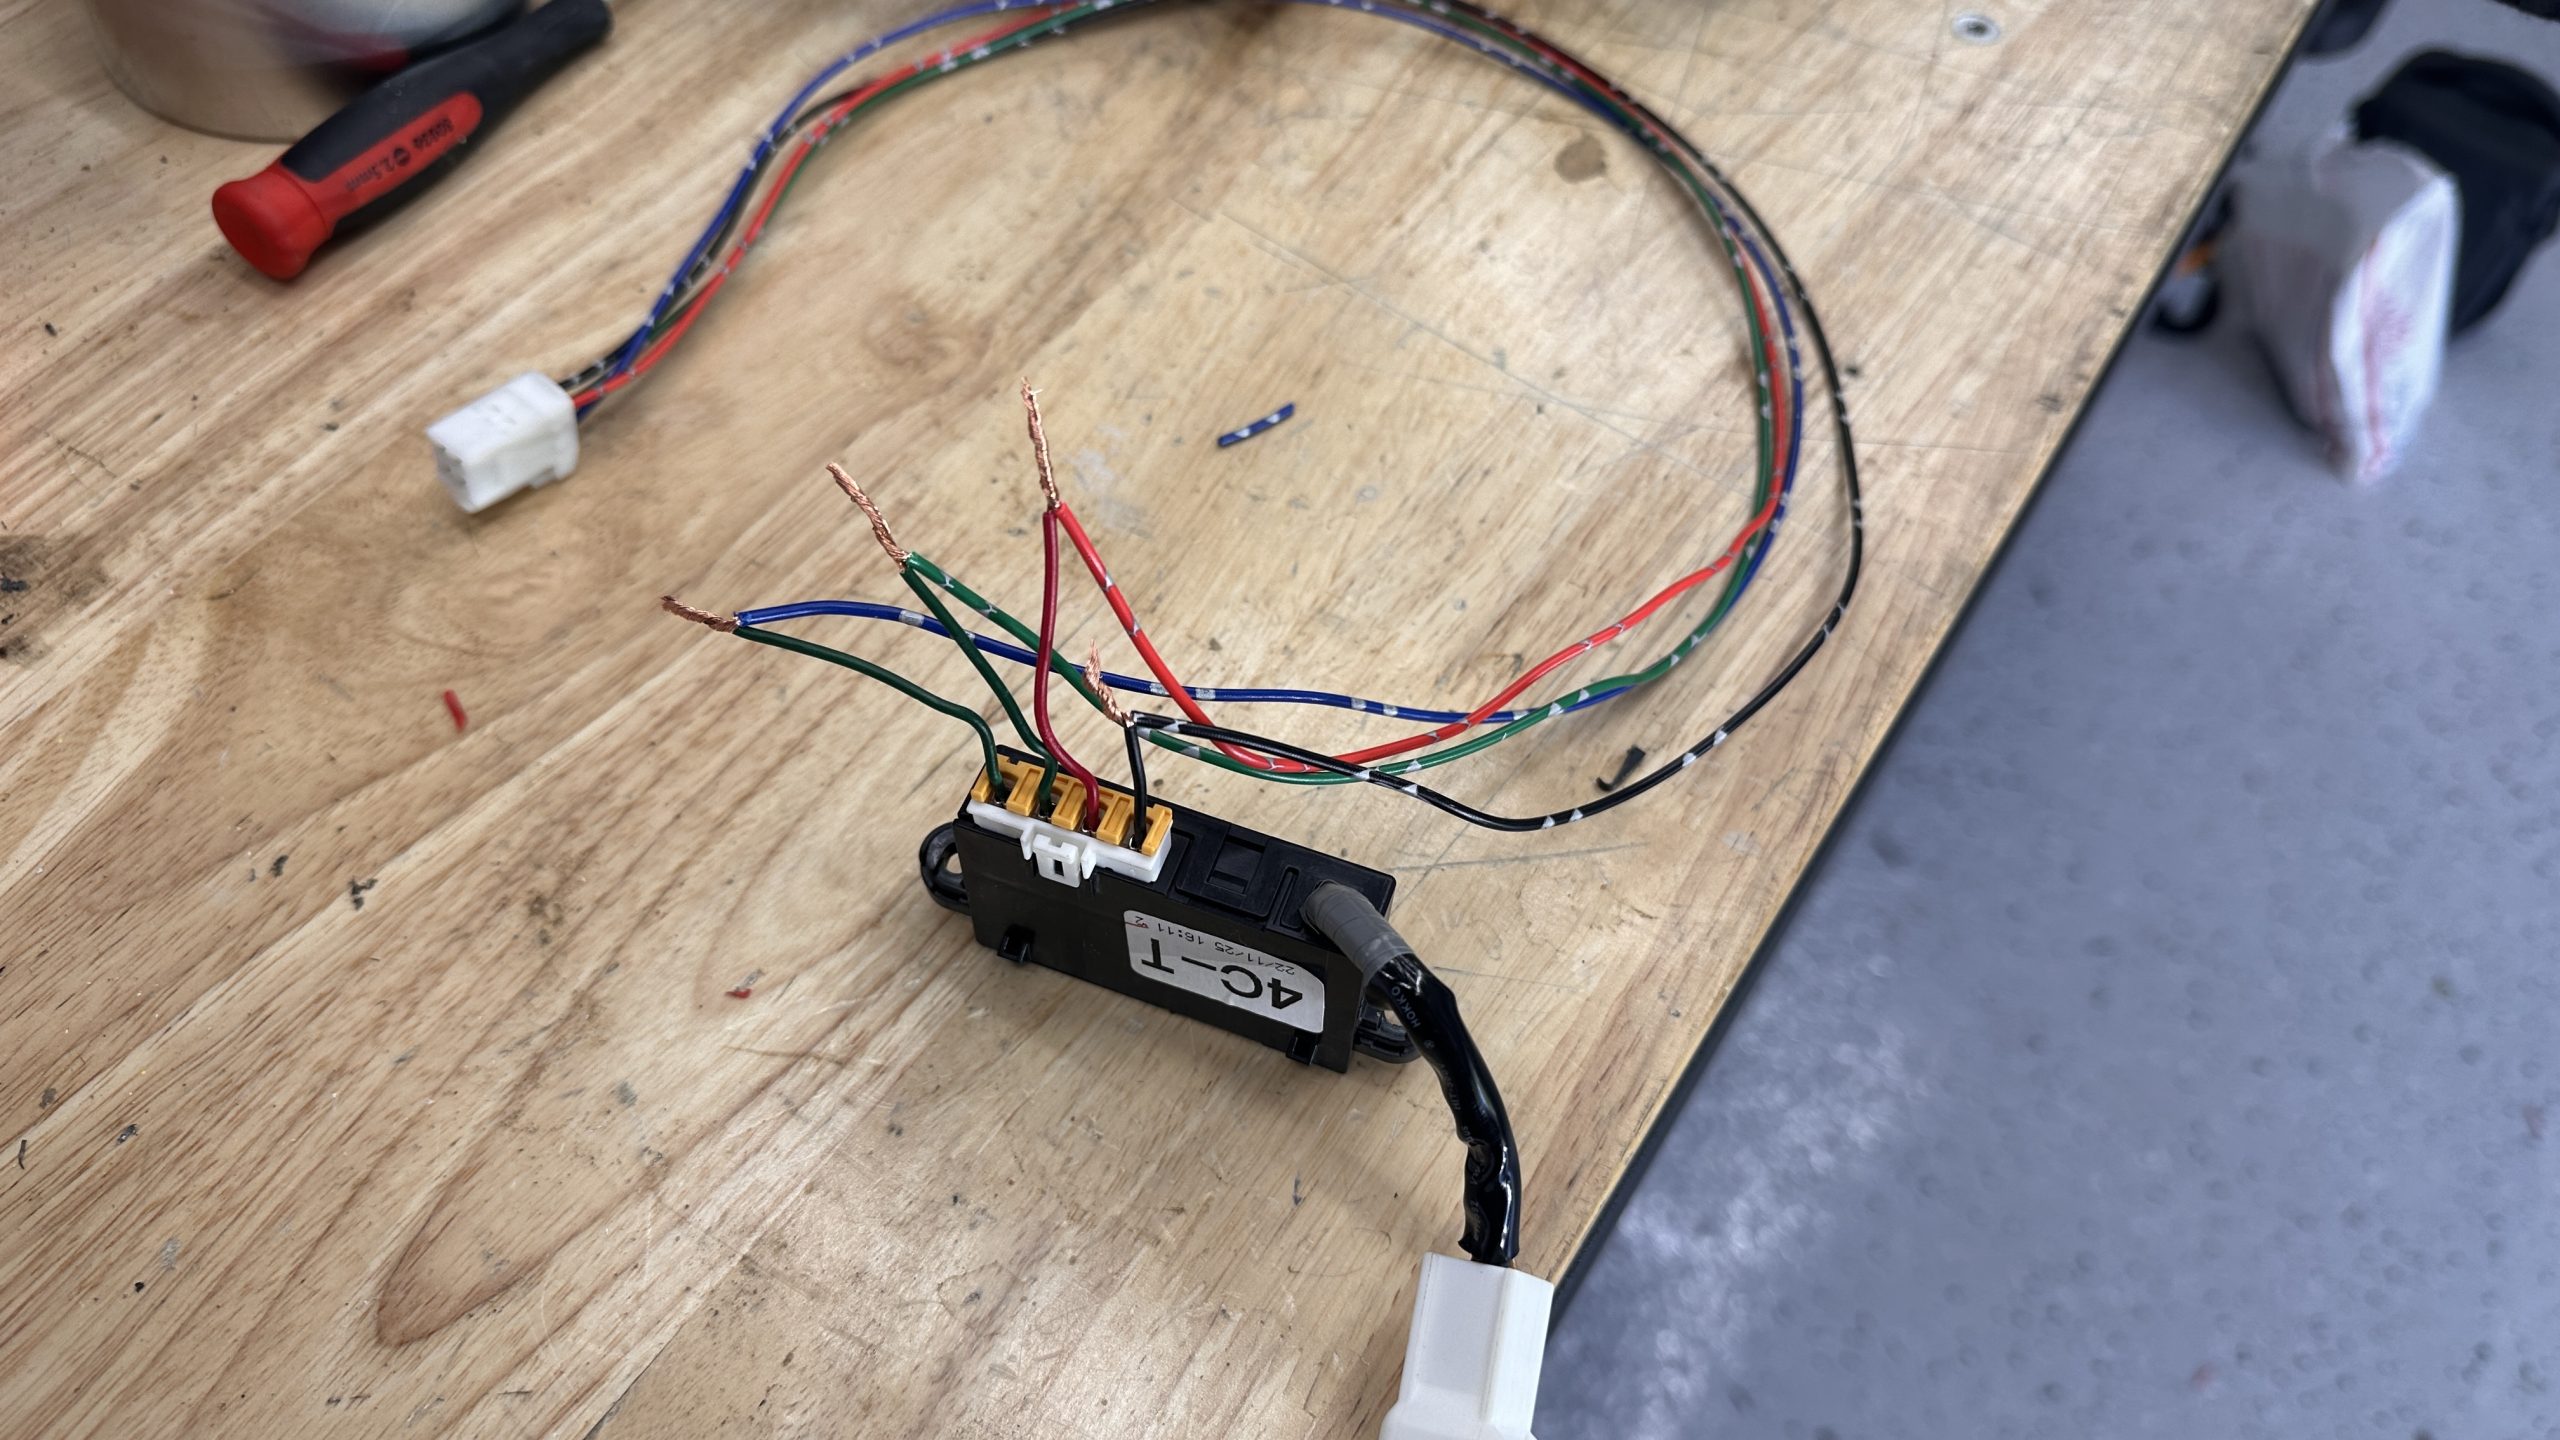
Temporarily connect the CTH harness to the OEM circuit board in the following pattern:
- Red -> Red
- Black -> Black
- Green -> Inside Green
- Blue -> Outside Green
Step 4. Test Circuit Board & Harness
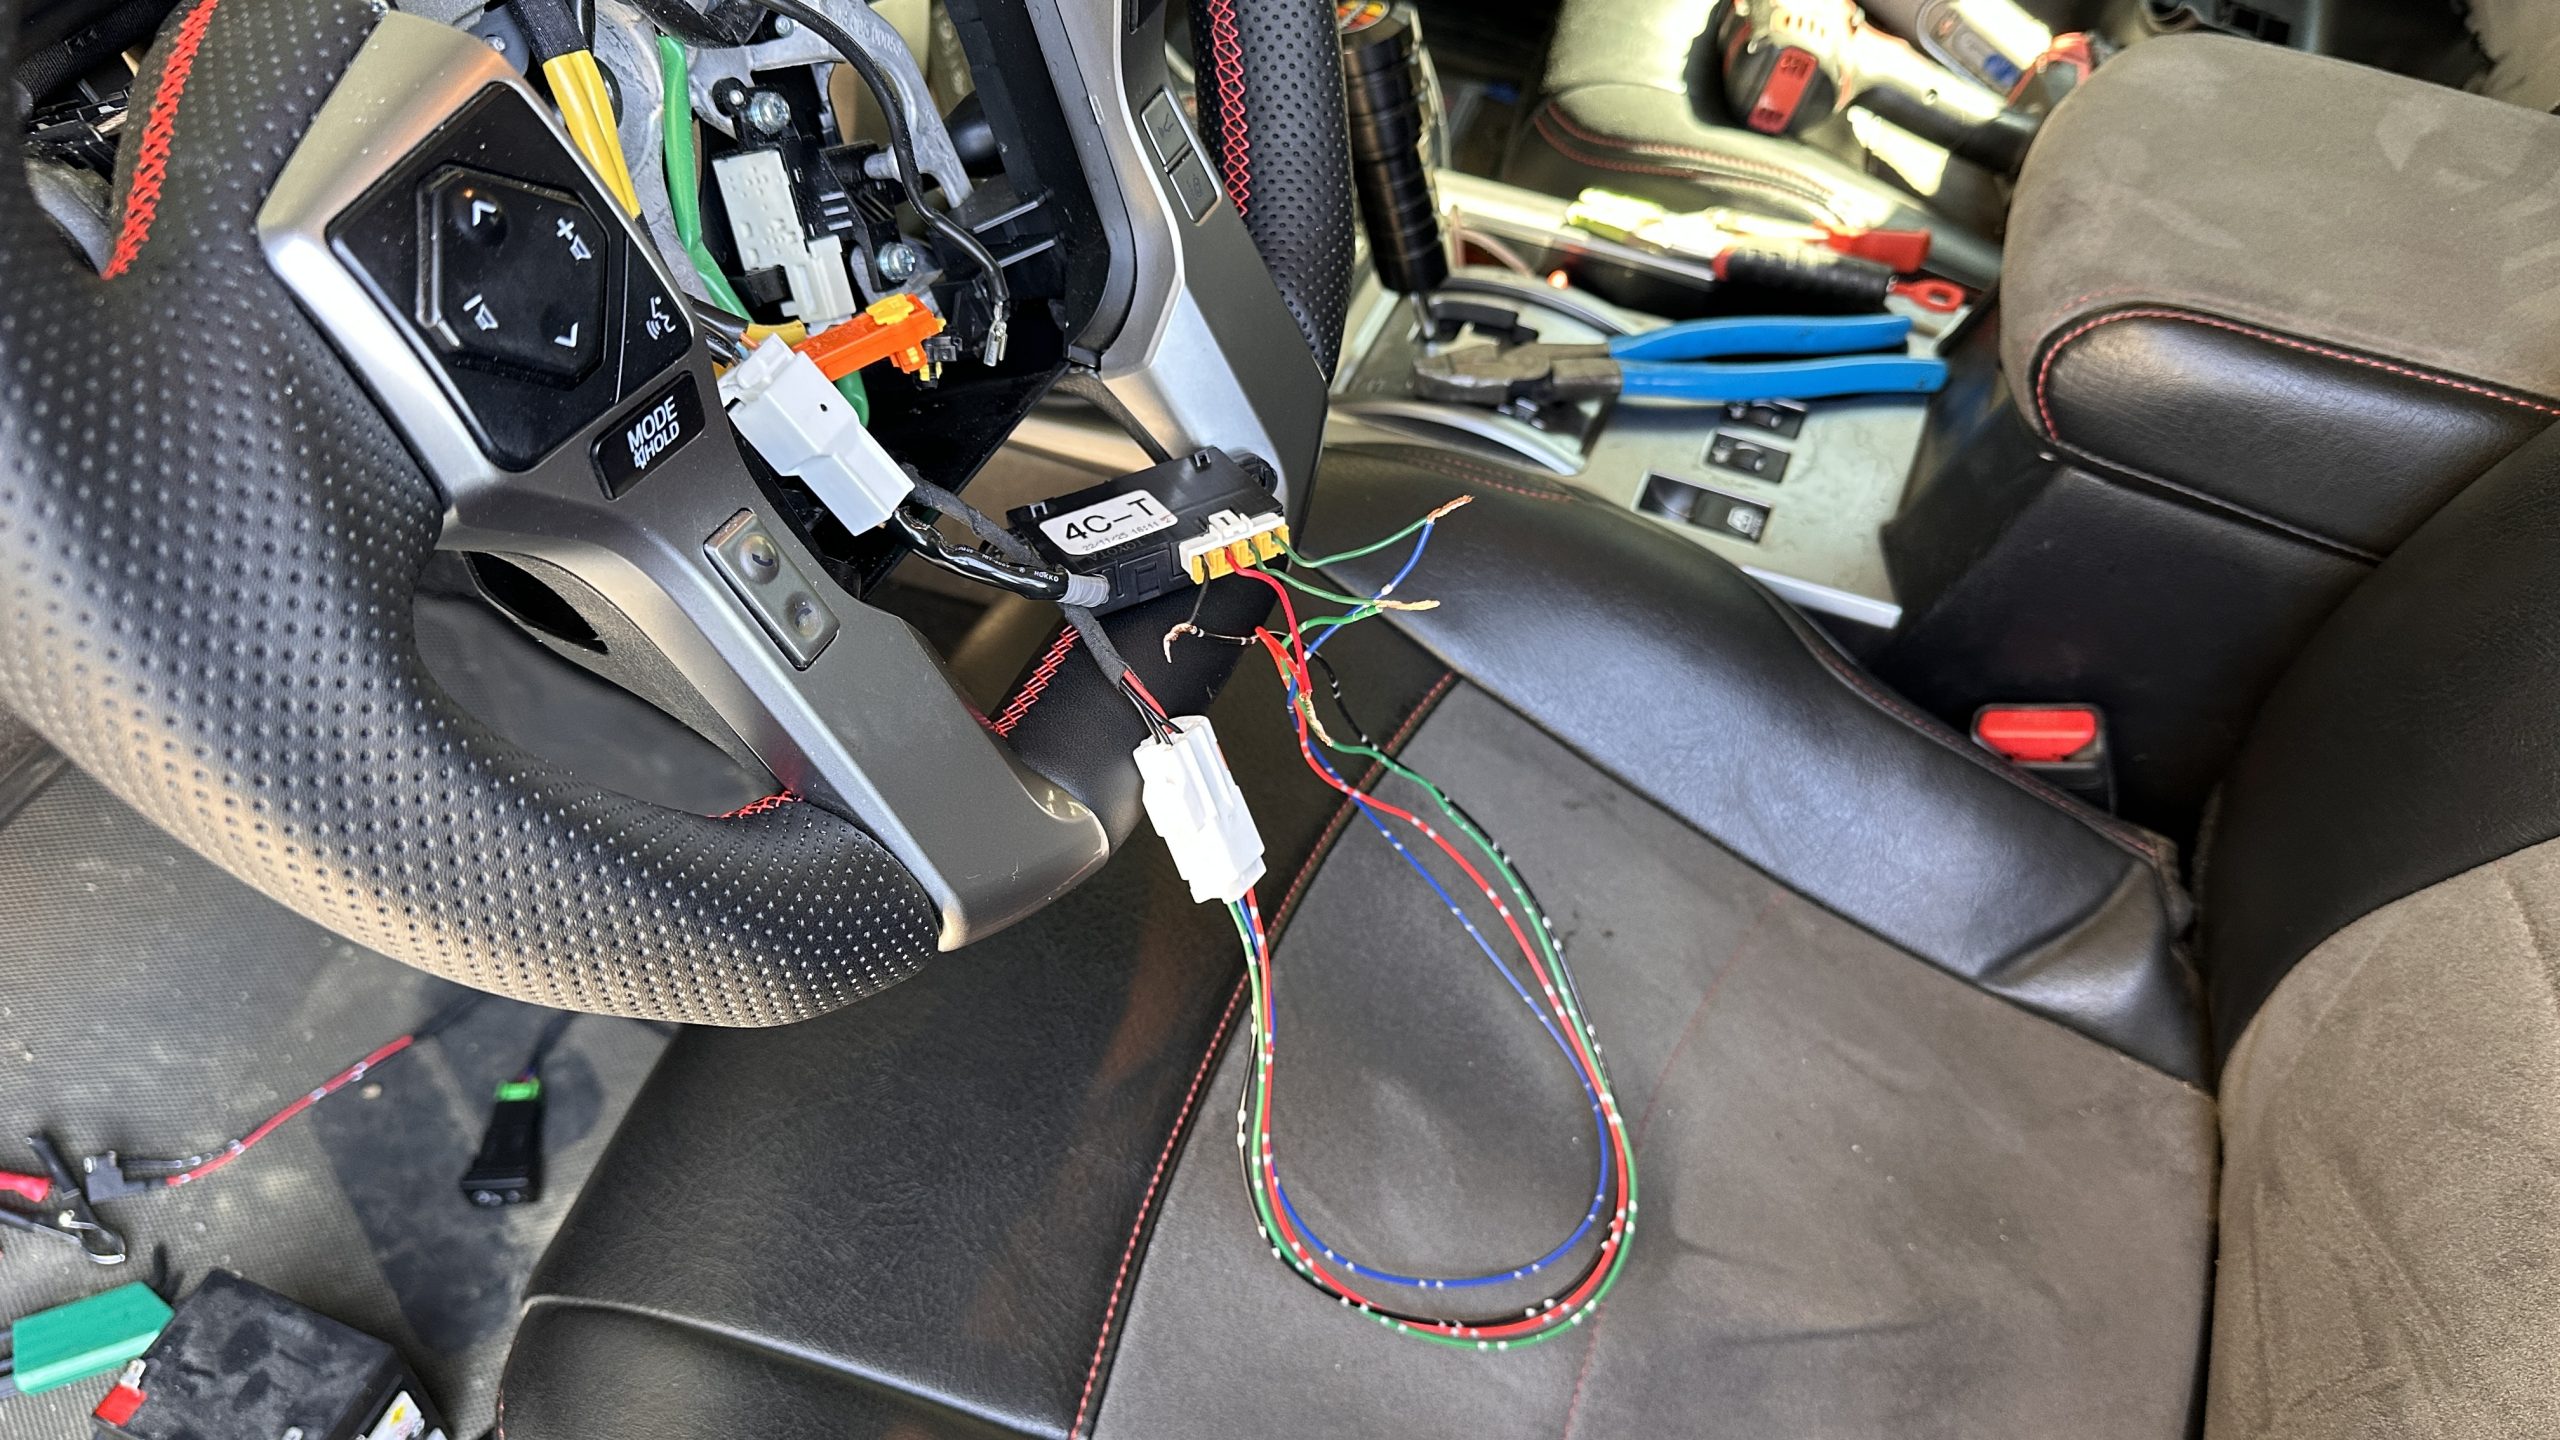
Plug the OEM circuit board into the OEM clock spring.
Then connect the CTH harness connector to the CTH steering wheel connector.
You should now have heat to your CTH steering wheel.
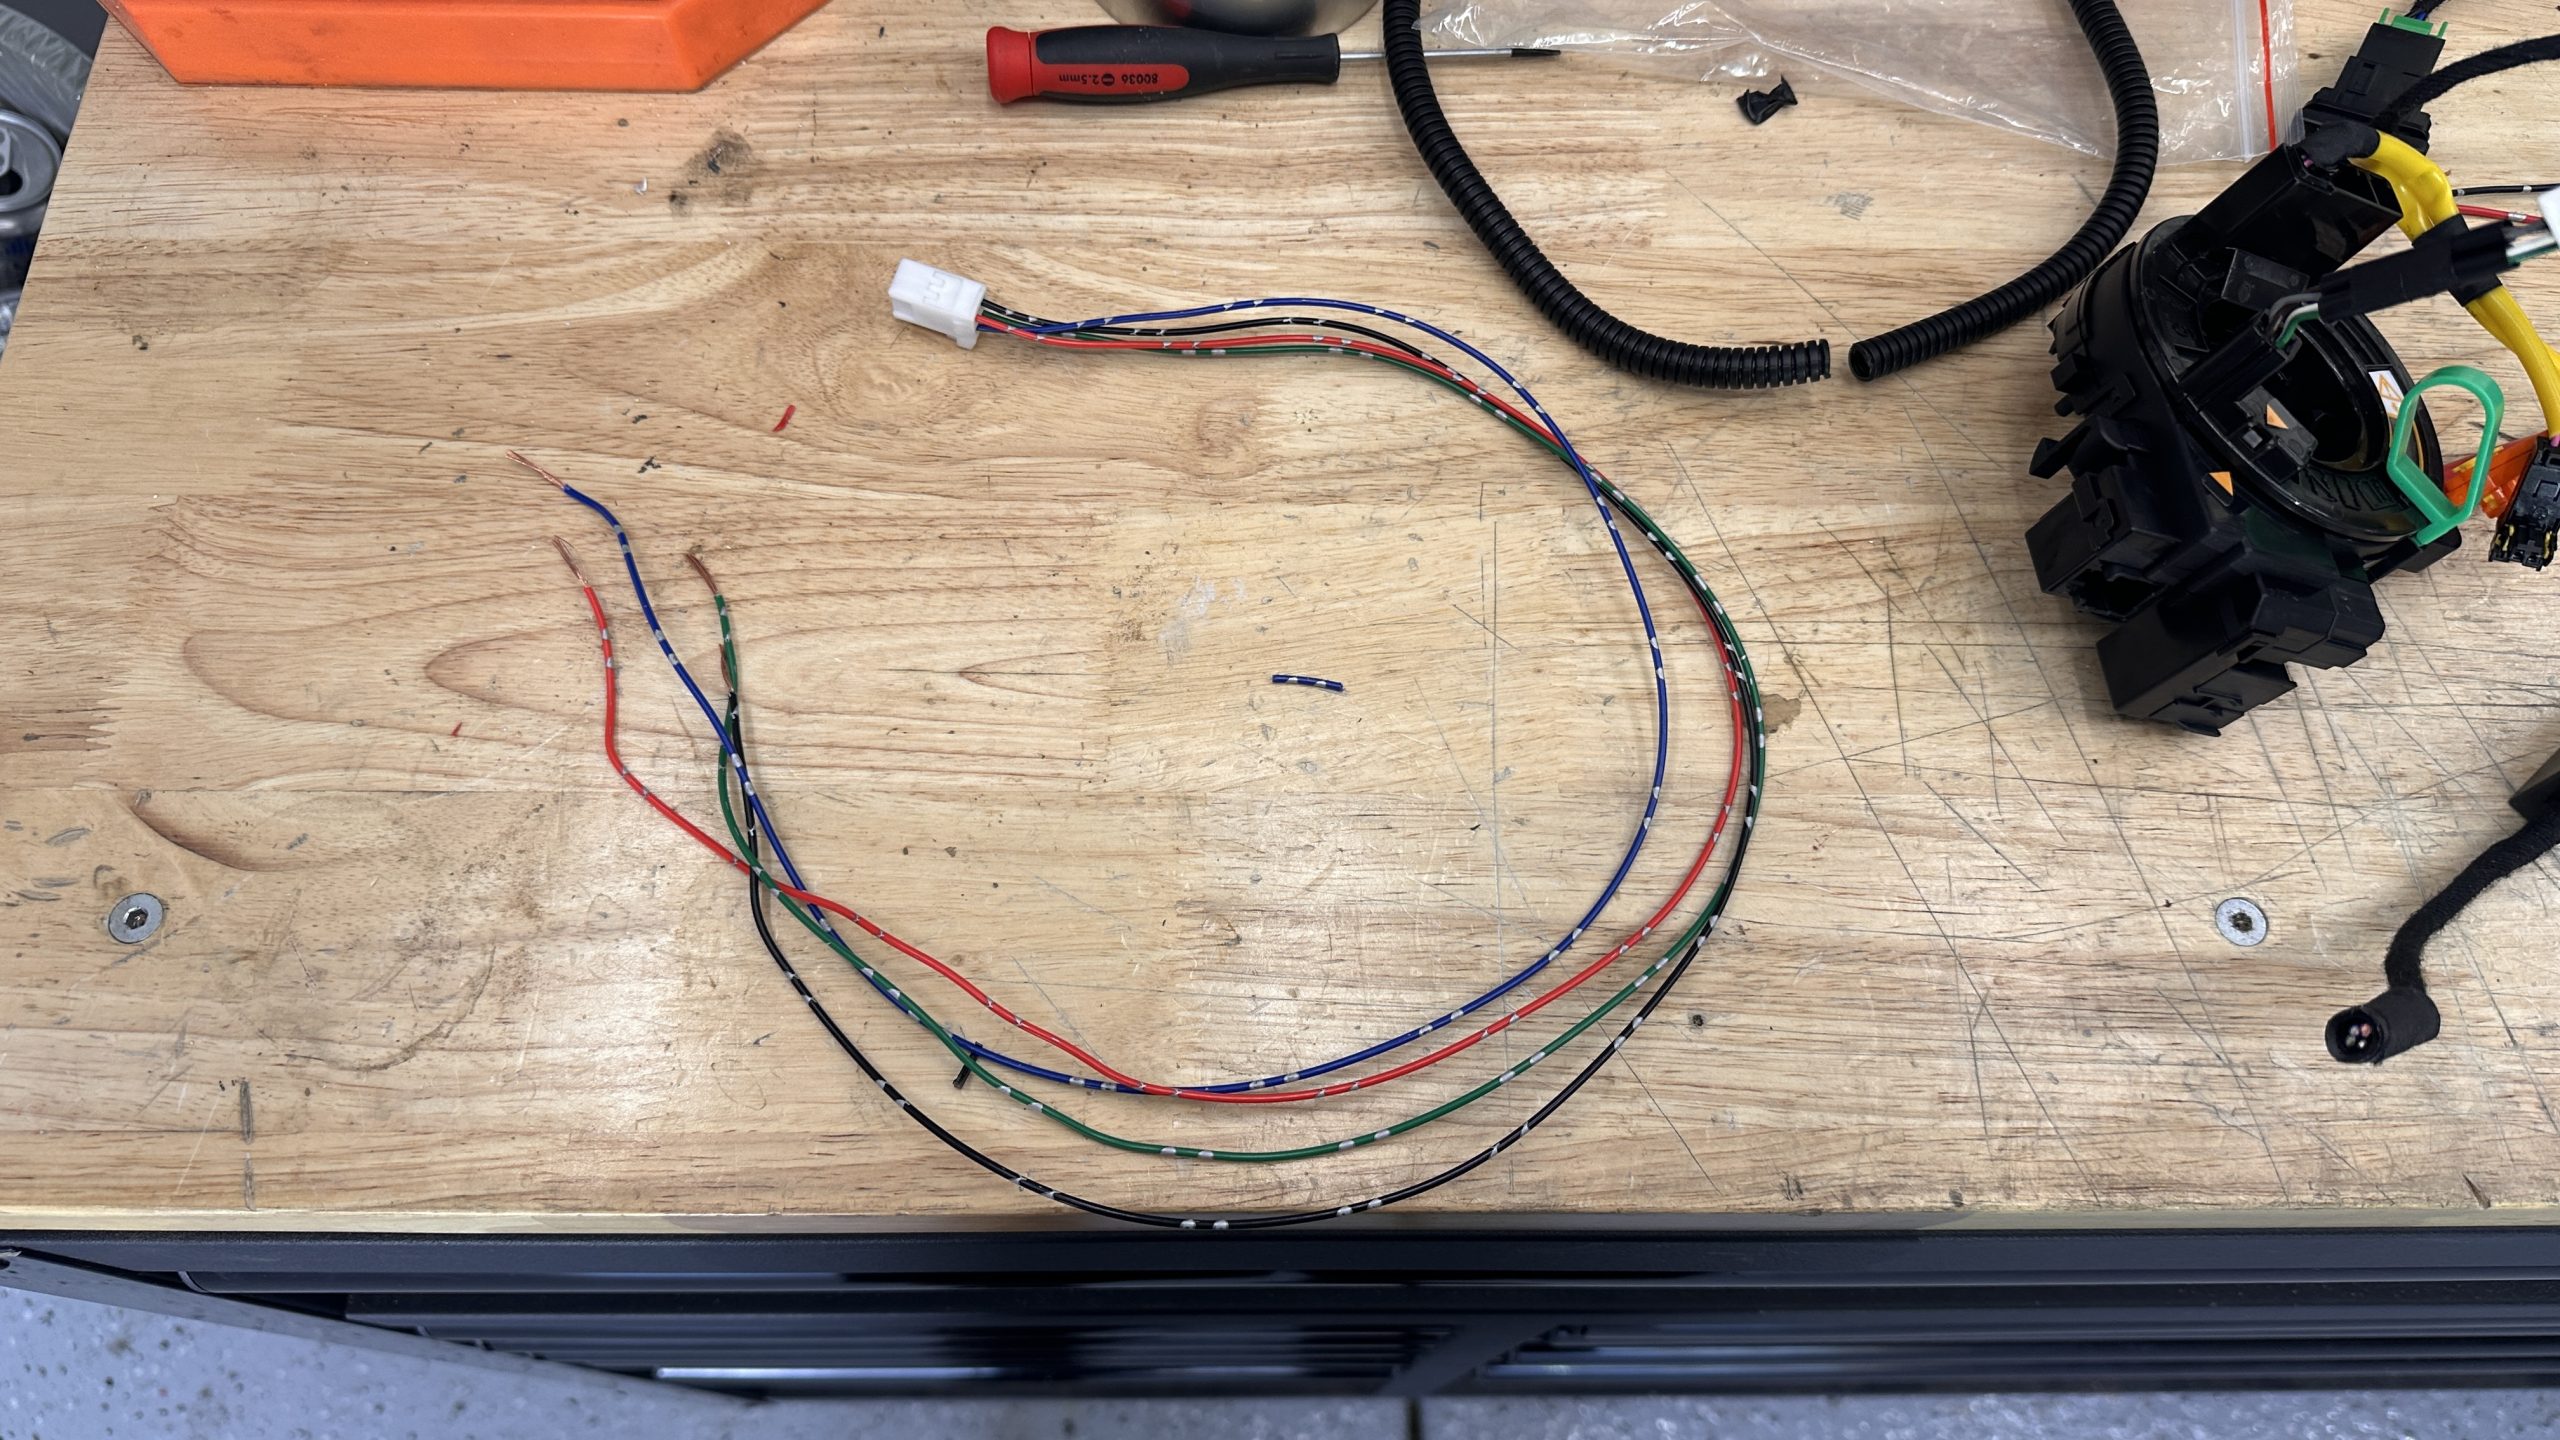
Step 5. Size Harness
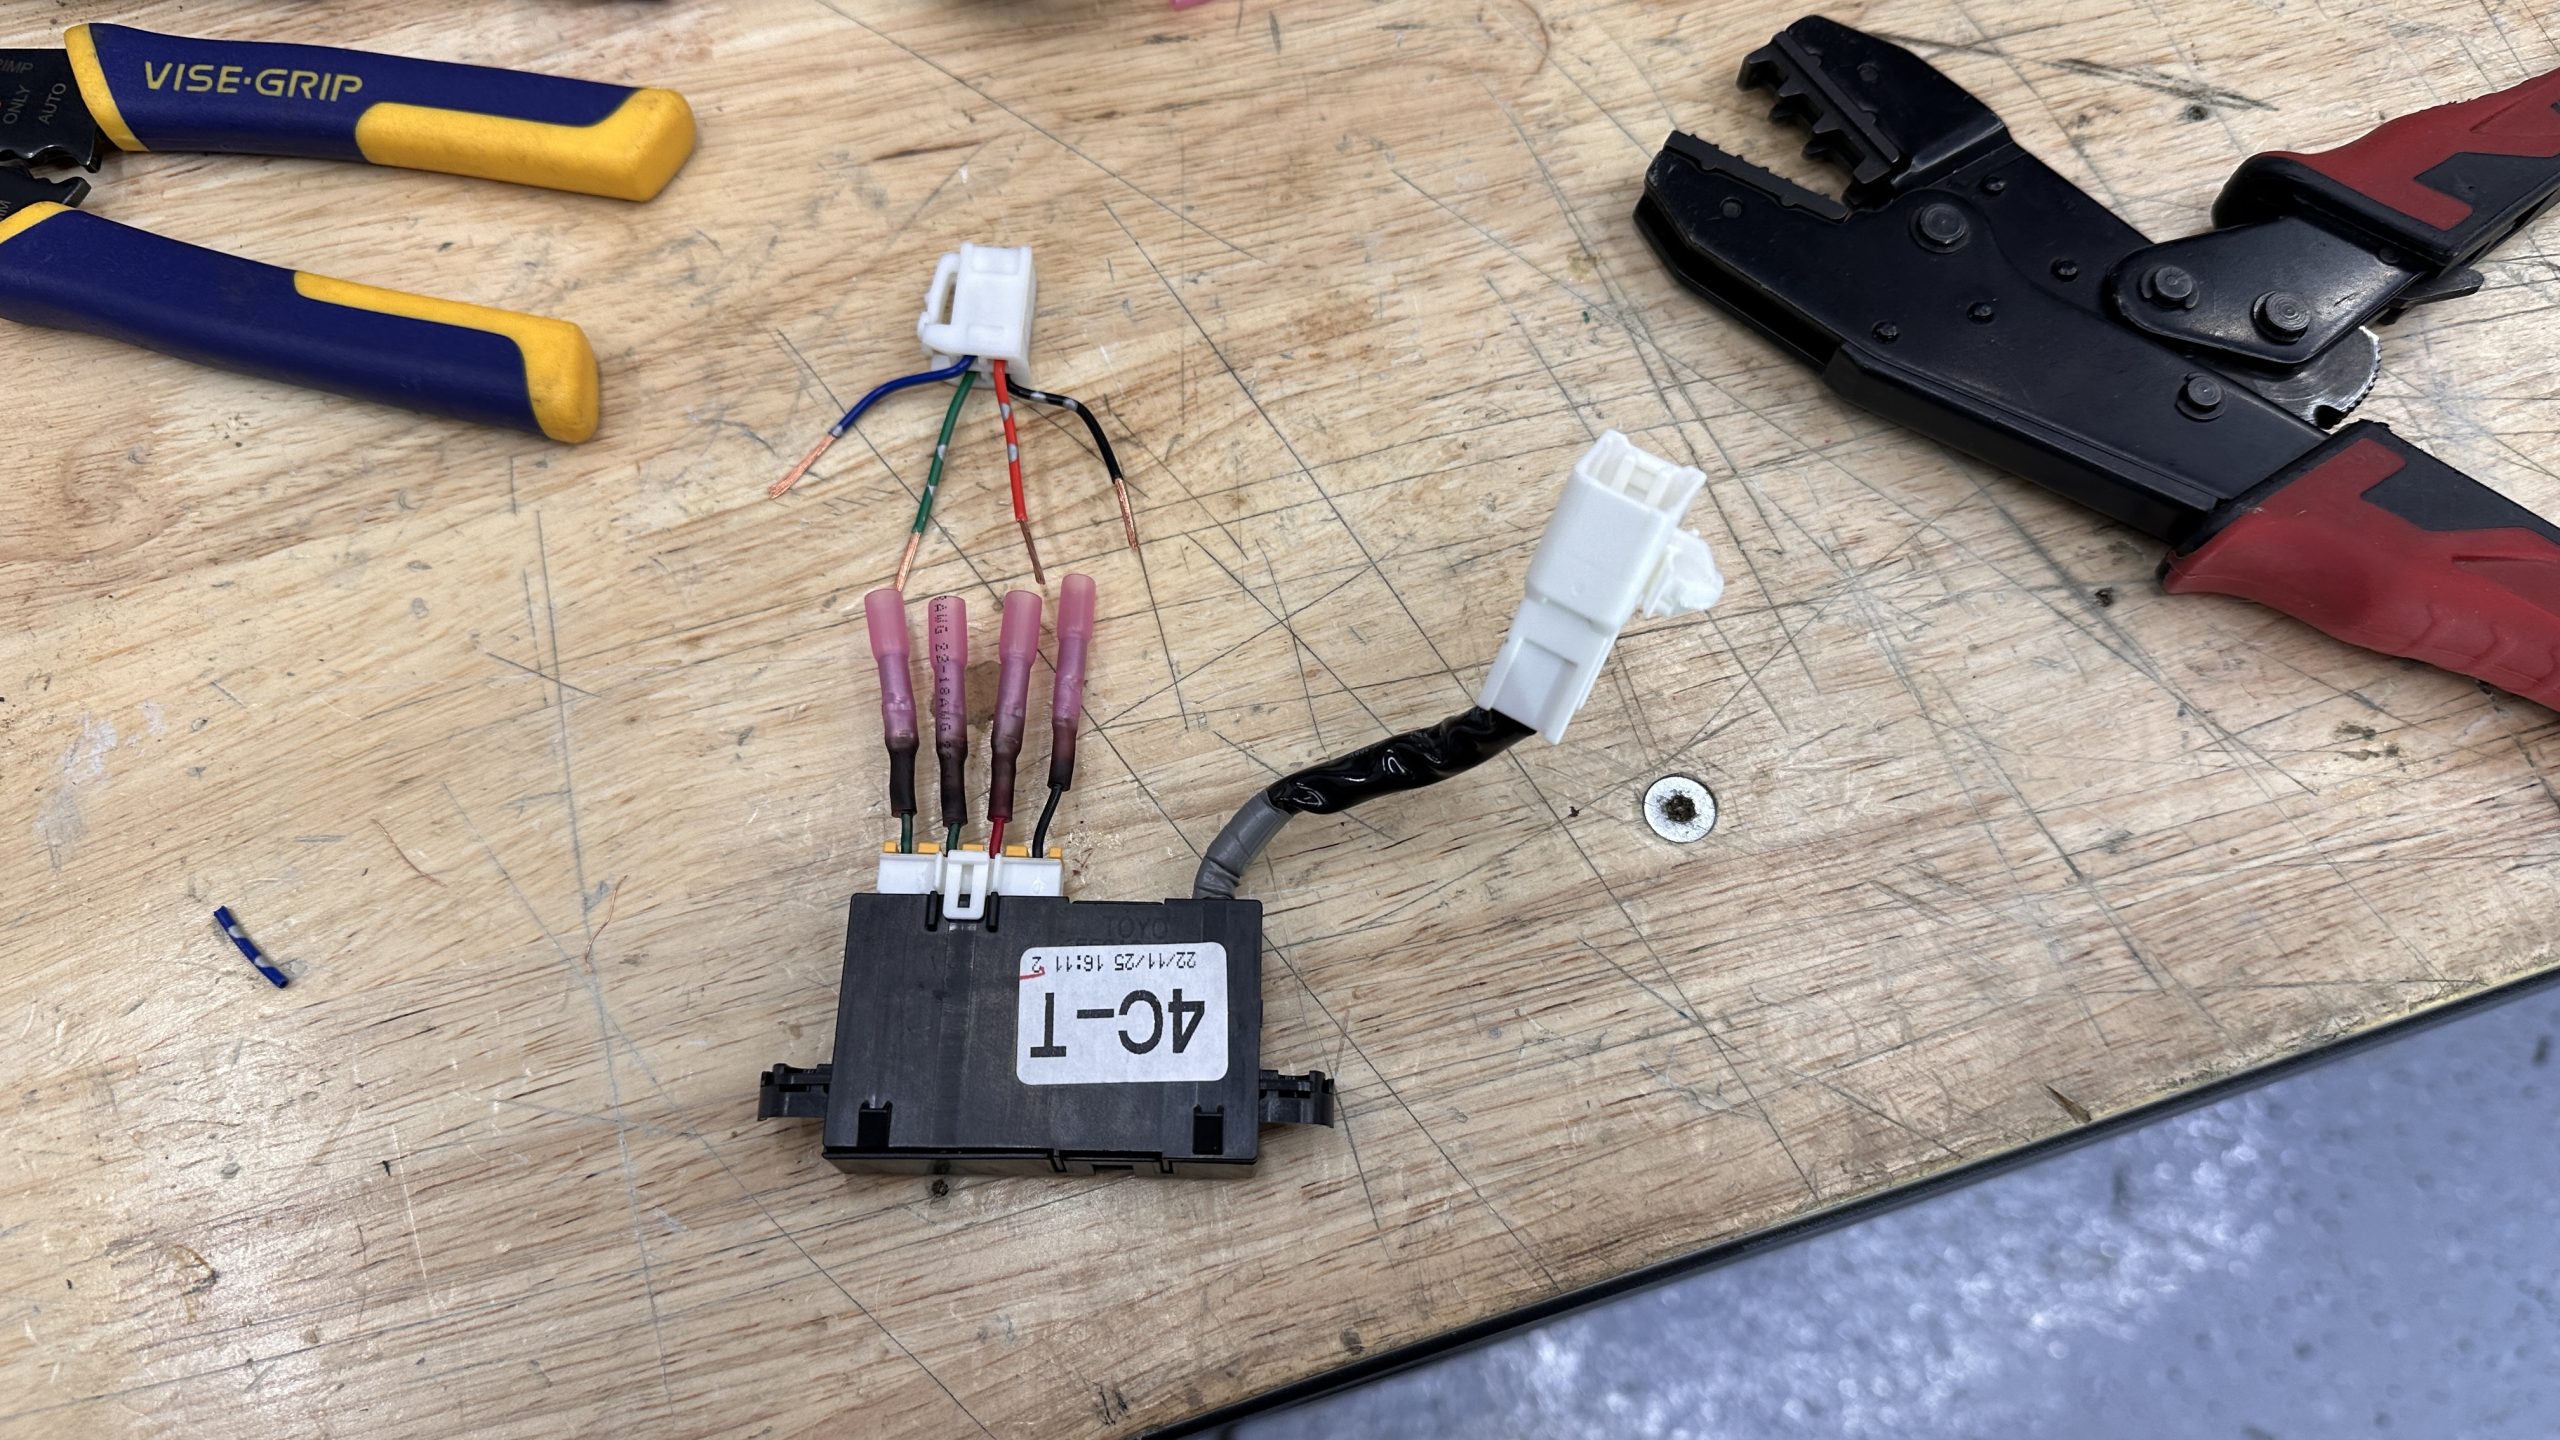
After you have confirmed the heat functionality to the wheel, finalize the harness.
Cut the circuit board leads down to about 1″, strip the ends, and crimp some butt splice connectors.
Cut the CTH harness leads down to 2″, strip the leads, and connect them to the OEM circuit board.
Step 6. Connect Leads

Connect all your leads as pictured in the image above.
Step 7. Tessa Tape
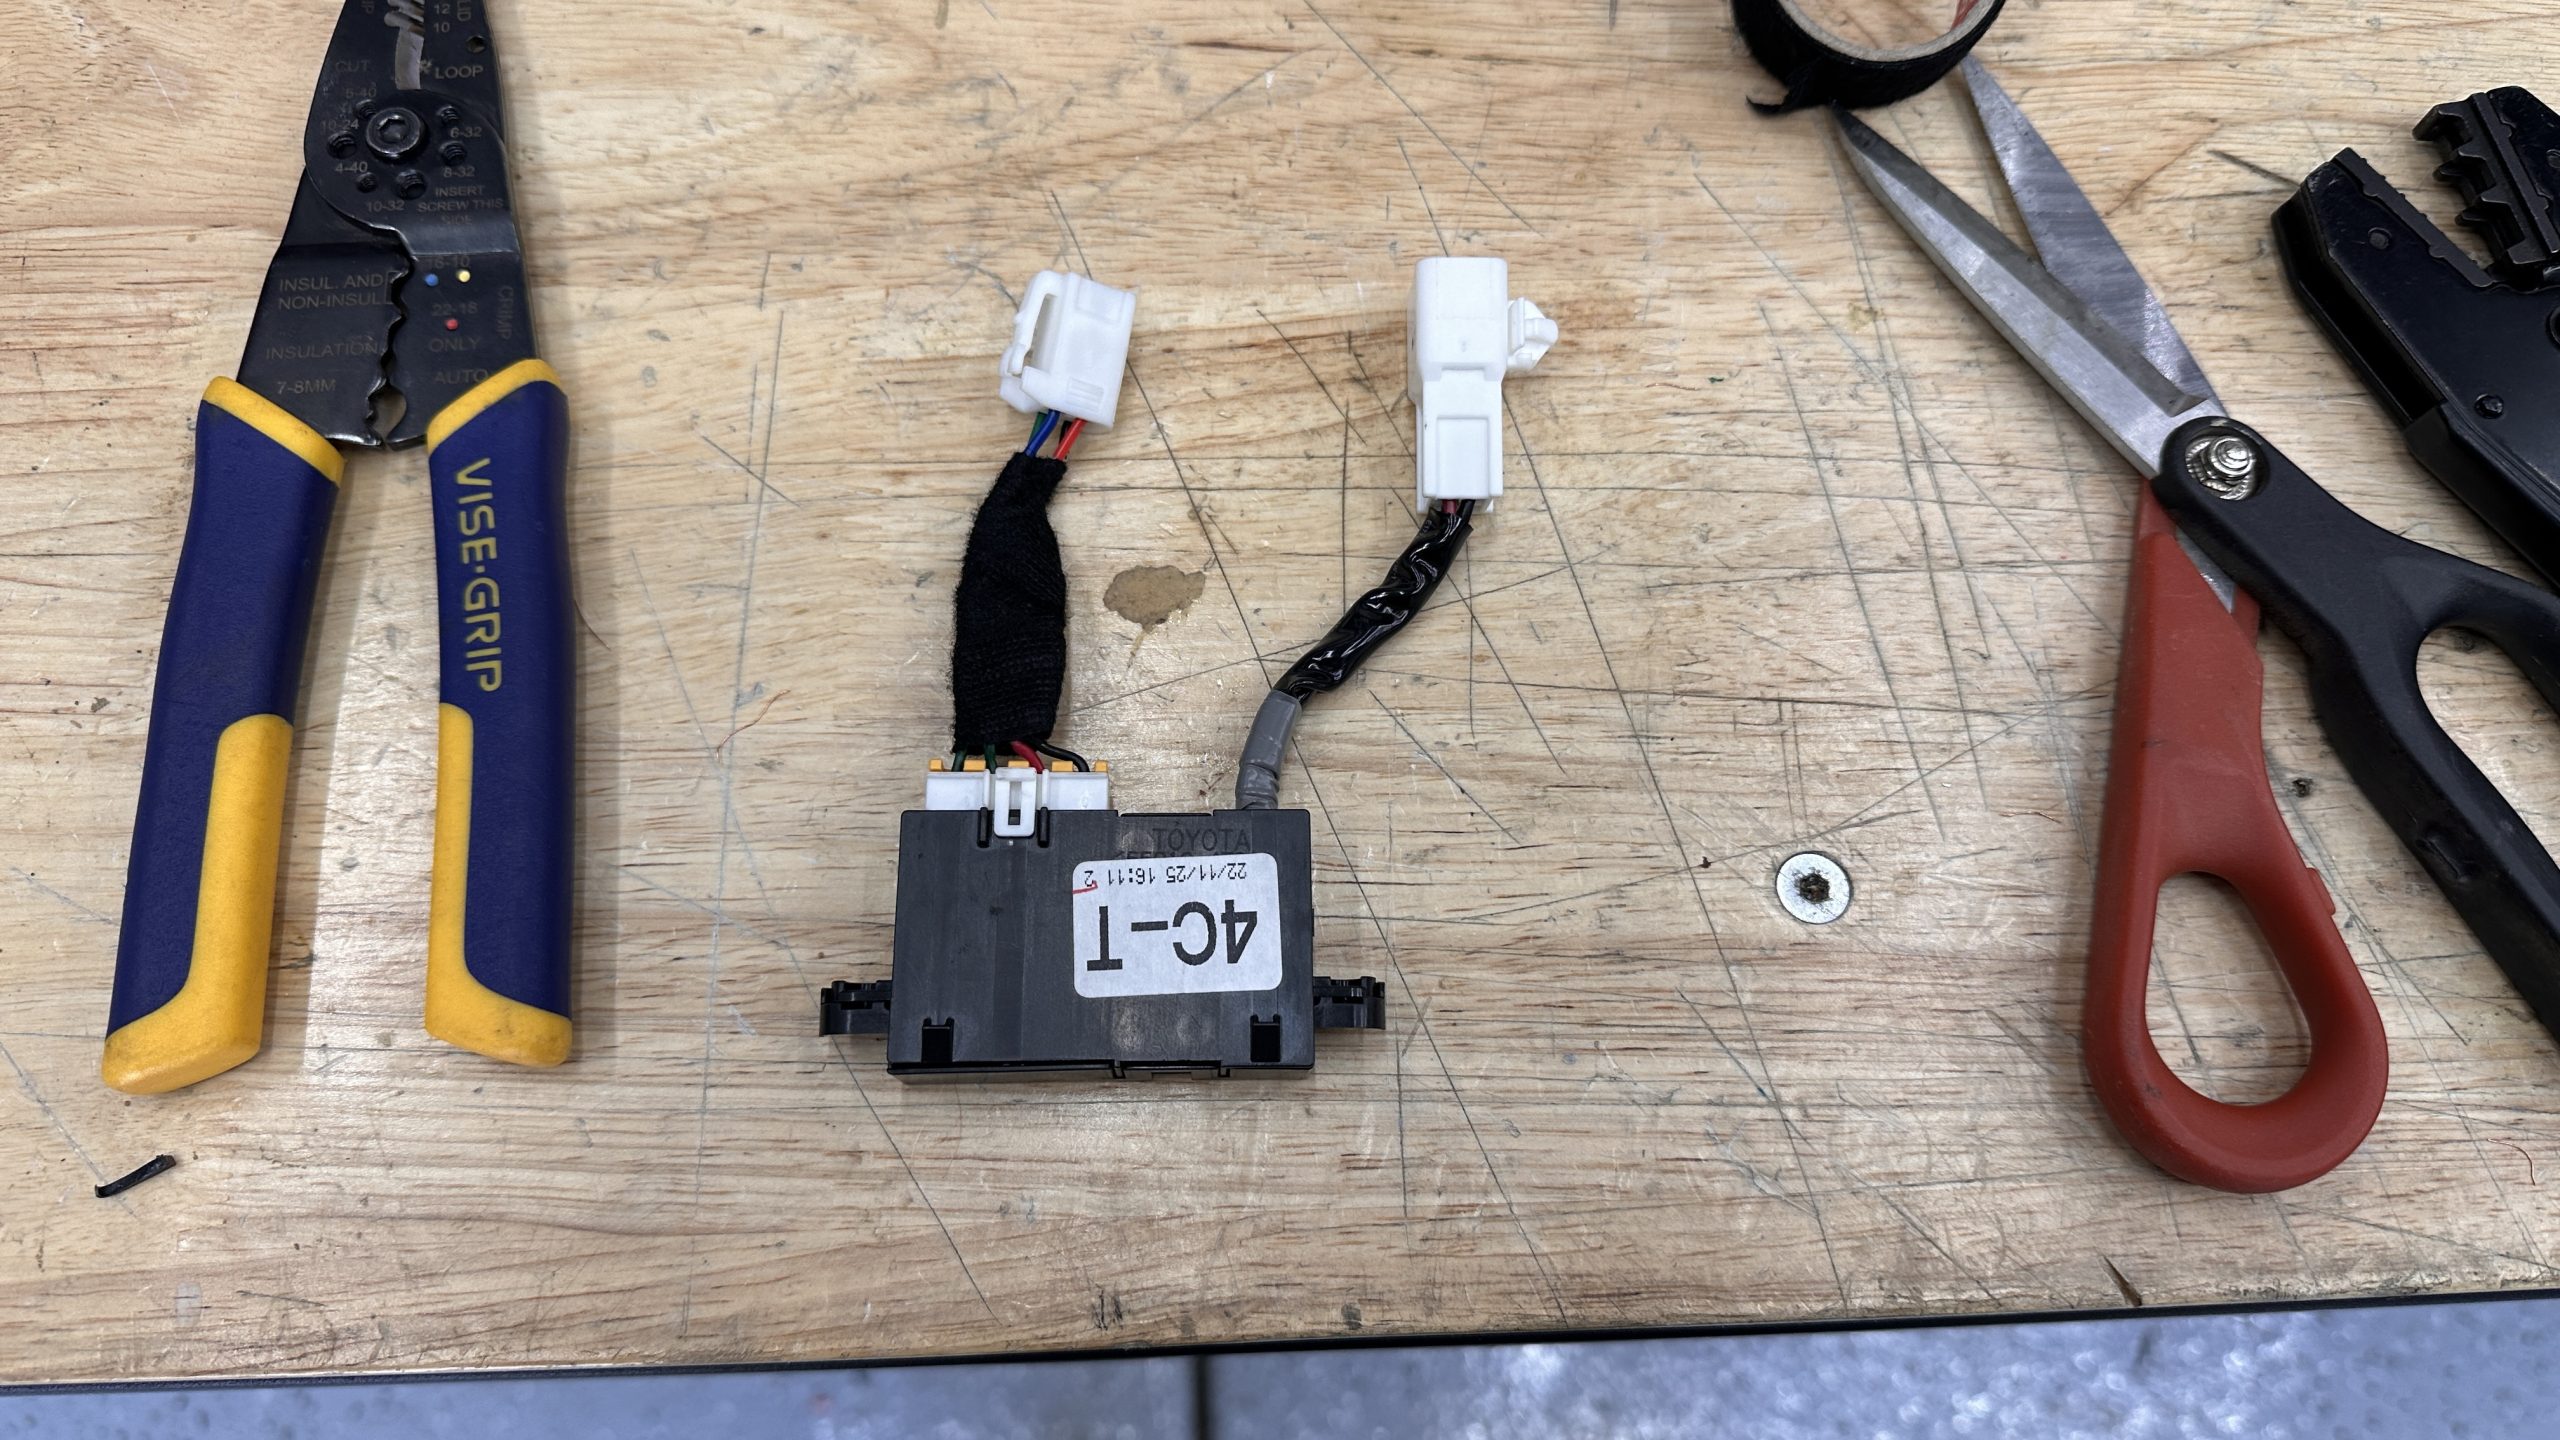
Once your harness is built, tape the leads together with Tessa tape.
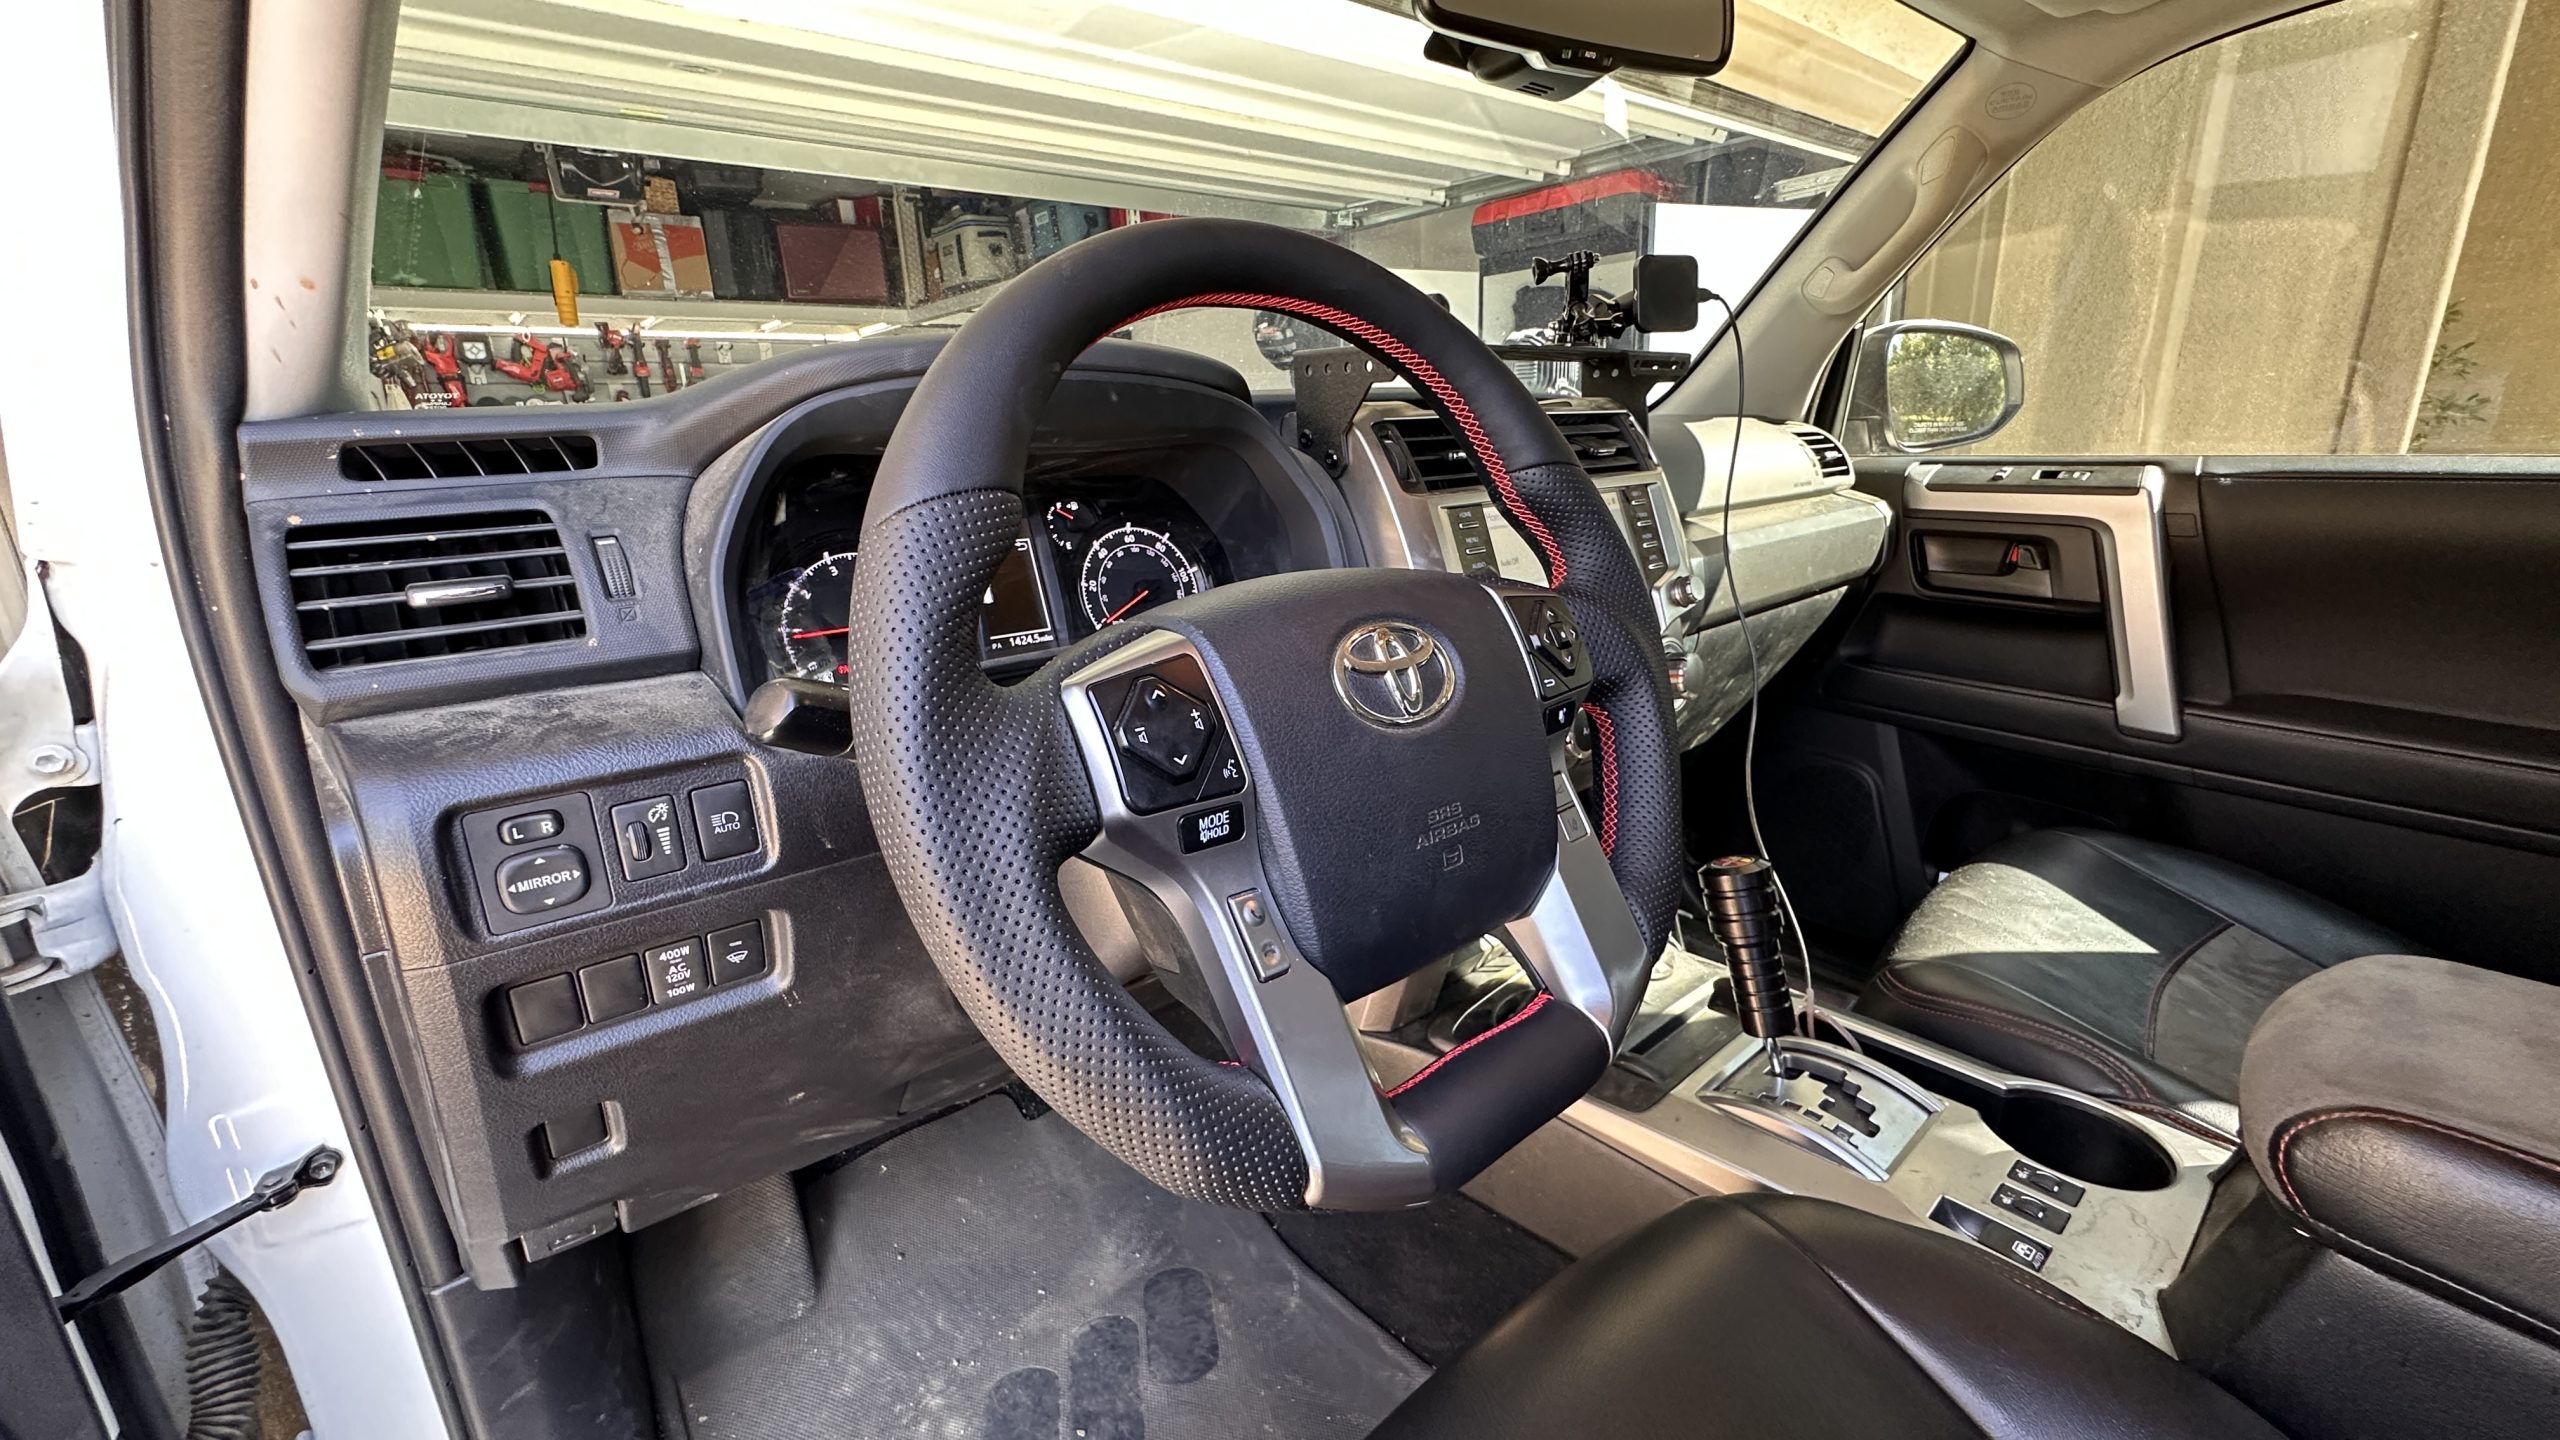
Step 8. Position Harness
Finally, test the circuit one last time before re-installing your airbag and final fitting all the harnesses so that your airbag can be re-installed.
Final Thoughts Review
CTH continues to improve upon the fit and finish but it’s not 100% perfect.
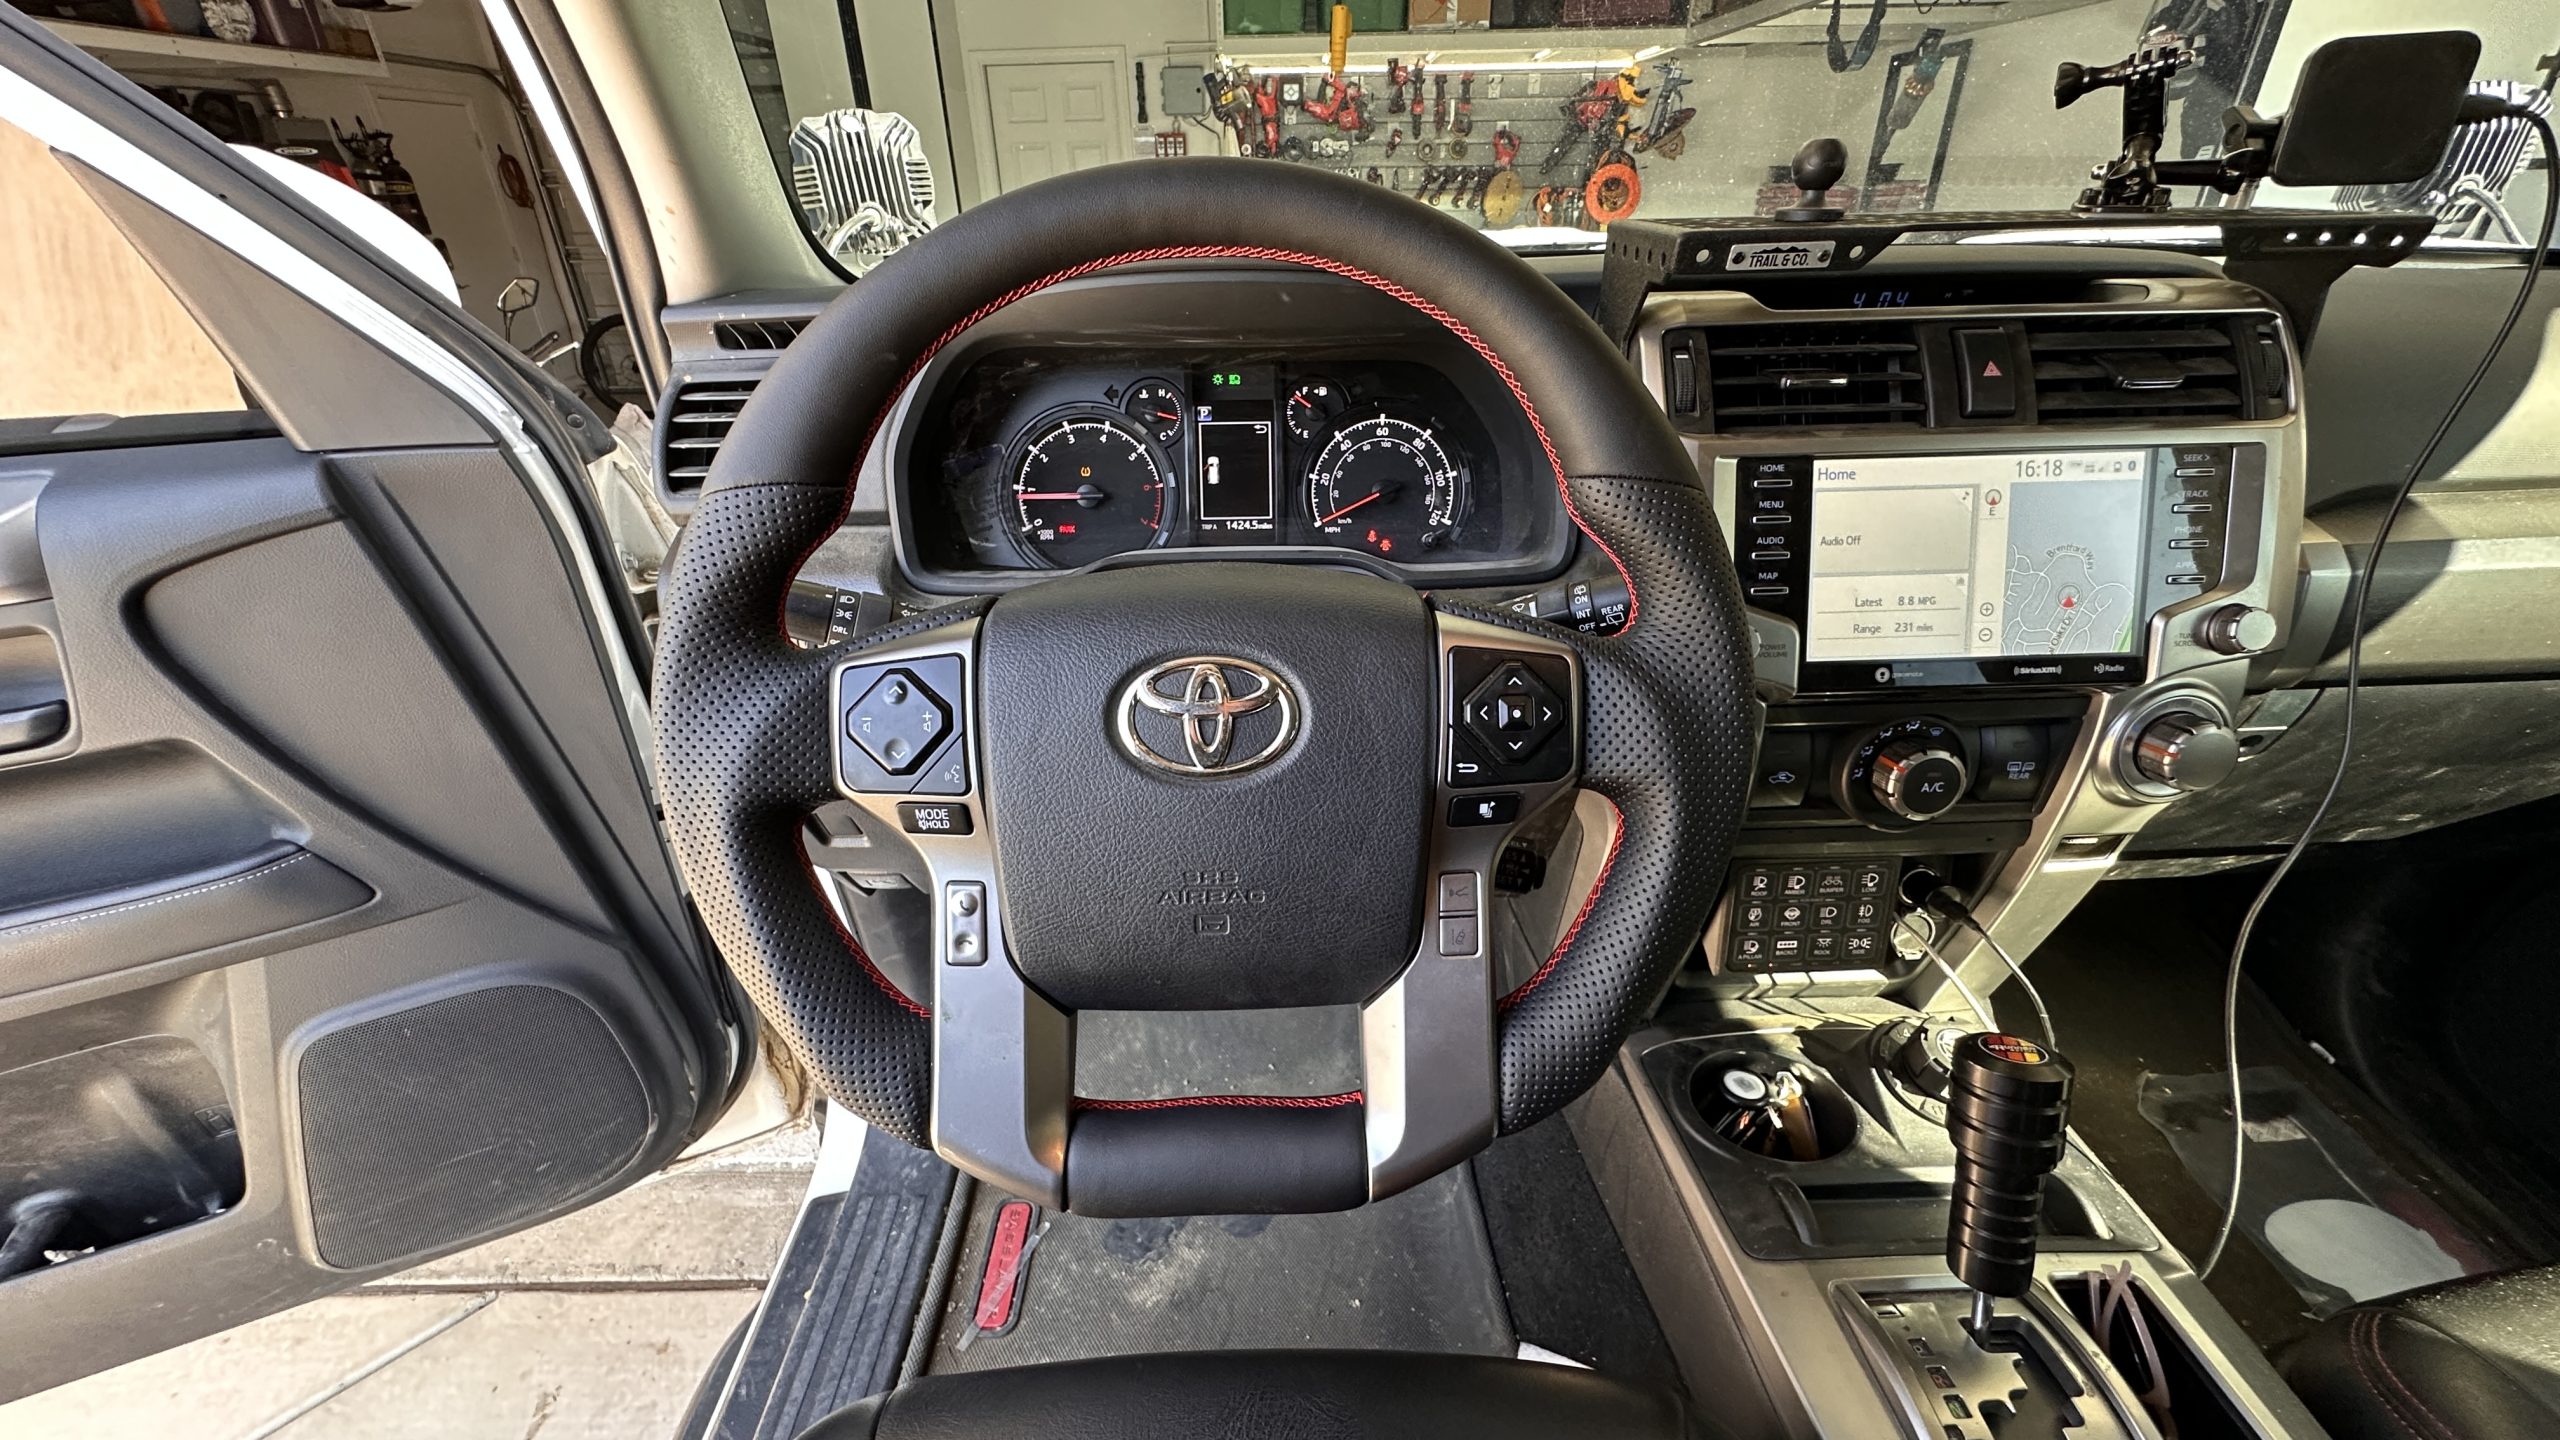
The perforated “leather” and the stitching are both stunning. The stitching on this wheel compared to the others I’ve had in the past is more consistent in its pattern and how tight it sits against the base. They have perfected the stitching on these.
Where the OEM plastics meet the backside of the steering wheel could use some improvement. It’s close, but there are a few places where the plastics feel a little loose with slight 1/16″ – 1/4″ gaps. That’s the only real downside of this product. Not a deal breaker for the price but something to consider going into the purchase.
As for the heating element, it’s performed as well as the OEM wheel so far. Zero complaints about how the steering wheel heats up. The heated portion of the CTH wheel covers 100% of the surface area – sides, top, and bottom in between the plastics. The OEM wheel only covers the top portion. That’s a major upgrade in surface area heating compared to the OEM unit.
Impressive design, and finish. The fit could be a little better, but you can’t beat what CTH provides for the price.

This heated steering wheel is $339, unless you want the heated steering wheel feature, that’s $140 extra.
WTAF
You can get the heated steering wheel off Amazon for $388 – it just comes with the stripe down the middle. I prefer the non-stripe as it looks a bit cleaner but to each their own.
They already cranked the price on that thing. Also, the one they’re selling has a weird red stripe/accent down the middle top portion.
You can get it without the stripe.
This is some SR5 PRO business haha
Lots of puffery.
What does this even mean? Lol.
It means the effort is full of bull but sounds good to induce a sale.