Have you ever wanted more lighting in your trunk area? I’m sure I’m not the only one who often finds myself fumbling around for a piece of gear in near darkness. I am always in the market for better lighting solutions, including custom work. Being able to mastermind your own creation gives you such a satisfying feeling. VLEDS makes this possible with a wide variety of auxiliary lights for countless applications for a very reasonable price.
On my last camping trip, we started unpacking around dusk. Using the stock lighting from the hatch and a headlamp that was nearly dead, I started brainstorming a permanent solution for better lighting in situations like these. After much deliberation, I finally came up with one that would suit my needs and wants. Below you’ll find my detailed installation guide.
Find It Online:
- White Max Pod: Check Price
- Pigtail Adapter: Check Price
- Flush Mount Bracket: Check Price
- Nilight 2 Switch Panel: Check Price
Table Of Contents
Quality Parts & Affordability
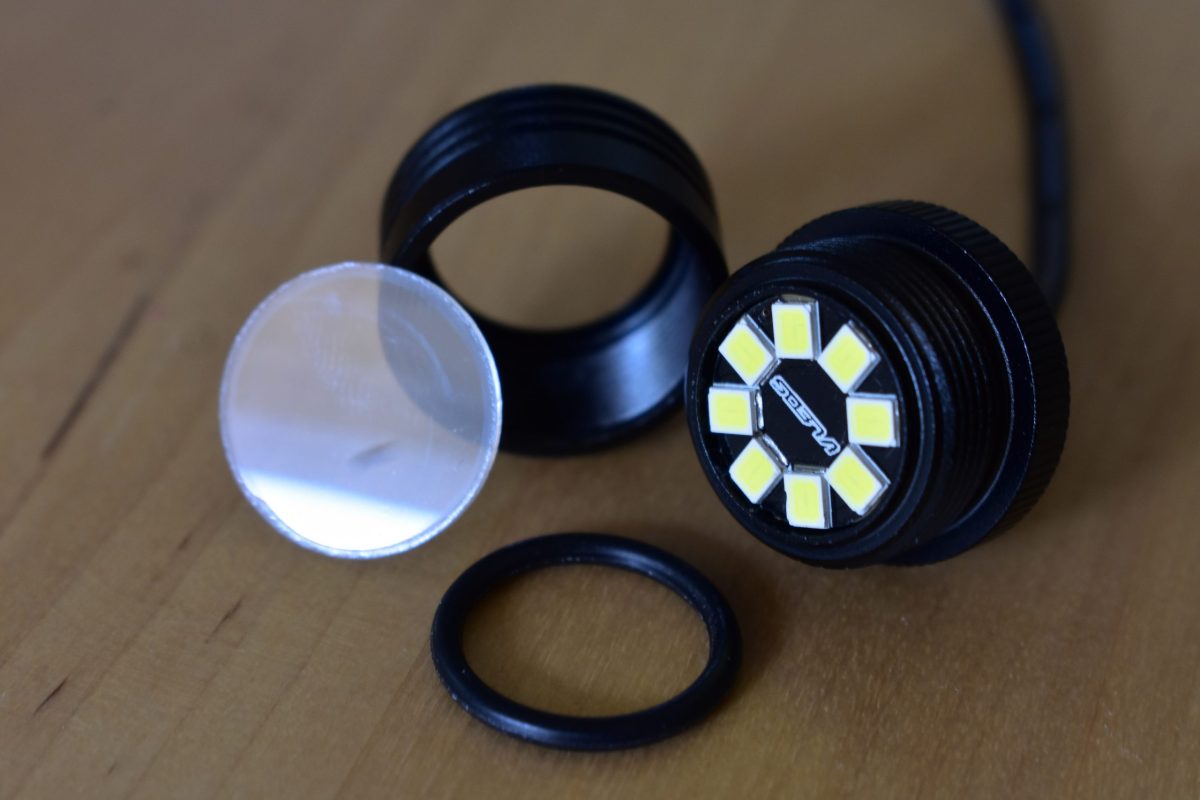
VLEDS’ Max Pod’s (what I used) construction is tough. They come with a CNC aluminum body, polycarbonate lens, and an O-ring to seal them from the elements. This makes their possible applications nearly endless. Quality LED chips and high-quality wiring also make for a long-lasting solution. Finally, they put out a killer 200 lumens per pod.
Another one of the best things about VLEDS is that they don’t overcharge for accessory brackets and wiring extensions.
Lighting Choices & Considerations
Whether you want a lighting strip, pod, or just replacement bulbs, VLEDS has it all. I chose their White Max Pod with the flush mount since I wanted to mount it on the interior. With this, you get a nice OEM look.
The ideal placement for these lights would’ve been the headliner, but pulling the headliner off is something I was not willing to do. I did not want to compromise the shape and integrity of the fragile fabric. Plus, I wasn’t sure how much room was behind the fabric.
The next best location for me was on the rear cargo D pillars facing towards the cabin.
Installation
This could vary depending on the location and setup you choose. The following is what I used for my specific installation.
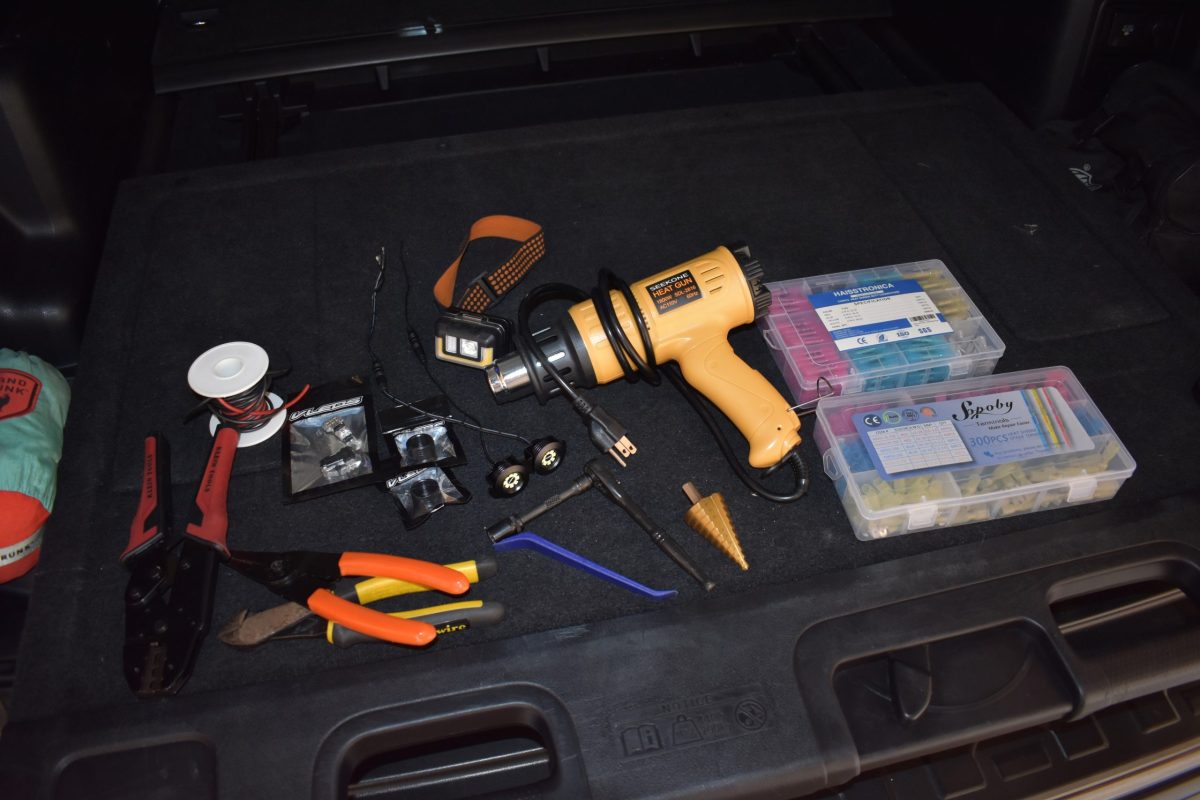
Tools Required:
- Wire Strippers
- Crimper
- 10mm Socket & Ratchet
- Step Drill Bit
- Drill
- Trim Removal Tools
- Heat Gun
- Measuring Device
Supplies:
- Various Wiring
- Heat Shrink Butt Connectors
- Heat Shrink Terminal Connectors
- Lighting Of Choice
For this install, I used:
- VLEDS White Max Pod (2)
- VLEDS Flush Bracket (2)
- VLEDS Female Pigtail Adapter w/ Duo-taps (2)
Step 1. Choose Location
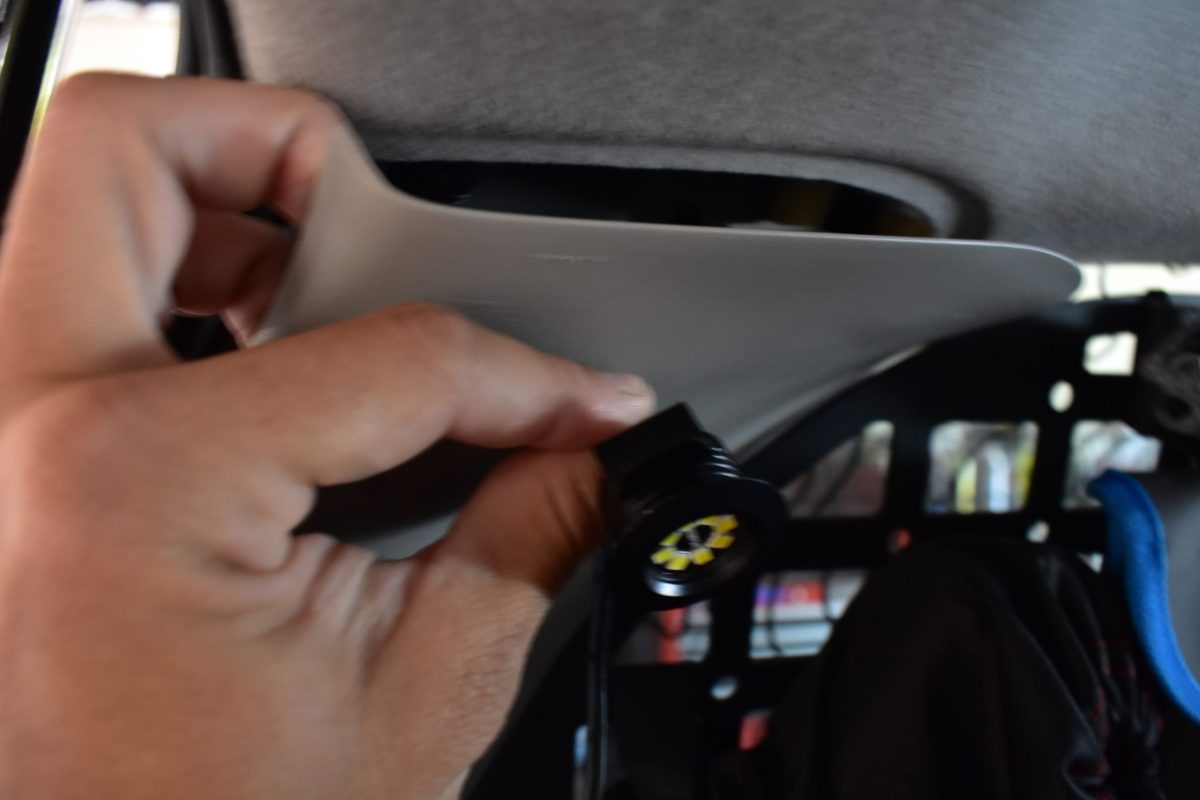
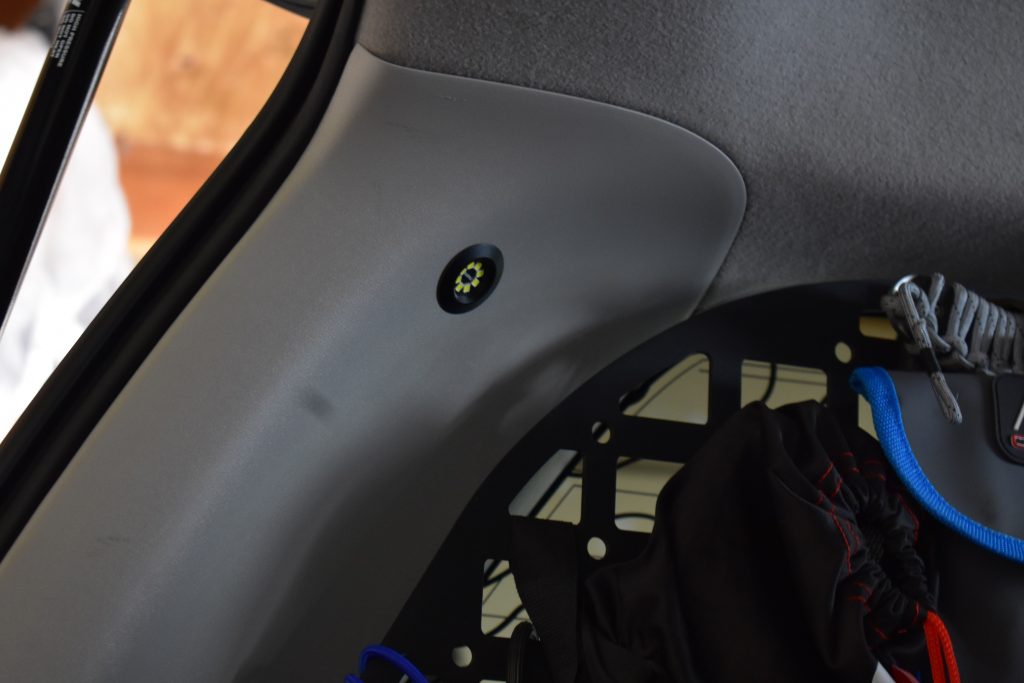
As mentioned earlier, I chose to mount these lights in the upper D-pillar. This provides a more downward-facing light that doesn’t blind passengers.
Removing the D-pillar trim can be done from the top end toward the headliner using a trim removal tool to pop the plastic retainers. After pulling off the plastics, I was able to find an area that would not obstruct any other wiring.
Step 2. Preparation
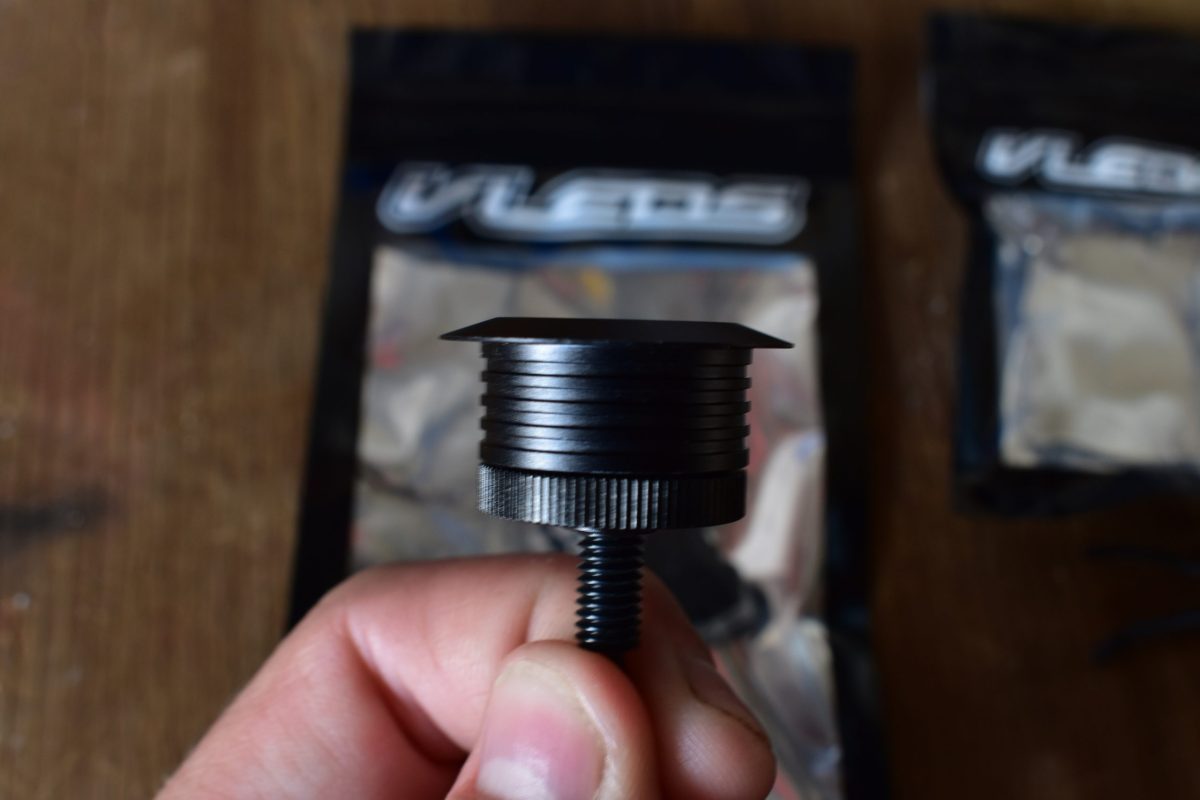
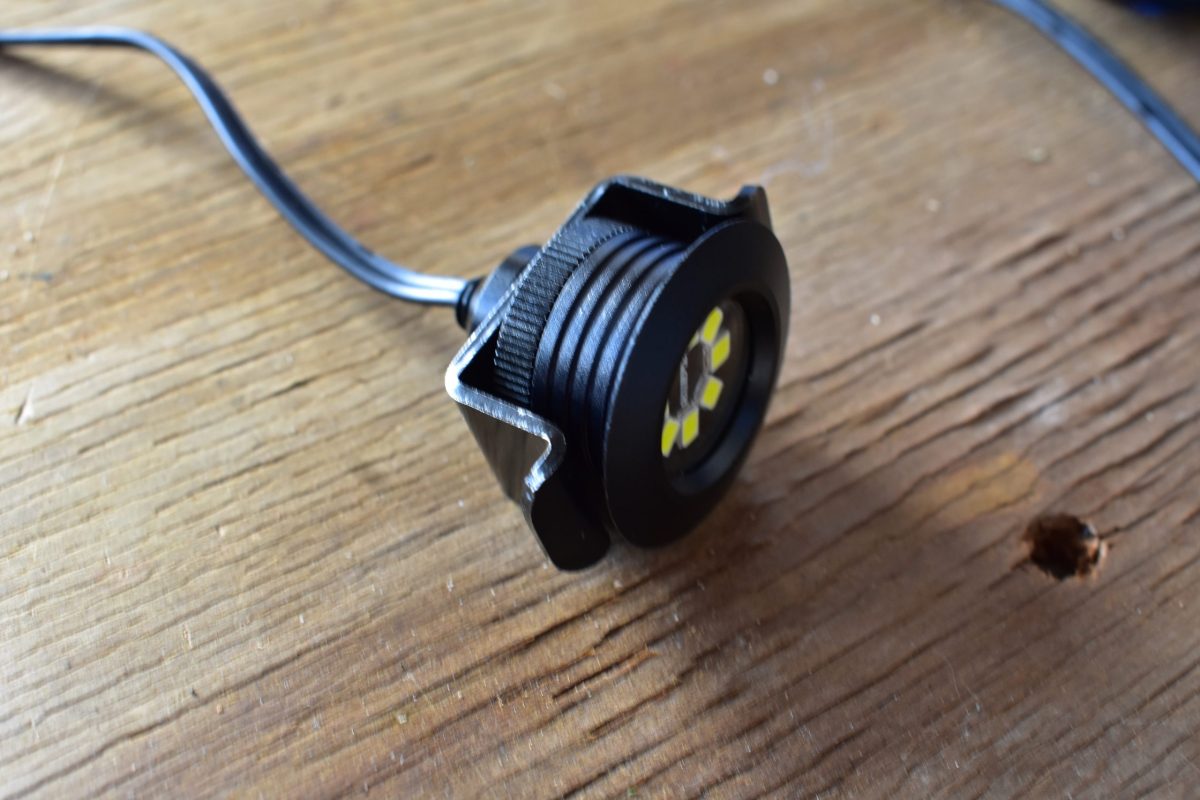
The lights and components come individually packaged, so assembling everything will be necessary before installation.
I needed to swap out the standard Max Pod surface mount for the flush mount adapter. To do so, just unscrew the surface mount adapter and retain the O-ring and lens. Then, screw on the new flush mount adapter. Later, you will install the flush mount bracket and nut.
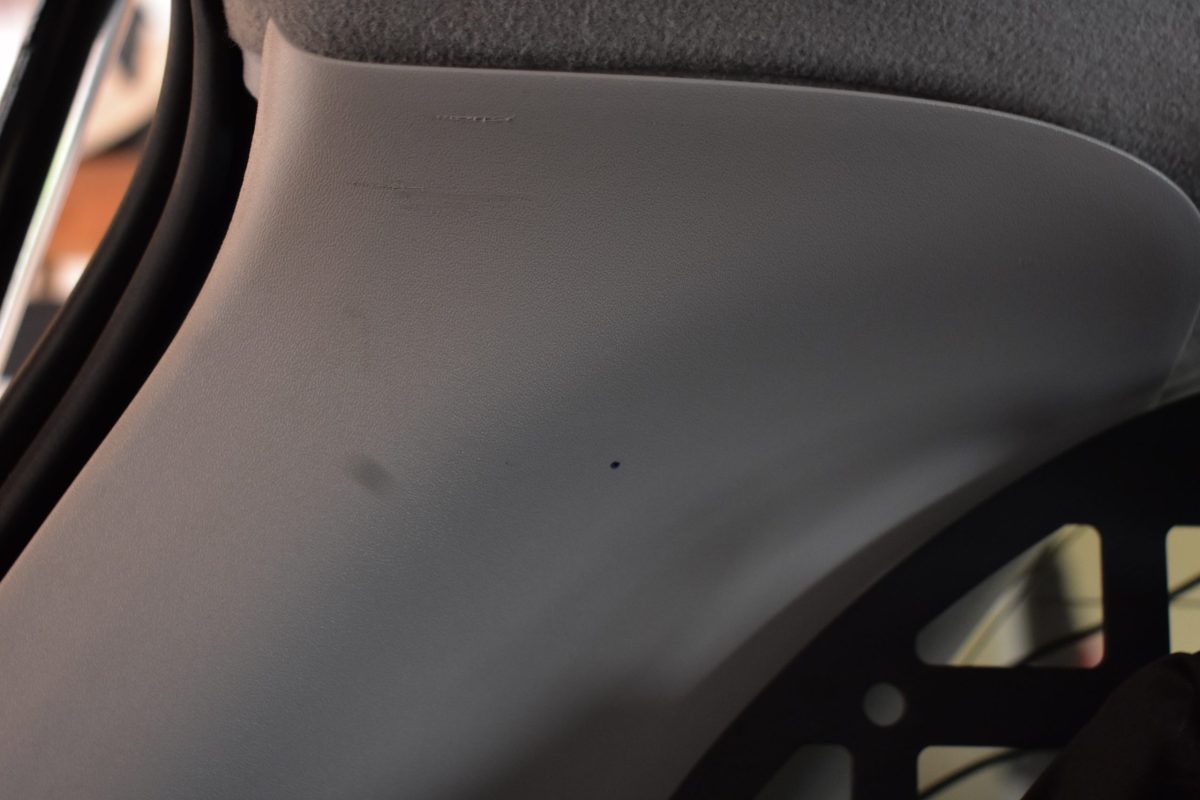
Before drilling, make a mark where you want to have the center of the light to sit. Using a measuring device, get the best central measurement you can so you can mirror placement on the opposite side D-pillar.
Step 3. Drilling
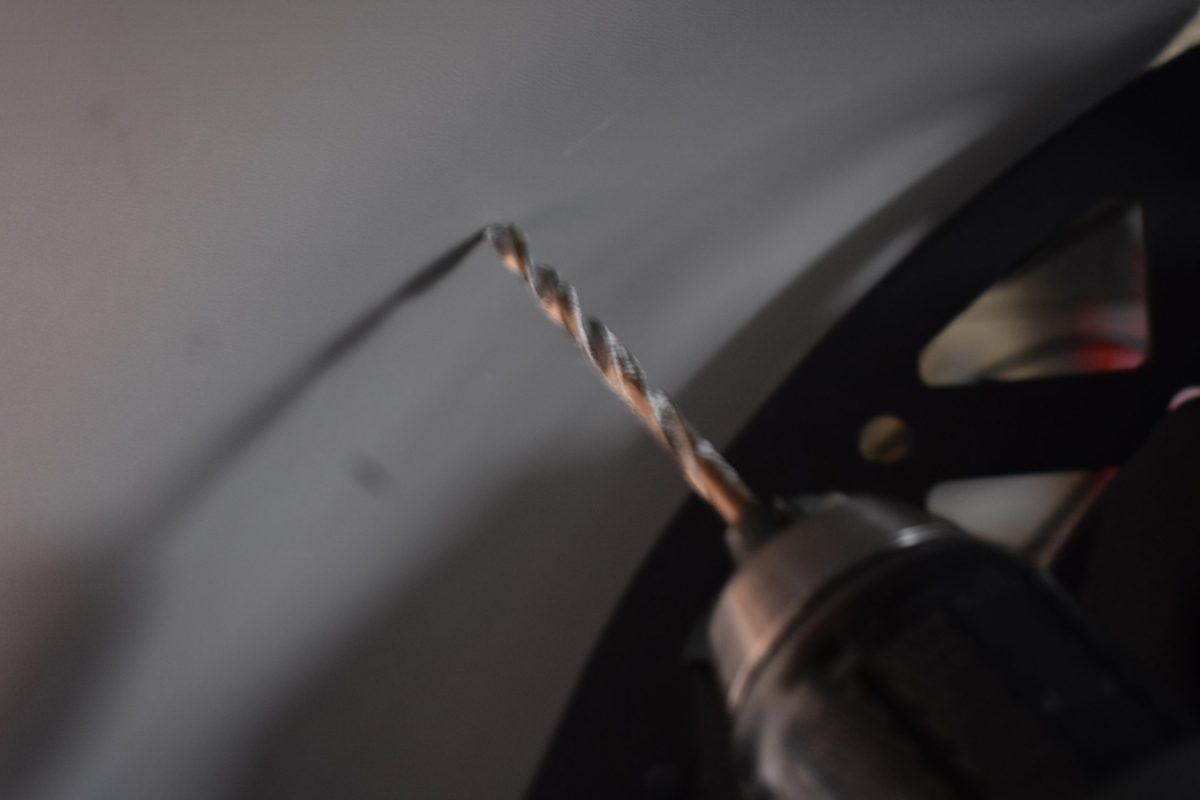
Here’s where it gets scary: start by drilling a pilot hole. This way, when you start the step bit, it doesn’t try to walk across the surface. When drilling, be careful not to go into any metal or wiring.
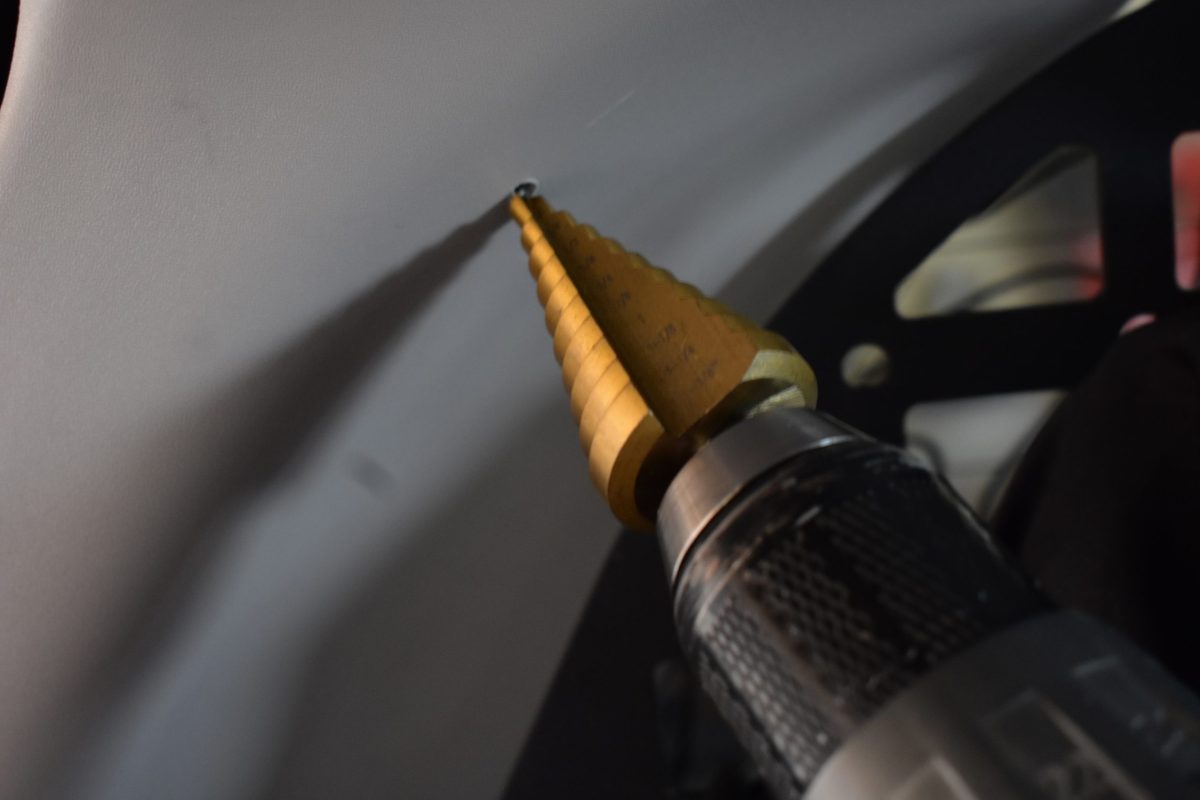
With the step bit, drill slowly past the 7/8″ mark, almost to the 1″ mark. The diameter of the Max Pod sits just slightly below 1″, at .90″. I went slowly until I was able to push the light in snugly. Remember, you can always drill further, but you can’t undo what’s already been drilled.
Once your hole is drilled, feed the wiring and Max Pod through and press down on the edge of the flush mount. Repeat for the opposite pillar.
Author’s Note: A few more plastic panels were removed on the driver’s side due to my power source being there.
Step 4. Install Max Pod

Run the Max Pod pigtail through your drilled hole and press it into place.
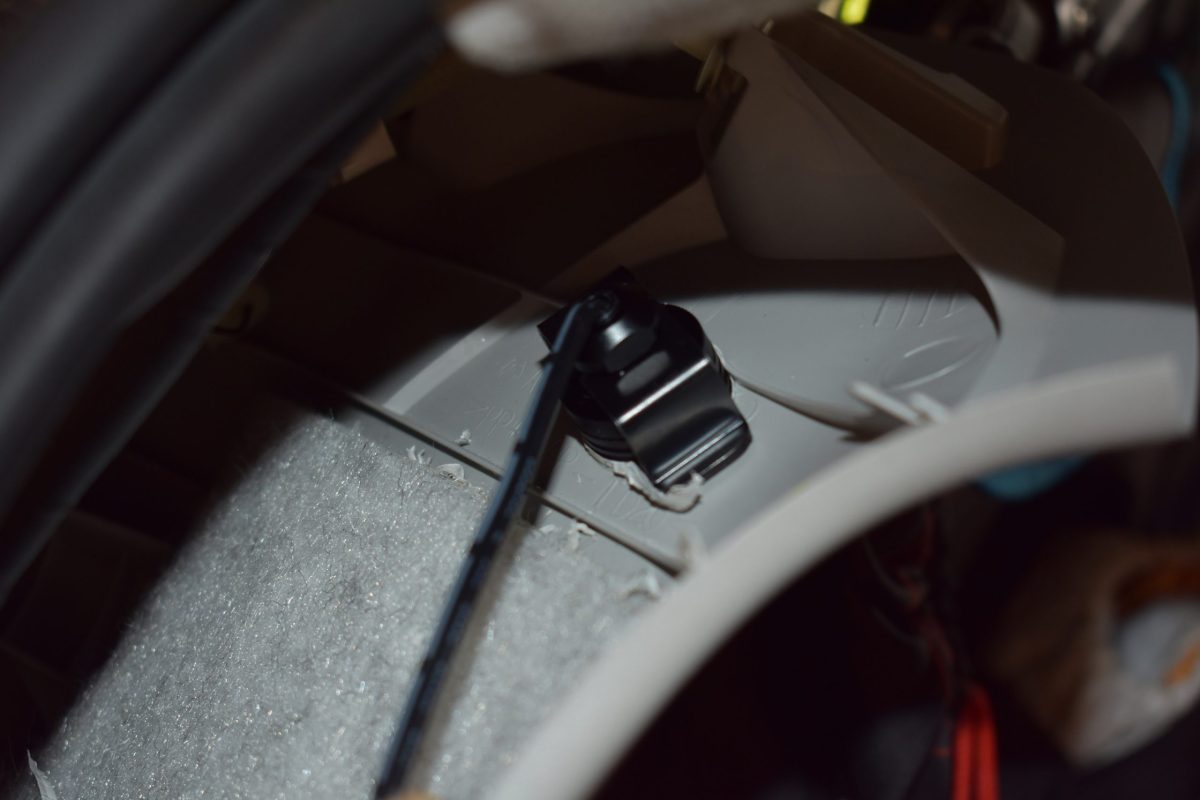
Next, place the flush mount bracket over the wiring and against the inner side of the plastic. Following bracket placement, slide the nut over the wiring and tighten the nut down on the bracket to secure it.
Step 5. Wiring
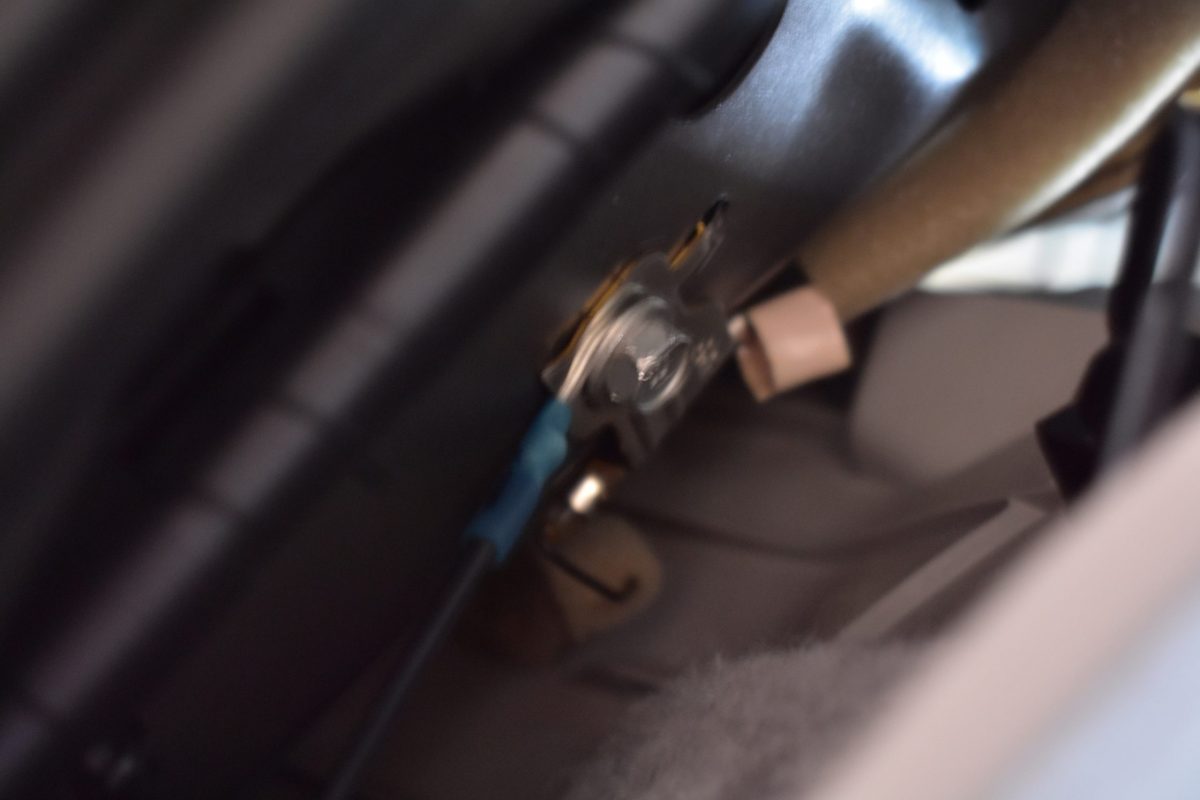
Retrieve the wiring and prep for adding butt connectors to have a positive and negative wire. Instead of running a full-length ground wire, I was able to have a path to the ground right behind the light. The same instance happened on the passenger side “D” pillar. Complete this on the passenger pillar as well.
Add a terminal connector to your ground wire and connect to the ground bolt pictured above.
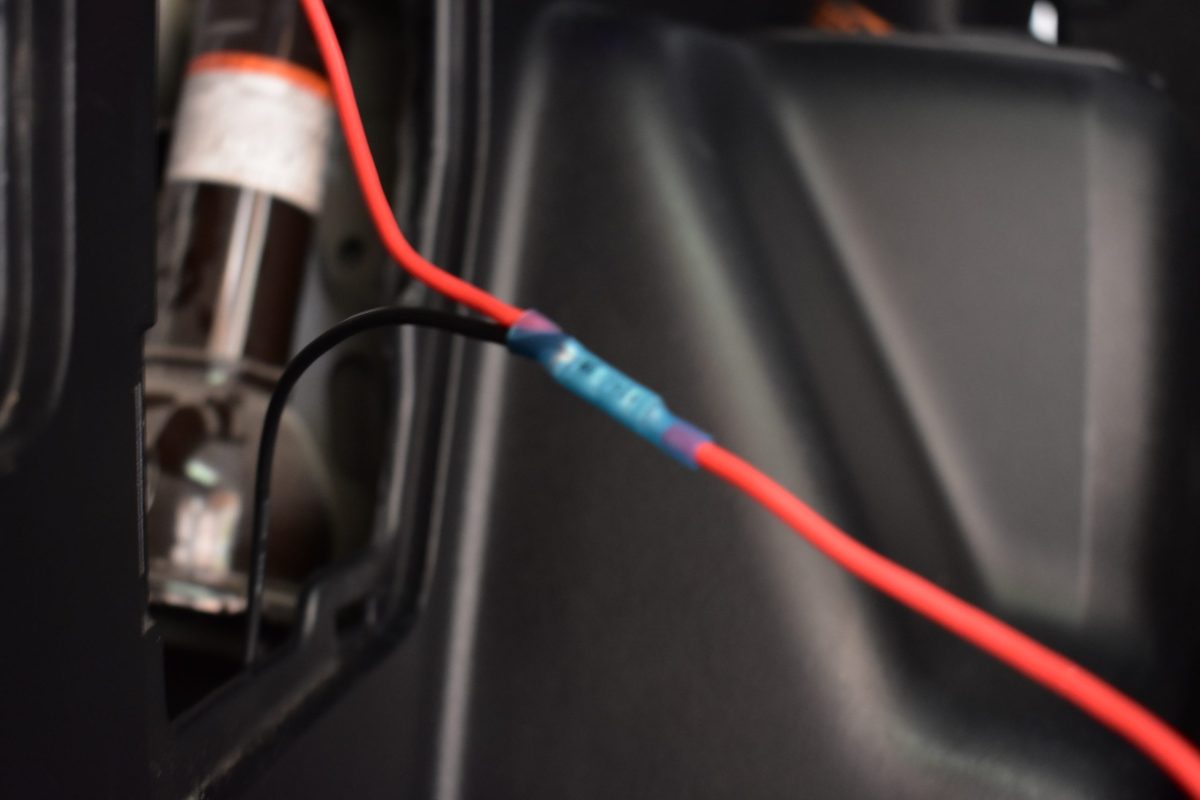
From here, all that is left is to connect both positive wires from the Max Pods into a single butt connector. On the other end of the butt connector will be a single positive wire that will go to your power source.
Ignore the fact that there is a black and red wire coming together for the positive wire in the picture above. I ran out of red wiring for my second light on the opposite side.
Step 6. Connect To Power Source
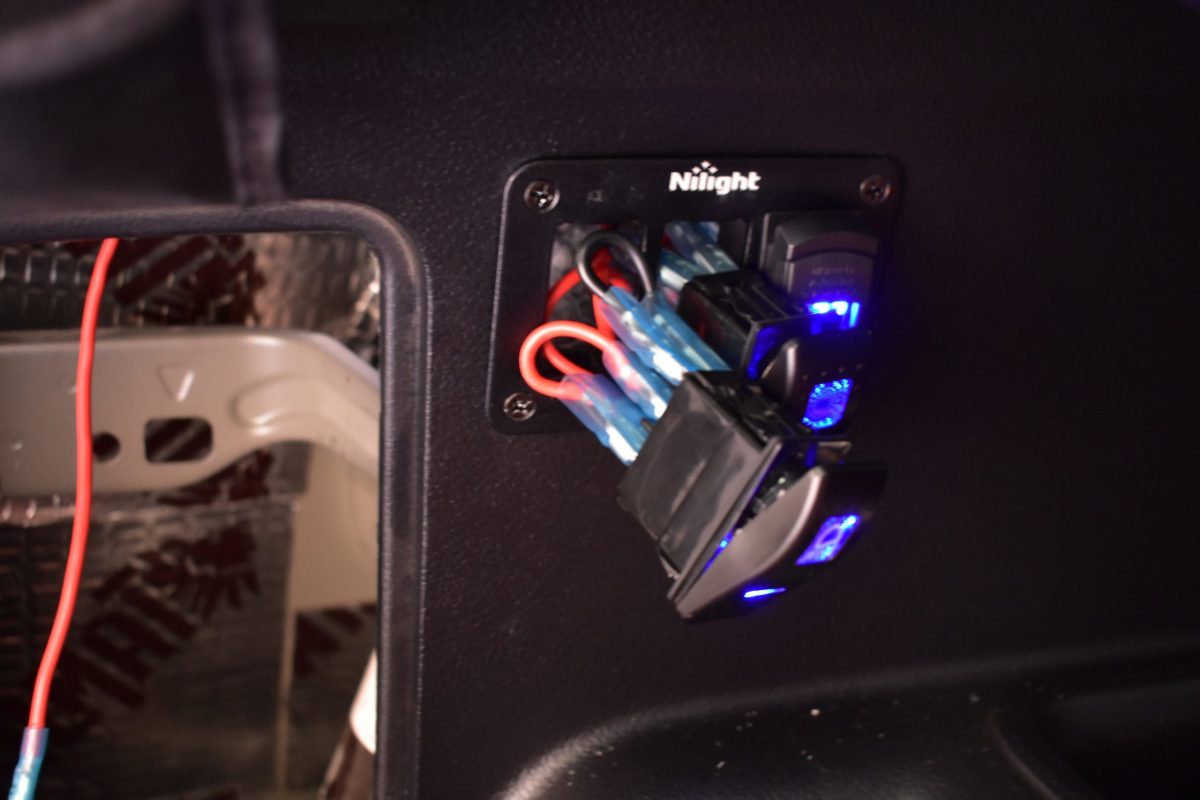
For my existing Nilight setup, all that is required is a female terminal connector. Once you have your lights connected to power, test it out! If you don’t see light, double-check your grounds and connections. Also, make sure your power source for the lights is wired into an accessory circuit or battery circuit.
Installed, these lights sit barely above the panel, making them easy to place in close-tolerance areas.
Nilight Wiring Solution
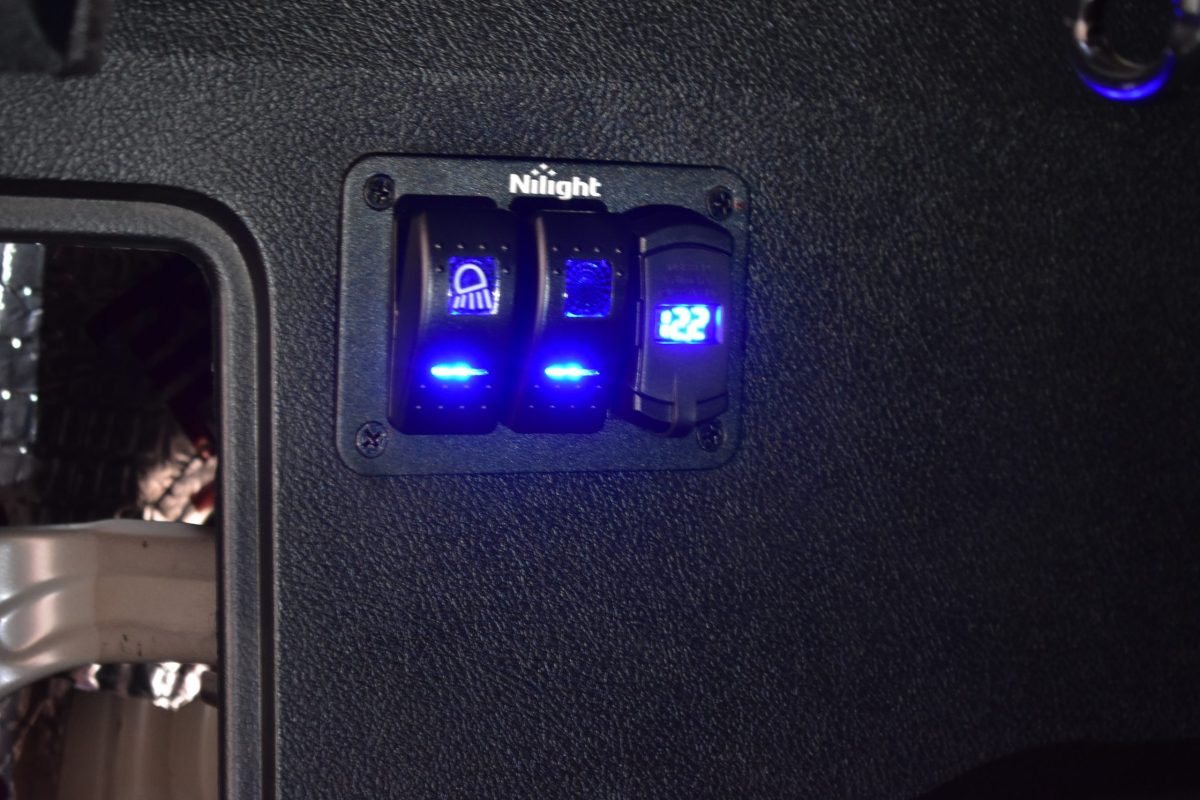
I will touch briefly on this setup. I have trusted Nilight products for some time, using their lighting and wiring solutions in various places around the 4Runner. For this setup, I wanted available USB connections in the trunk area and some new switch locations.
Now that there is power running to the trunk area, I can wire in various lights or other powered equipment. As for the power source, I opted to run it on a battery-powered circuit. This way, I can power what I want, when I want. Following the power wire, I plan to run a kill switch to this in the event the 4Runner is parked for an extended period, just in case.
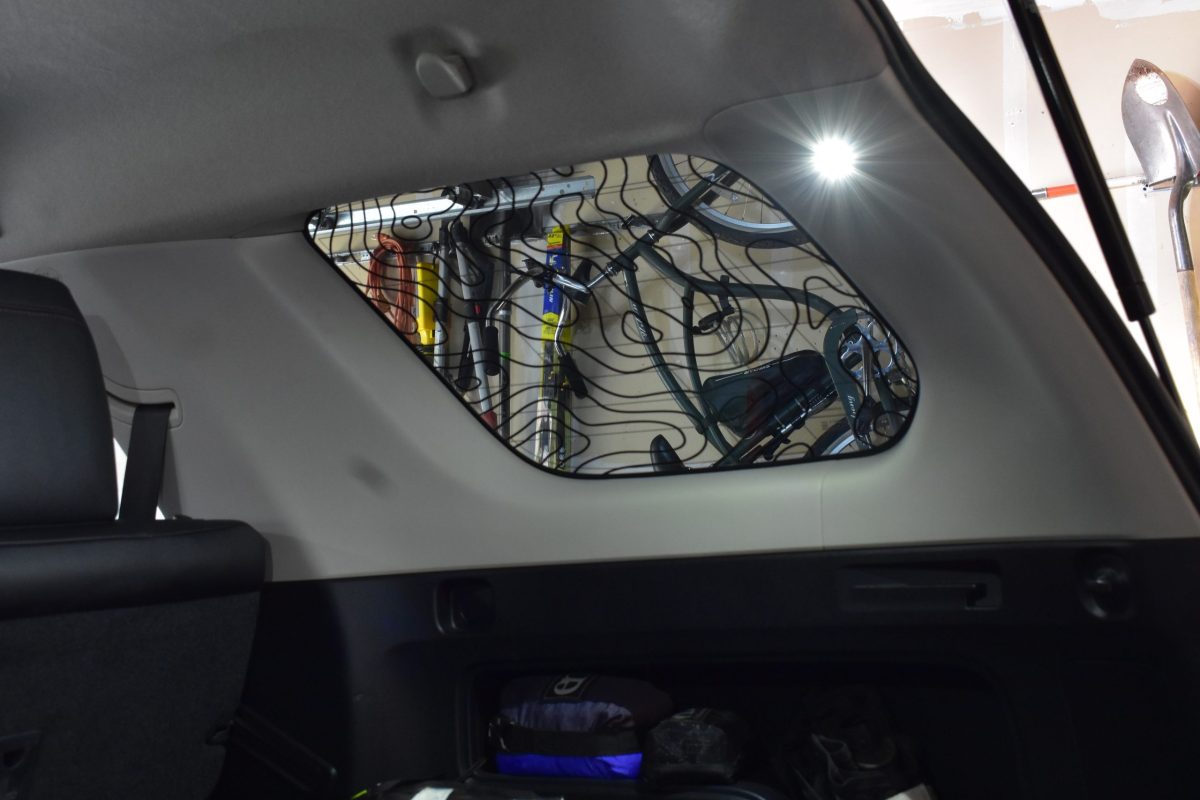
Light Output

It was hard to get before photos with the trunk lighting being so dim compared to the VLEDS Max Pods. If I had to compare the light output, It would be comparable to the Meso Customs Ultimate Dome Light. The only lights that are turned on in the photo above are the hatch lights and the Max Pods.
Final Thoughts
Overall, I’m super satisfied with the outcome, especially for the price; the quality is outrageous. These lights in particular can be used on the exterior of the vehicle as well, so their application doesn’t end at your trunk. They look great and add a nice modern and sleek touch to the interior.
These lights pack a punch and are a pretty easy, fun solution to add extra lighting where you need it. After this installation, I plan to utilize VLEDS in more locations around the vehicle for even more lighting!
Awesome write-up! Can you share how you set up power to the NiLight switch and the install for the switch overall? Was there existing wiring there that you just tapped into or did you run a new line somehow?
We’d to find some that switch from white to red
Pretty cool little light hack and love the placement. I’ve also been looking at the MESO hatch lights to go with the dome light install. Like you using NiLight; I’ve been using all BlueSea and AironBoard switches for my installs. They match the 4runners light blue back lighting perfect and have additional colors also. I might recommend though to those opting to drill into paneling in the 4Runners to use the panels that are easily replaceable should you goof up i.e. the tail light or bottle jack access panels. Any switches installed here can be easily disconnected and reconnected when access to the panels is needed. For the pod lights on the D pillars, measure thrice, drill once. Those upper and lower side panels can be costly should you drill or cut wrong.
Excellent upgrade! Frankly, I’m surprised these models don’t have better lighting in the cargo area from the factory.