The inevitable march of time looms on all of us, and our 4Runners are no exception. Every passing day sees an increase in mileage and with every mile you drive comes bumps, ruts, water, sand, and debris. Eventually, your vehicle’s components will succumb to the endless thrashing from the elements found in our great wide world.
If you want to keep your 4Runner going strong for as long as possible, high mileage preventative maintenance is crucial.
Table Of Contents
What We’ll Cover
This guide will help owners of any mechanical knowledge level accurately and reliably check their vehicle before heading out on their next adventure. This guide is not meant to replace a trained professional’s diagnosis. It is, however, meant to give you a better understanding of how parts wear and what to look for. Equipping yourself with this knowledge can help you prevent unexpected breakdowns and failures.
Anyone who says Toyota’s don’t break is lying.
We will focus on some major components that may experience failure at higher mileage and ages. Smaller wear items such as brakes, spark plugs, windshield wipers, etc. will not be covered in this post.
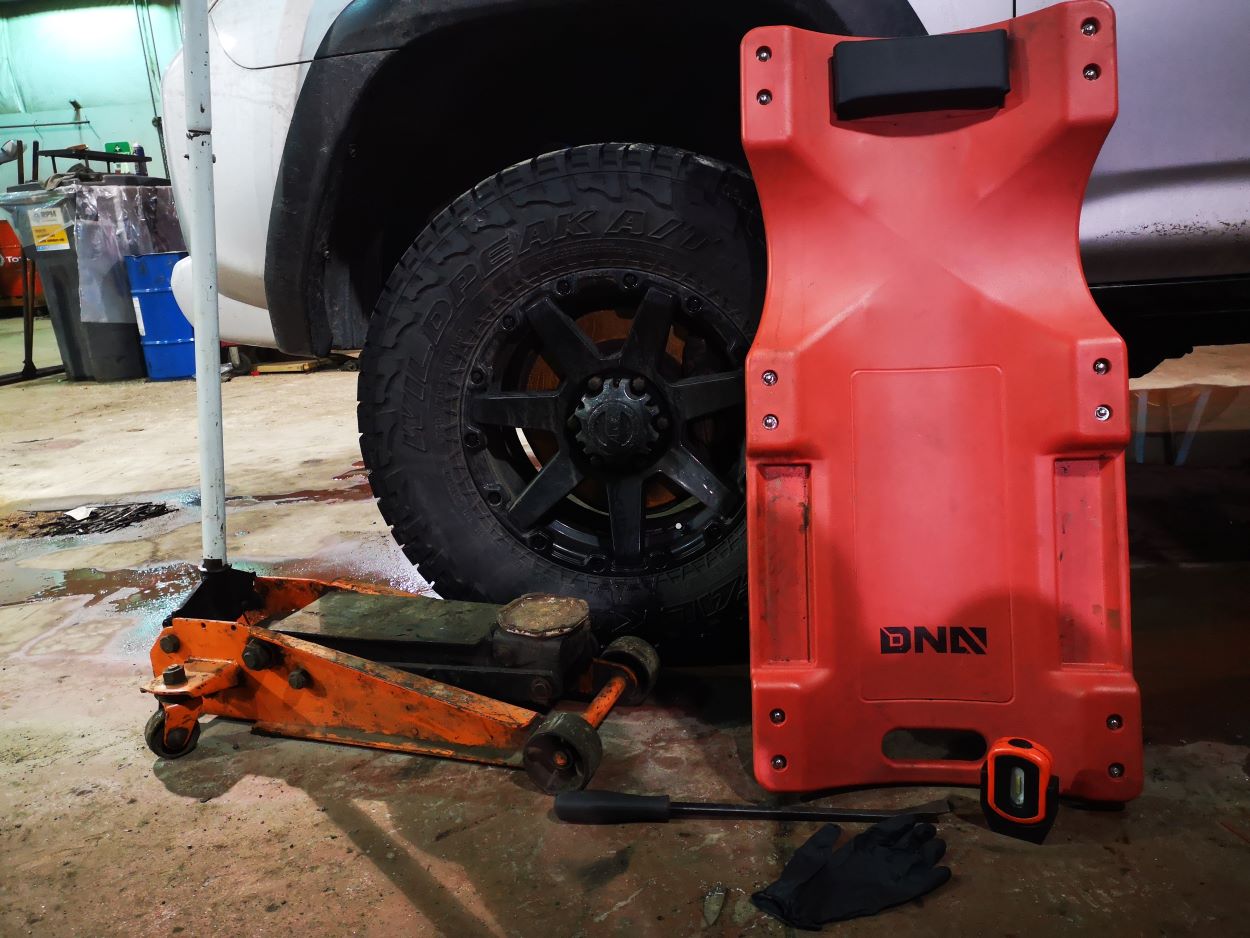
Tools & Materials:
- Workspace
- Assistant (For some inspections)
- Lifting/Jacking equipment
- Wheel Chocks
- Creeper/Cardboard
- Flashlight
- Prybar
- Disposable Gloves
The tools and materials needed to perform the inspections can vary widely. The purpose of this post is to better inform the average DIYer on how to properly inspect their vehicle. This is why the tool and materials list is intentionally left short and sweet. All tools listed are things that any person with any level of mechanical background can be expected to own and operate.
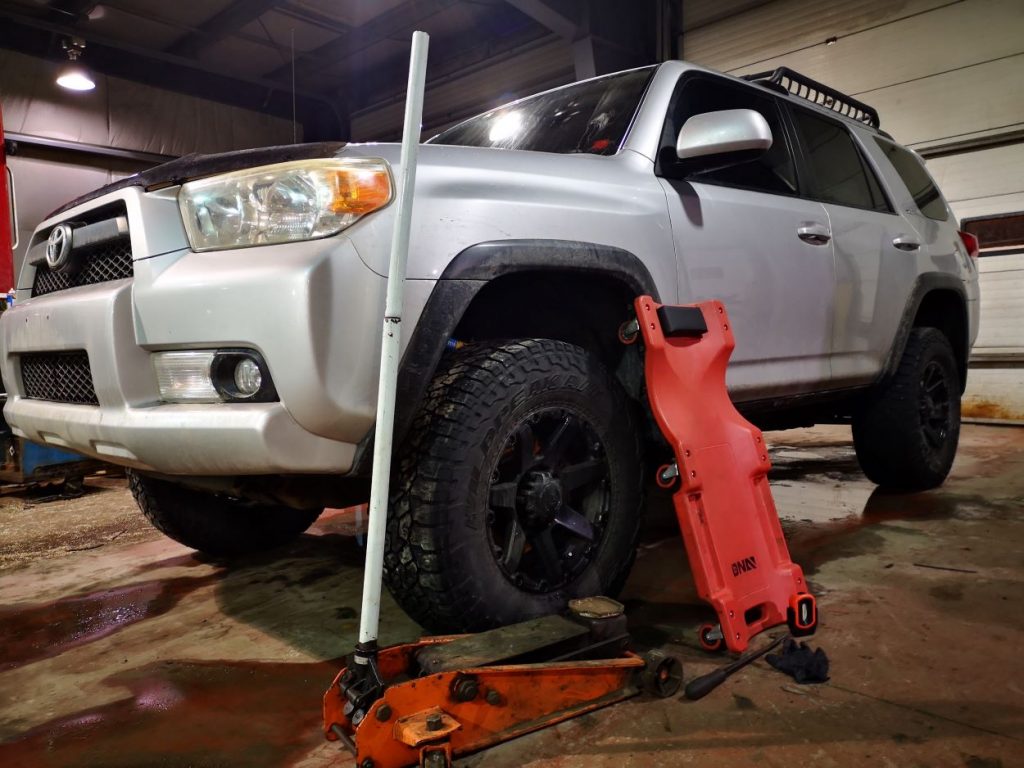
Most of these inspections and checks are at-a-glance and can be done anywhere. While some can be more in-depth and require lifting the vehicle. Where ever you chose to work, do it safely!
Engine Bay & Belts
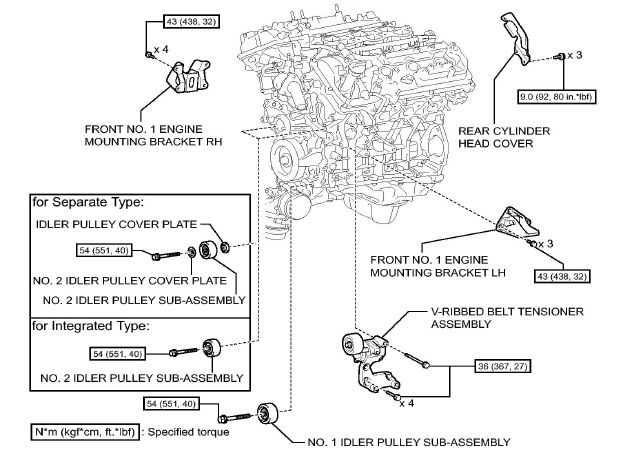
Parts & Part Numbers (2010-2024):
- Serpentine Belt (P# 90916A2015): Check Price
- Accessory Drive Belt Tensioner (P# 166203105): Check Price
The meat and potatoes of your rig! This is an important department and one that can intimidate some, engines are actually a lot simpler than some may be led to believe. Yes, it can be difficult to see inside them, but they give a lot of telltale signs on the outside if you know what to look for.
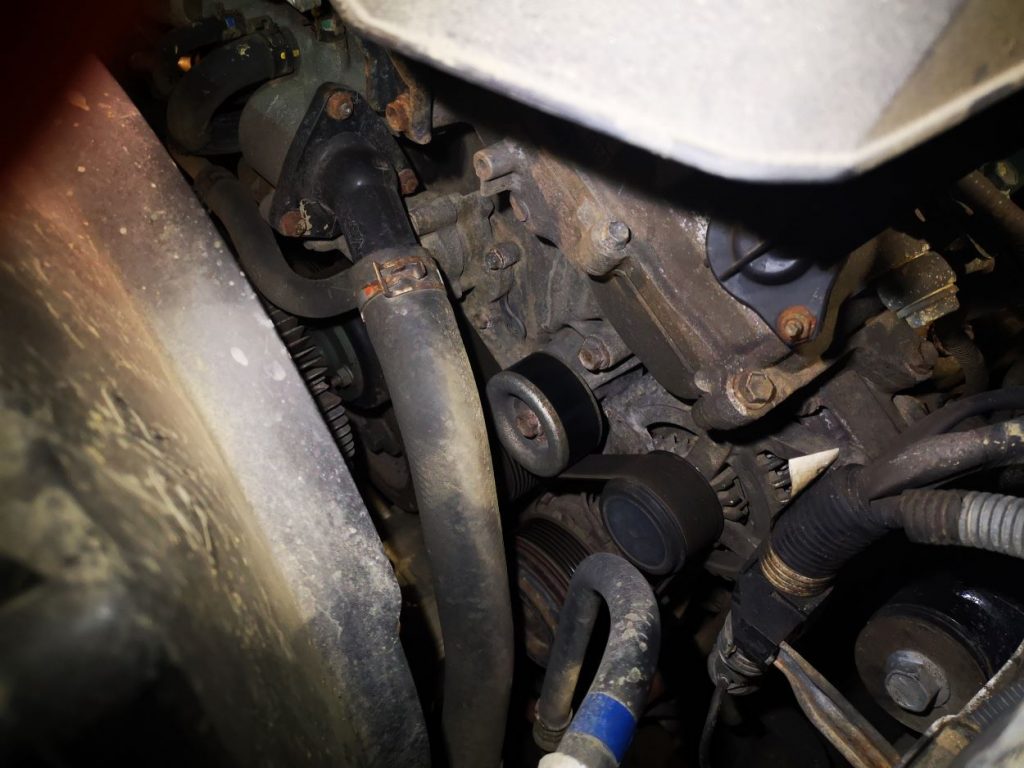
Starting at the front, the engine serpentine belt is a critical component. It controls all engine-mounted accessories such as power steering, cooling fan, water pump, A/C compressor, and alternator.
The engine belt is a wear item and has a service life expectancy. Toyota recommends a thorough inspection at 63,000 miles (100,000 km) and inspecting every 18,000 miles (30,000 km) thereafter.
Belts are made of reinforced rubber. This makes them susceptible to heat and oil contamination. They typically show signs of replacement in the form of glazing, cracking, and fraying. Changing these belts is not something you want to do on the side of the road, and I would recommend replacement before it has a chance of failure.
A more in-depth check of the belt would require the removal and inspection of the belt outside of the vehicle. Although this sounds like a headache, it allows you to manually inspect each of the belt pulley systems. You can grab the pulleys and check for play in the bearings by spinning them and checking for noises. You can also check the bearings by grabbing the pulley and trying to deflect it up/down and in/out.
Out of sight and often out of mind is the timing belt or chain. This component controls the internal engine timing of the camshafts.
Most modern engines are an “interference” design. This roughly translates to – if the engine experiences timing belt/chain failure there will be contact between the pistons and valves. This causes the engine to experience rapid unscheduled disassembly.
The biggest scare for owners or potential buyers of high-mileage vehicles comes from timing belt or chain issues. Most smaller displacement car engines use a timing belt, these belts will have an expected lifespan specified in the owner’s manual. Older engines or large diesel engines will use timing gears rather than belts or chains.
Thankfully, the engineers at Toyota have opted to use a timing chain rather than a belt on the 4Runner’s 4.0L engine. This part has no recommended service interval and is meant to last the life of the vehicle.
Steering & Suspension
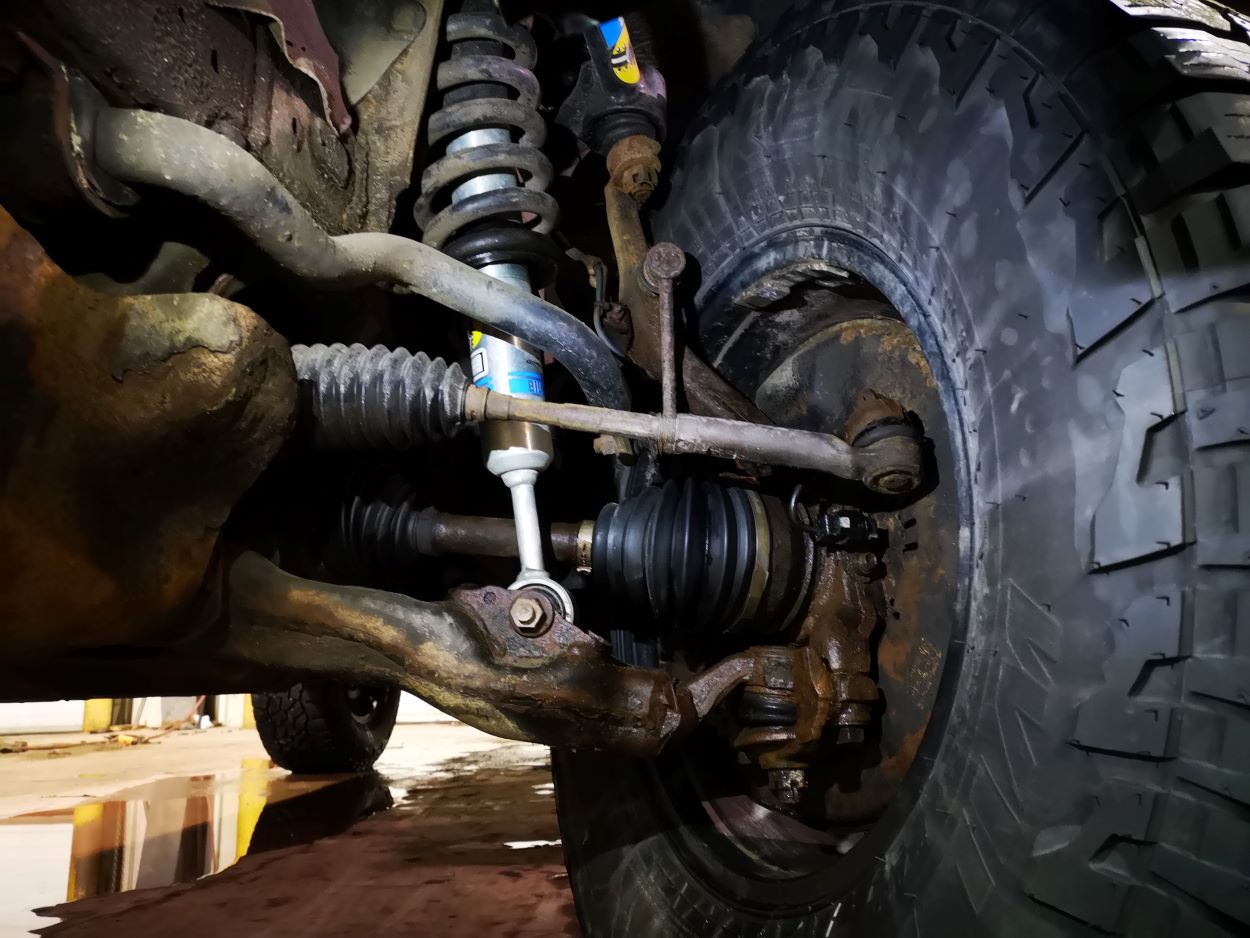
The steering components of your rig are easier to check than most think!
With the help of an assistant, park the vehicle on a flat level ground. You do not need to raise the vehicle off the ground.
With the ignition key in the on position (to prevent the steering locks from engaging), have the assistant rock the steering wheel back and forth with a small amount of pressure. They’ll want to use just enough force to lightly wiggle the tires while on the ground while you look at the steering components. While rocking the steering wheel, remember, slow and steady pressure shows movement more clearly than rapid back-and-forth movement!
Tie Rod Ends (TRE)
Wear will show up in TRE from back-and-forth movement in the socket joint of the tie rod. Some manufacturers allow a small amount of direct up-and-down movement and generally do not allow any movement from side to side.
A severely worn joint will appear to rock in a “C” motion as the steering is worked from left to right. This should be immediately replaced. An easy way to check this is to place your hand entirely over the TRE and knuckle as your assistant rocks the wheel. If you can feel a difference in the movement from the knuckle and the TRE, chances are you have some wear happening.
The inner TRE is more difficult to check but will show movement/ audible clunking while performing the same steering motion.
This post is meant to be used a simple guide for basic inspections and thus, will not give exact wear specifications of components. Exact measurements must be taken by a trained professional. Steering components are critical to the safe operation of your vehicle. If you have any doubts in a component, take it a professional mechanic to have it properly checked.
Wheel Bearings
To check wheel bearings, raise the tire off the ground about 2″ using a floor jack. Next, have an assistant use a pry bar to pry upwards against the bottom of the tire. While prying upward against the tire, closely look at the back of the steering knuckle assembly and check for movement.
Experienced mechanics can “feel” the movement within the pry bar itself through the tire when prying upwards. An “eyes on the prize” approach is typically a better approach for newcomers. Some stronger owners may be able to grab the tire at the 12 o’clock and 6 o’clock positions and check for movement. No matter what you do, there shouldn’t be much movement any way you pull, pry or push.
If movement is felt while checking the tire/rim assembly and you are unsure whether it is a ball joint or bearing, you can isolate the problem by having an assistant hold firmly on the brake pedal. This will forcibly hold the wheel/rotor assembly to the knuckle via the brake caliper. This tightens the wheel, brake, and hub together and gives you an indication of where the play is coming from.
Ball Joints
Ball joints, both upper and lower are a critical component of your suspension. They must be able to rotate freely while working up and down with regular suspension travel. Both the upper and lower ball joint can be checked the same way.
To check the ball joints on your 4Runner, raise one side of the vehicle on the ground. With an assistant firmly applying the brakes, grab the tire/rim assembly firmly at 12:00 and 6:00 o’clock positions. Then, pull the top of the wheel while simultaneously pushing the bottom. With moderate force, you should not experience any major play in the tire/rim assembly.
This is the same check used for wheel bearings and it can sometimes be difficult to isolate which component is truly causing the movement.
Boots
Both the ball joints and TRE boots are suspectable to punctures and tears. Ensure boots are in good condition by looking for excess grease leaking from boots or major rips/ tears. The same goes for sway bar end links, steering rack, and CV axles. A punctured boot is a failed boot.
Driveline

Driveline components on your vehicle are typically quite long-lived. The universal joint (u-joint), however, is the weakest link. The lifespan of the universal joint can also be significantly reduced with larger tires, differential lockers, frequent towing, etc.
Universal joints are checked with the vehicle parked on level ground and the wheels chocked to prevent rolling. Ensure the driveline is not loaded up by rotating it back and forth a small amount. Once you ensure the driveline is not loaded, press firmly up and down on the driveshaft assembly while watching the universal joint.
Make sure there is no movement between the u-joint cup and the center journal cross-section. If there is, this indicates wear in the u-joint. Another sign of wear comes from the cups spinning within the yoke ears. This will manifest itself by having noticeable shiny metal behind the circlips. This is a sign of worn cups and yoke ears and should be investigated further.
If this issue is left unnoticed for too long, you can wear the machined surface of the yoke down to a point where a new u-joint will simply not hold tightly when installed.
Exhaust System
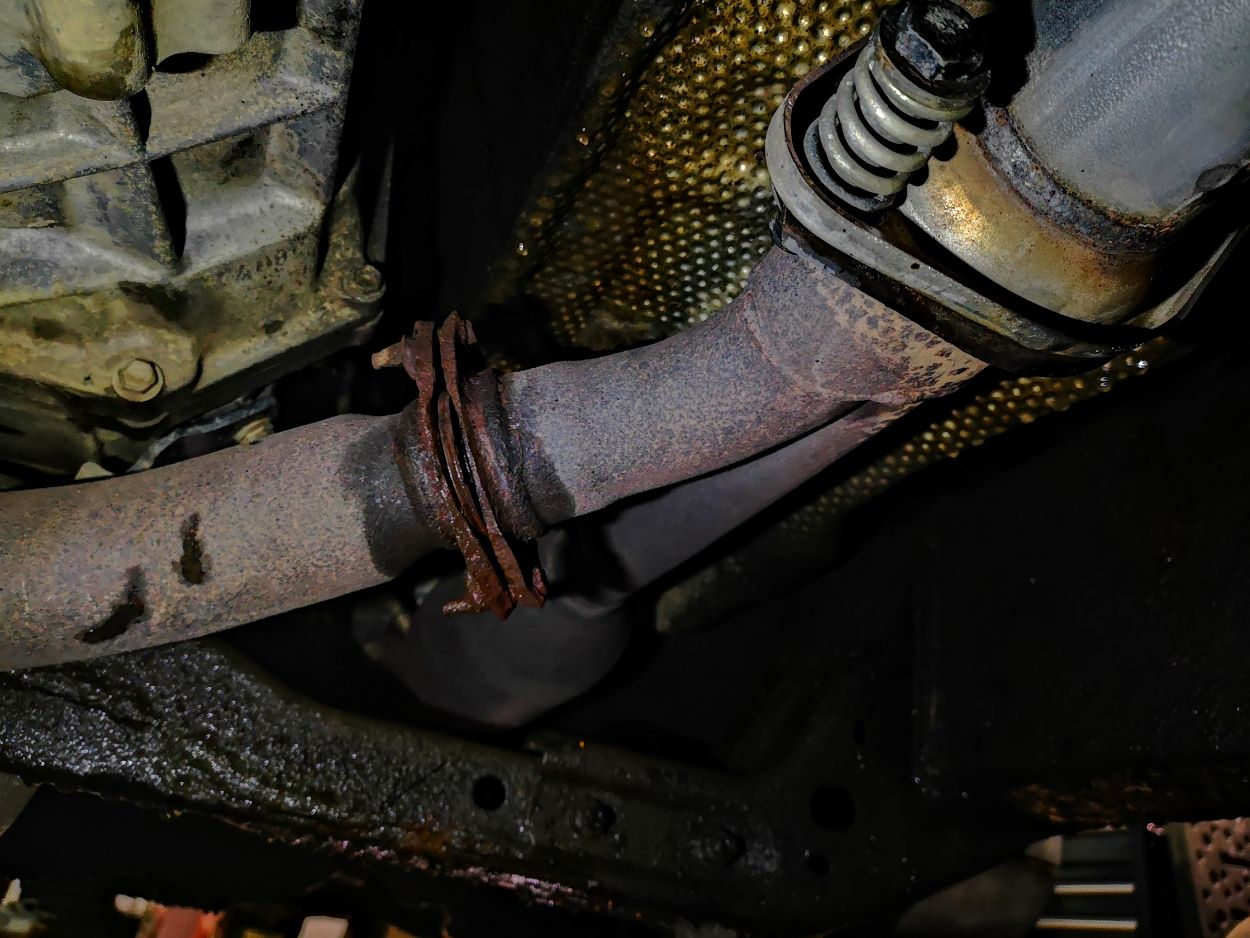
Your 4Runner’s exhaust system lives a very tough life. Constant heat cycles and a barrage from the elements make these components prone to failure. Owners who live in the rust belt or in the great white north have even more stacked against them.
Rust can eat away at your exhaust pipes and flanges. Typically, the flanges will rust away before the main exhaust piping. Other places where rust holes will form are the welds along the factory exhaust hangers.
Some signs of internal exhaust failure come from rattling noises when the vehicle is started. However, this can also be caused by loose or rusted heat shielding under the vehicle’s body.
The catalytic converters in our vehicles typically do not experience failure. A good indication of cat failure comes from acrid exhaust smells and smoke. Problems with the oxygen sensors (O2 sensors) can also cause improper engine fuel management and lead to fouled cats and other problems in the exhaust system.
Final Thoughts
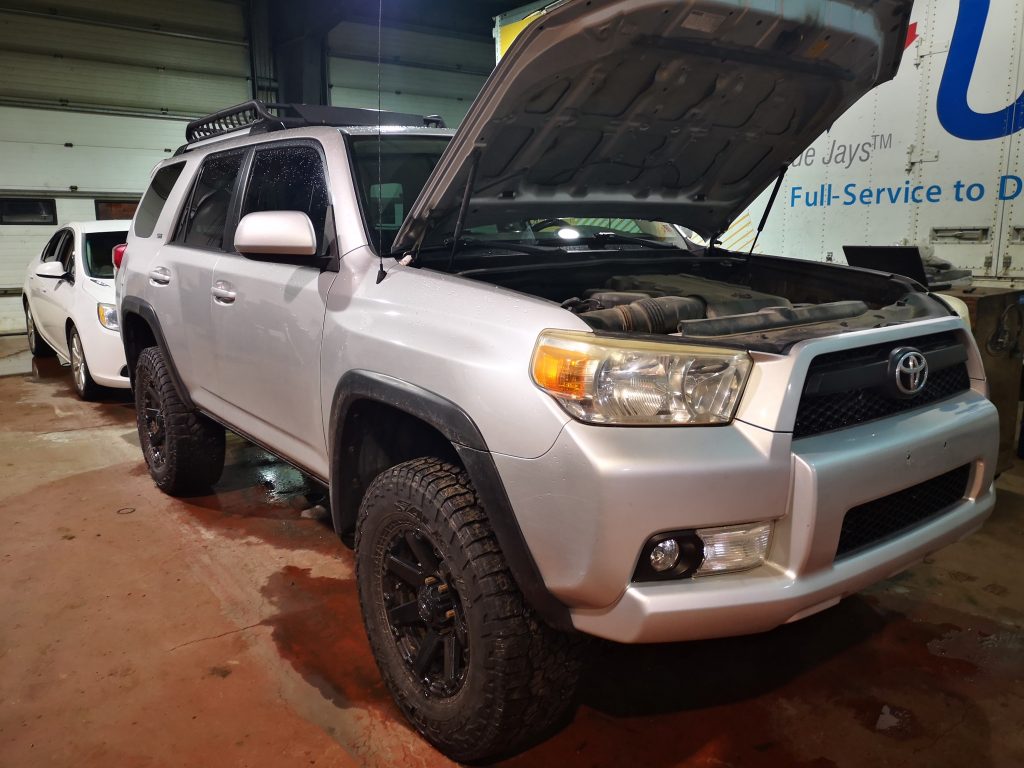
These 4x4s are tough as nails, but nothing lasts forever. As an owner of an early 5th Gen with 325,000 km (200,00 miles), plus the added benefit of living in Atlantic Canada, my truck is a great test mule for the components mentioned above. It experiences year-round driving on some of the worst road conditions. This puts even more importance on high mileage preventative maintenance.
With frequent inspections and a solid understanding of how things wear, you can avoid costly repair bills and unexpected breakdowns. I have nearly 10 years of experience as a mechanic and that has given me the required knowledge to safely and reliably check my 4Runner over before any adventure. Whether it is a trip to town or a trip down a mountain, I hope to share this knowledge with others that are passionate about our 4Runners.
There are countless other parts that can fail on these trucks. Keep an eye out for a continuation of this post-series where I will cover more components and parts maintenance!
Excellent info Shane, thanks for sharing. I look forward to more of your posts.
You left out the dreaded and what appears to be inevitable frozen lower control arm camber bolts. Usually these need to be cut out, or the LCA simply replaced. Endemic in the NE and other salt prone areas, and should have been a recall.
The vertical and horizontal “shake-down method” will not find early lower ball joint wear on this application. Load testing works for identifying potential LBJ wear but the best way I’ve found to inspect for this is to individually observe each LBJ with a flashlight while lifting evenly straight up from the front skid center lift point. It is not necessary to completely lift the front tires off the ground when using said method.