One of the great perks of owning an SUV instead of a truck is the ability to sleep inside the vehicle, as opposed to in the bed or on a rooftop tent. This makes for an extremely turnkey camp setup; just drop the seat, inflate a sleeping pad, and your sleeping quarters are ready in a matter of seconds.
I decided to build a DIY storage platform for my 5th Gen 4Runner because I couldn’t find one that was readily available and contained the features that I wanted. My design was inspired by several examples on the internet as well as features that I needed to have, such as storage space, daily use, and ample headroom.
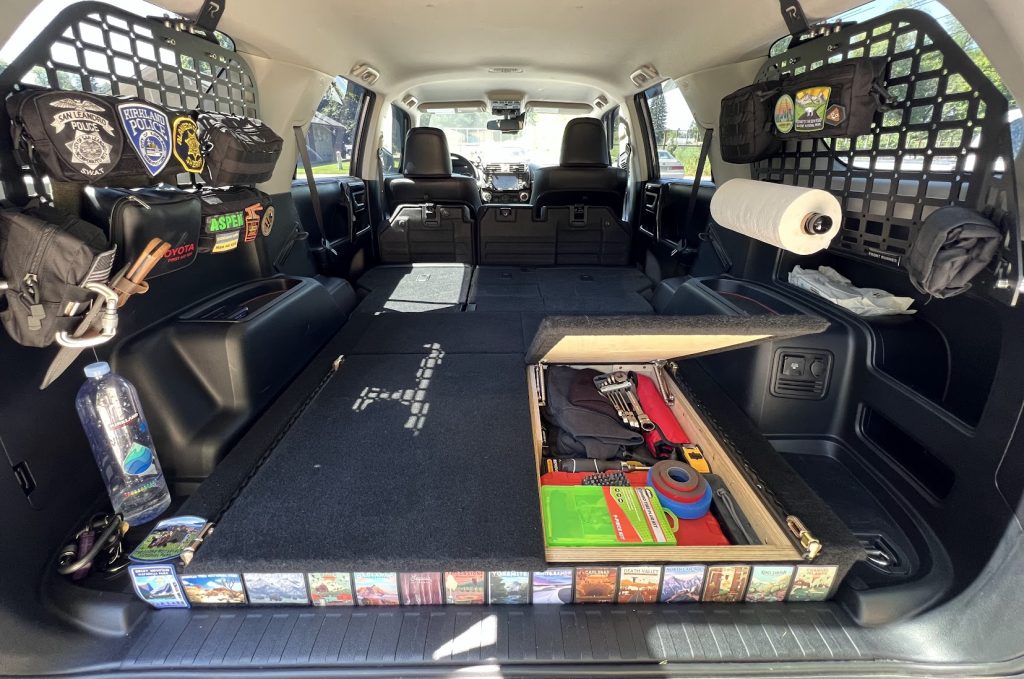
This build allows for sleeping/camping on a level platform while maintaining day-to-day flexibility and even incorporating hidden storage. Most importantly, it leaves ample headroom to move about your sleeping quarters– anyone who has ever spent a night sandwiched between the top of a bulky drawer system and the vehicle’s headliner knows it’s not a sustainable solution.
I wanted to accomplish two main things with my build:
- Create a discreet storage space that wouldn’t tempt any peering eyes.
- Level the trunk area for comfortable sleeping while camping.
Table Of Contents
Tools & Materials
Tools & Materials:
- (4) Lid Support/Hinge or reversal hinge brackets
- (2) US Cargo Control L Tracks 24”
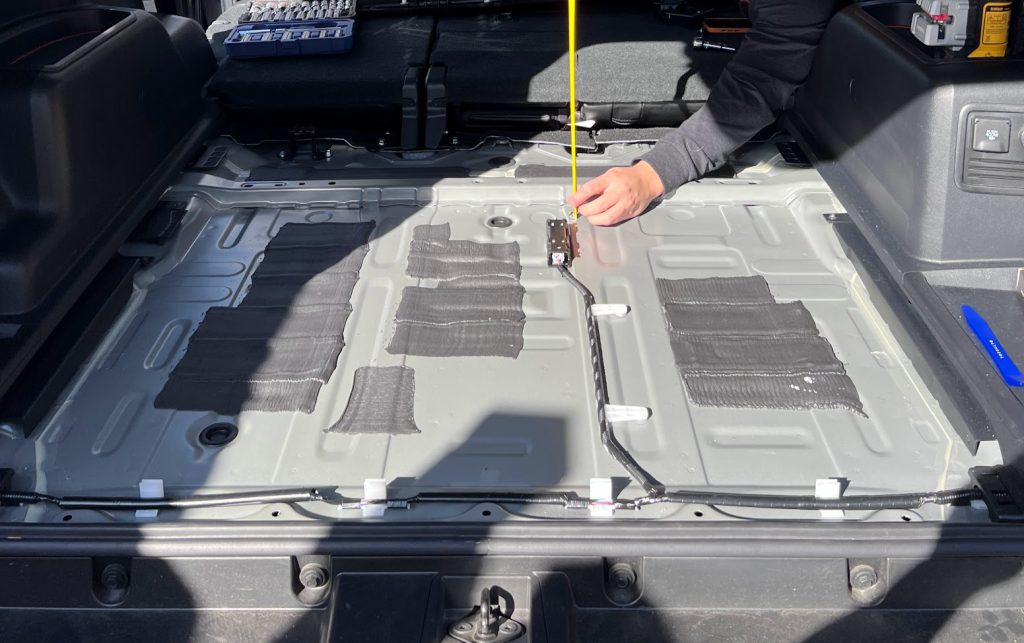
- (1) Roll Sound Deadening Material
- (2) Rolls of Marine Bunk Carpet
- (2) 4′ x 8′ Birch Plywood (½ in thickness)
- (2) 2×4 (any scrap 2×4 works, I just used whatever was lying around)
- Wood Screws, Glue, and Clamps
- Staple Gun & Staples
- Nails
- Drill & Drill Bits
- Measuring Tape
- Flathead Screwdriver, or Trim Removal Tool
- 10mm Socket & Ratchet
- Table Saw
- Jig Saw
- Square tool
Gutting The Trunk Space
To completely clear out the 4Runner’s cargo area, you have to first remove the wedge trim with the factory tie-downs behind the rear seats. To do this, pop up the plastic tabs of the tie-down housings with a flathead screwdriver and then use a 10mm ratchet to remove the two bolts holding it down.
Next, remove the trim by the base of the trunk. Start from the inside with a trim removal tool and slide it across to pop that trim out. Then, you can remove the trunk carpet and the piece of foam underneath.
Design
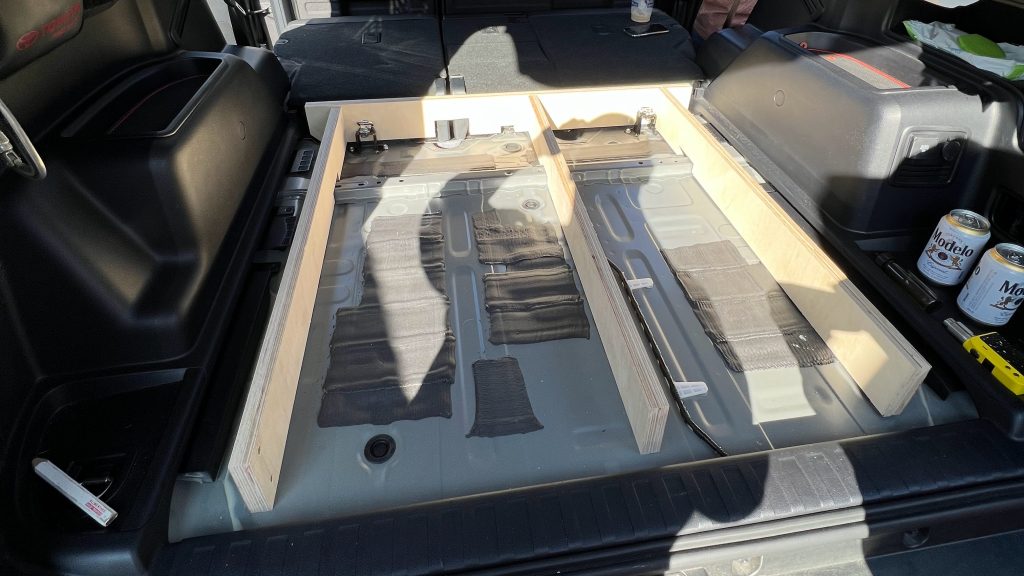
There are four compartments in total on this platform; two in the back over the hump between the cargo area and the second-row seats, and two big spaces with hinged doors for easy access. I spaced the support pillars to dodge the OEM wires.
When designing this platform, I wanted to make sure that the back seats were leveled with the cargo area. This resulted in about 4″ of height for storage space. I also installed L tracks along the sides to be able to tie down gear to the platform.
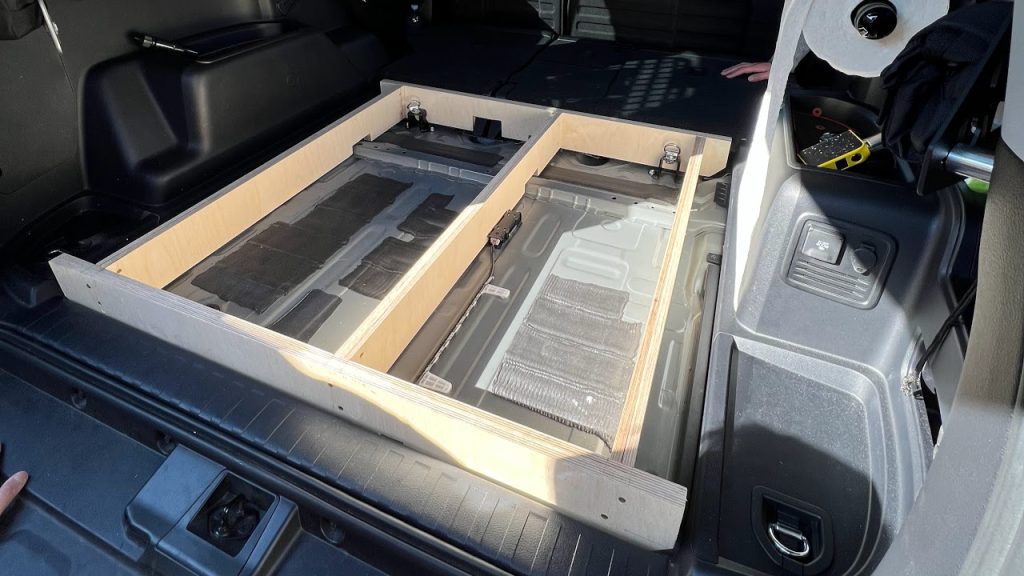
There is an annoying bump in the middle of the space that I had to cut out from the support pillars, taking away from the overall storage space.
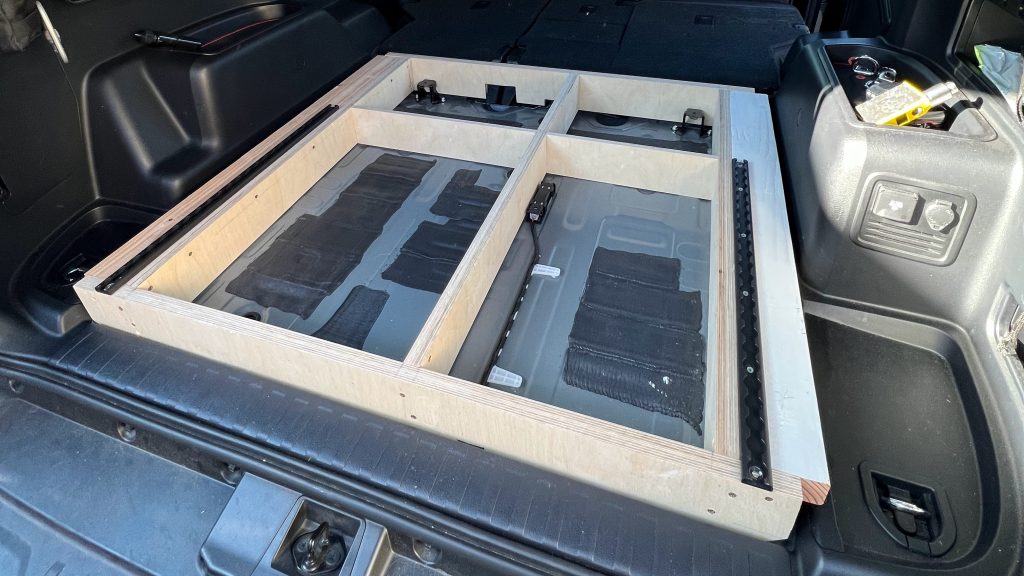
I wanted the horizontal support pillar to be flush and close enough to the rear factory tie-down brackets so that if I wanted to secure the storage platform even more, I could use L brackets to bolt the platform down. So far, that has proven to be unnecessary. The fitment of the platform along with the sound deadening makes for a very flush fit that doesn’t rattle or jiggle.
Step 1. Lay Sound Deadening
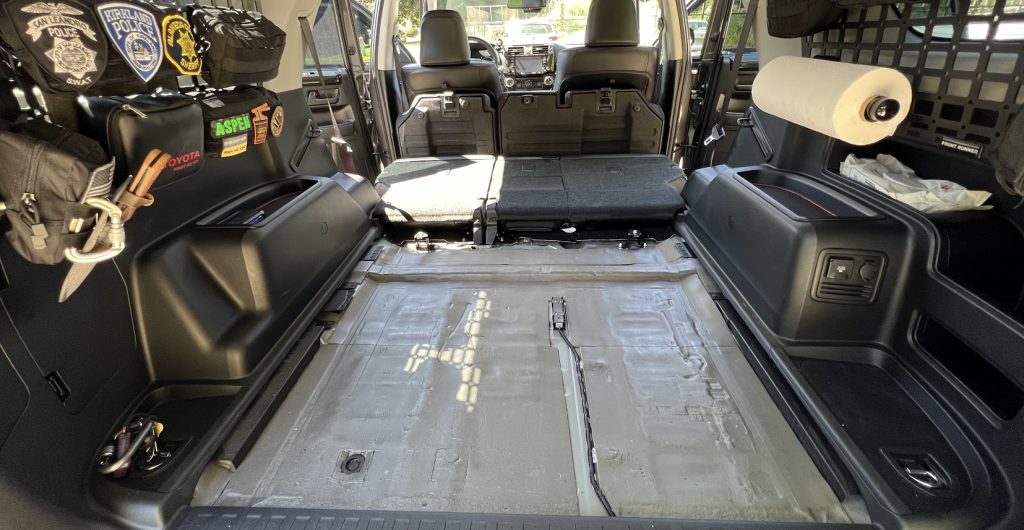
I was going to carpet on top of the sound deadener but scrapped that idea for simplicity. I wanted it to be functional and aesthetic, but I also wanted to complete it quickly.
Step 2. Building The Frame
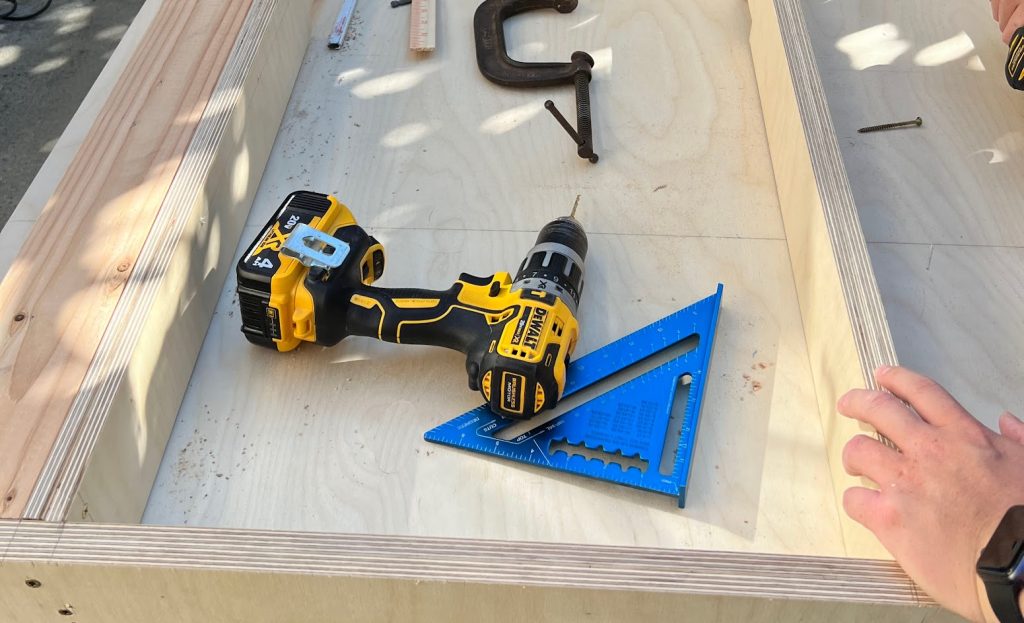
First, cut out all your support pieces for both horizontal and vertical beams. Then, cut out the gaps for those pesky bumps. To assemble, we did two layers of 1/2 plywood for the support and used wood glue and screws to hold them together.
Next, we fit the skeleton frame into the car and made sure it was a good fit. After that, we installed the l-tracks and started to work on the cuts for the lids.
The specific dimensions of your platform will vary depending on your 4Runner’s year and options. You’ll want to take your own measurements and as always: measure twice, cut once.
Step 3. Lay Carpet
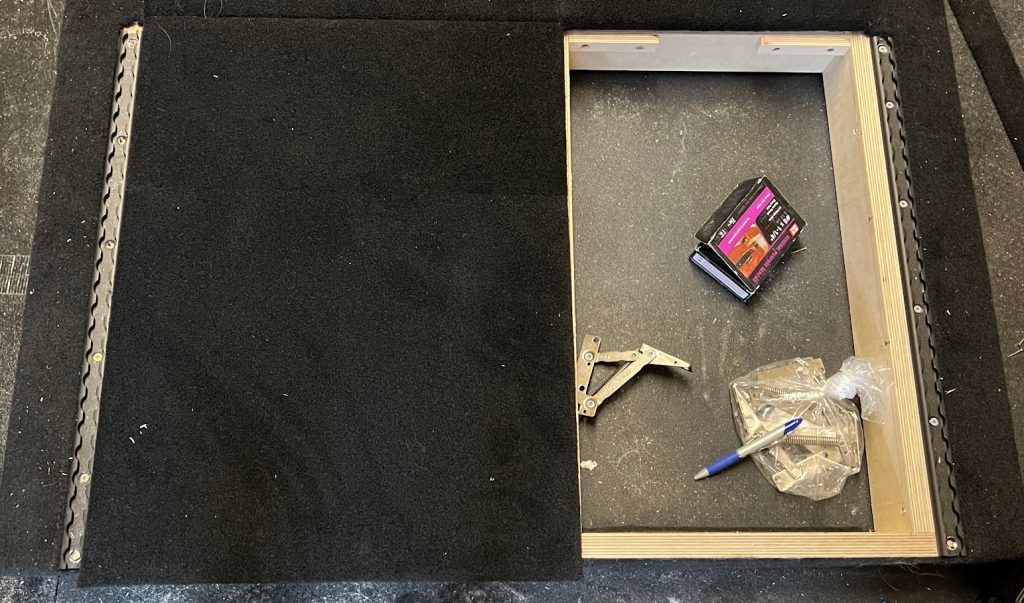
After test-fitting everything, we started to carpet all of the platform surfaces using the marine carpet and a staple gun. Carpet adhesive is another option if desired.
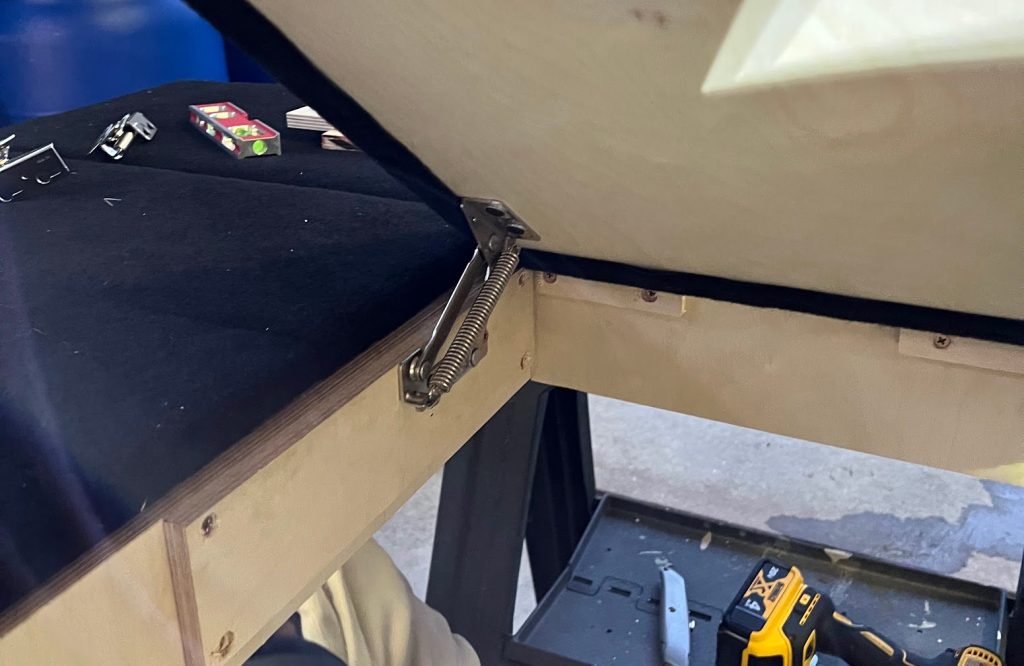
Step 4. Install The Hinges
When all the pieces were ready, we installed the hinges and set the platform in the 4Runner. After that, the platform was complete!
Final Thoughts
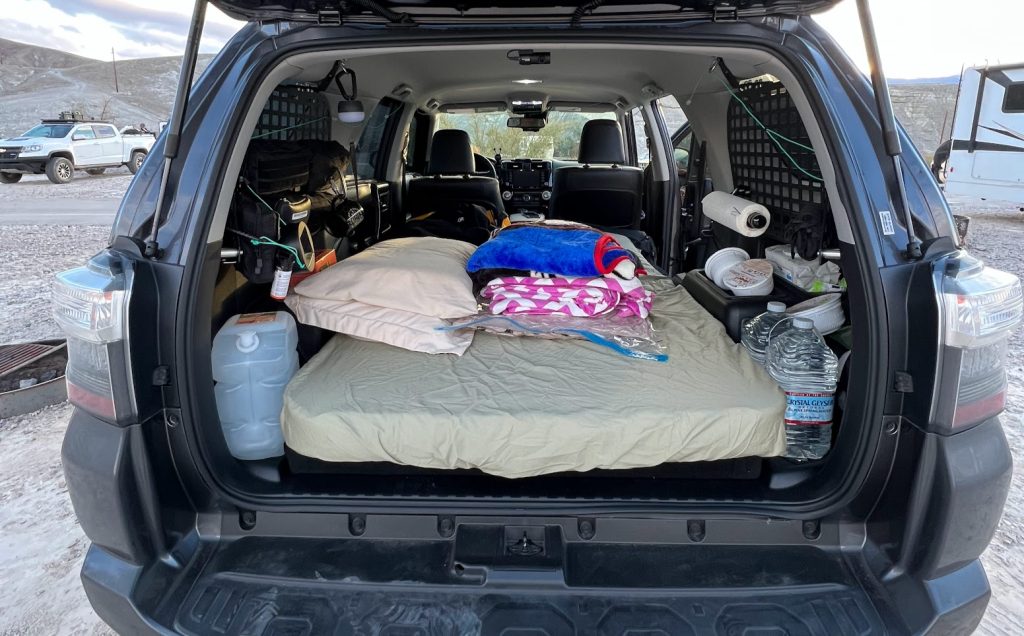
I hope everyone enjoyed this relatively simple DIY low-profile sleeping platform for the 5th Gen 4Runner. This has been the most useful mod that I have installed in my rig so far.
The design allows me to remove the bottom of the rear seats with four bolts for extra legroom and storage space on longer trips. I also installed a hatch pop and rear window controls so that we can get in and out of the trunk from the inside.
I really appreciate sleeping in the car when the elements are bad. Please drop me a comment or message if you have any questions or would like more details on how to build it. I am by no means a carpenter, but with a bunch of my friends, lots of beer, and two weekends, we got this completed!

Do you have a write up on how you installed the hatch pop?
Good job Andy! Can you provide bright photos(without the mattress) taken from the rear passenger doors in order to get a better look at how the forward end of the platform mates with the back seats? Also, a close up photo of how you attached the platform to the two front OEM tie down rings? Merci!
Great article, Andy! I built something similar years prior, and to a much less sophisticated degree. This is making me rethink a lot of what I did.
How’d strong are the hinges? I car camped, now RTT camping, so the back often has gear, fridge, etc. Do you think those hold up to that weight, say if you were to prop it open with something? I understand they’re probably not strong enough on their own to hold up the wood and whatever is on top of it.
I see you used the OEM anchors near the back seat. Do you have anything in the front? I’ve hit a few larger whoops with mine and found that the weight alone did not keep everything in place. The gear in the drawers moved around, and sometimes wiggles under everything, requiring me to take everything out to replace it where they belong. So my rebuild of this will use something to hold it down in more places.
Beautiful Mod & Great info on the measurements, Thanks!