One of the very first mods you’ll see many off-road and overland rigs get are rock sliders. That’s for good reason, as they have several uses making them an excellent value in terms of mods. CBI is arguably one of the largest players in this industry, and their Overland Bolt-On Rock Sliders live up to their reputation.
Similar to what some other manufacturers offer, they make several different versions depending on your vehicle. We’ll be looking at the Overland Bolt-On version in this article, but CBI also makes “Trail Bolt-On” and “Classic Bolt-On” versions as well. The Overland version features a 0-degree (flat) surface with a large top plate to easily step on and access your roof.
Use code – TRAILCO – to save an extra 5% off! Usually stacks with any sale going on.
Table Of Contents
Specs & Options

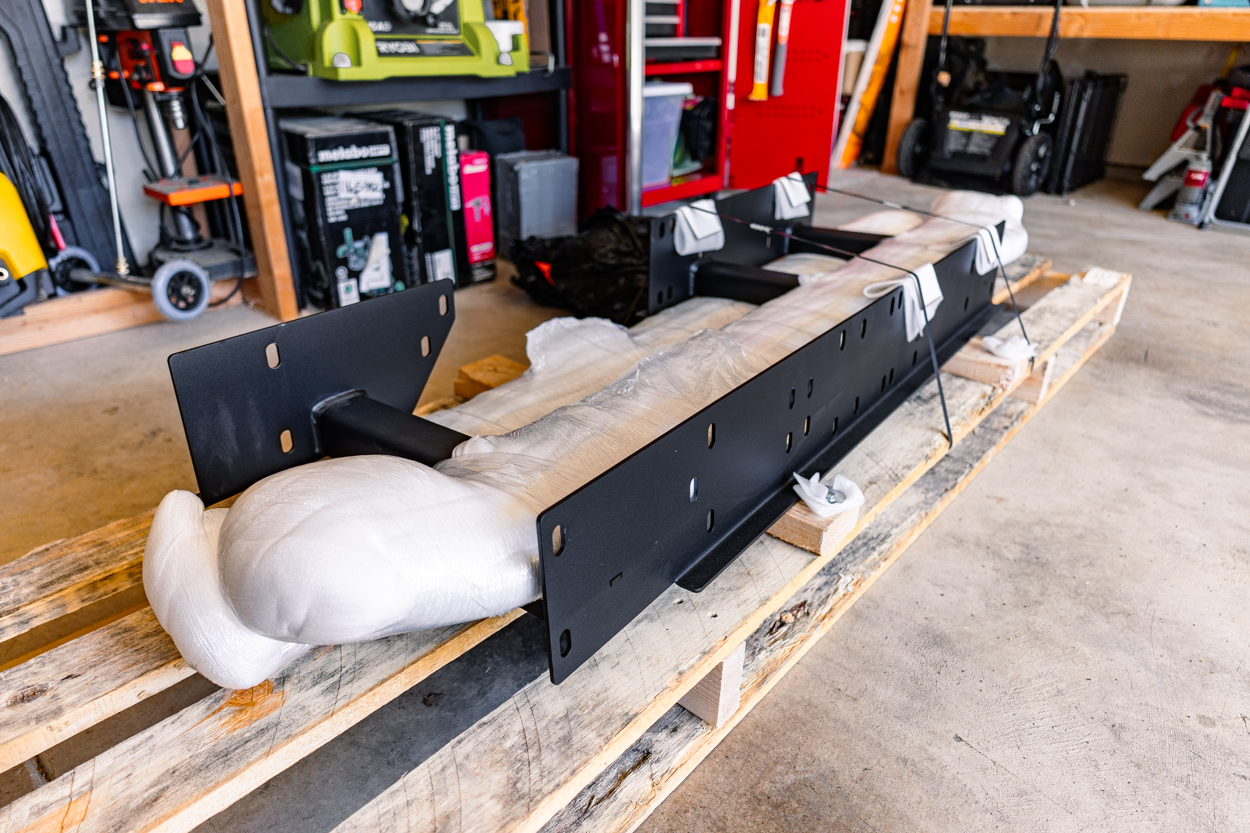
If you’ve never ordered armor from them before, know that they only ship via freight delivery. A downside to this is increased cost over standard shipping services. However, a major upside is that your armor (that definitely wasn’t cheap) will be extra protected in transit. I’ve had armor delivered by FedEx before, and let’s just say that the same level of care isn’t there.
CBI offers a few different options when configuring your rock sliders. They offer three main types as well…
- Overland – Has the most customization and a large, flat surface area for easy roof access. This is also the heaviest of the three options.
- Trail – Has a slight angle for better obstacle clearance and a rear kick out. Does not have the option of a top plate.
- Classic – Similar to the Trail version, but with no kick out. These will have the cleanest appearance and blend in with the lines of your truck the best.

For the Overland version specifically, you can pick between Hot Rolled Electrically Welded (HREW) or Drawn Over Mandrel (DOM) tubing. In short, the latter is of superior quality and strength. DOM tubing does cost more, but it’s well worth it if your needs warrant it. For a more in-depth comparison of the two, check out this comparison article.
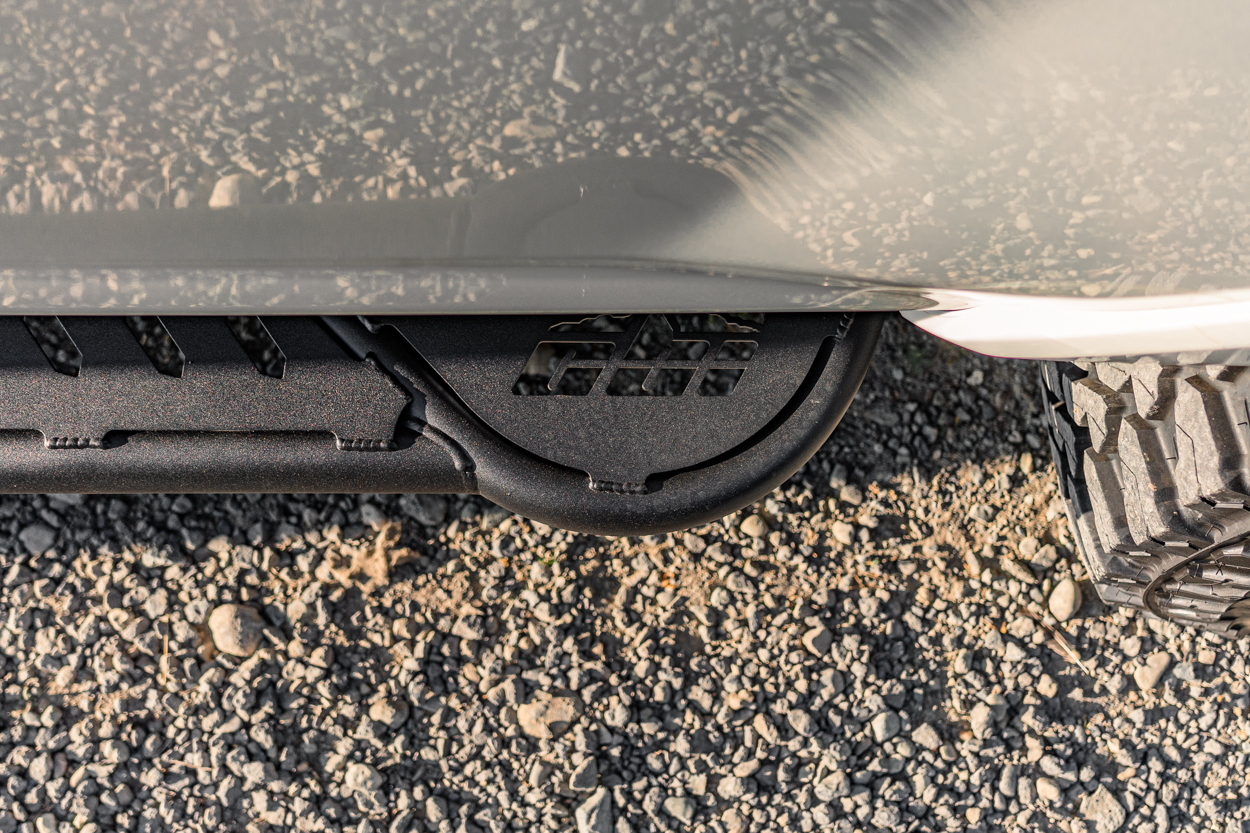
Other options include with or without a kick out and a satin black powder coat or raw finish. These options are offered at an additional cost. I opted for the DOM tubing upgrade, kick out, and powder coat finish.
They also carry a lifetime warranty.
Sliders Vs. Steps

If you’re in the market for rock sliders, I’m sure at a high level, you’ve seen the fundamental differences between actual rock sliders vs side steps or running boards. If you haven’t, you’ve probably wondered why the former costs double, sometimes triple the amount.
Essentially, sliders are built much stronger and are bolted or welded directly to your truck’s frame. Side steps and running boards on the other hand, typically attach to the pinch weld or body.
Rock sliders are intended to support the full weight of your vehicle while side steps are only meant to support the weight of you stepping on them. This is why you’ve probably seen videos of side steps folding like they’re made of tinfoil on trail obstacles.
I totally get that they aren’t for everyone, they’re heavy, expensive, and honestly unnecessary if you never intend to take your truck off-road. If you do though, they’re a wise investment that can save you thousands from having to potentially replace or repair your rocker panels.
Installation

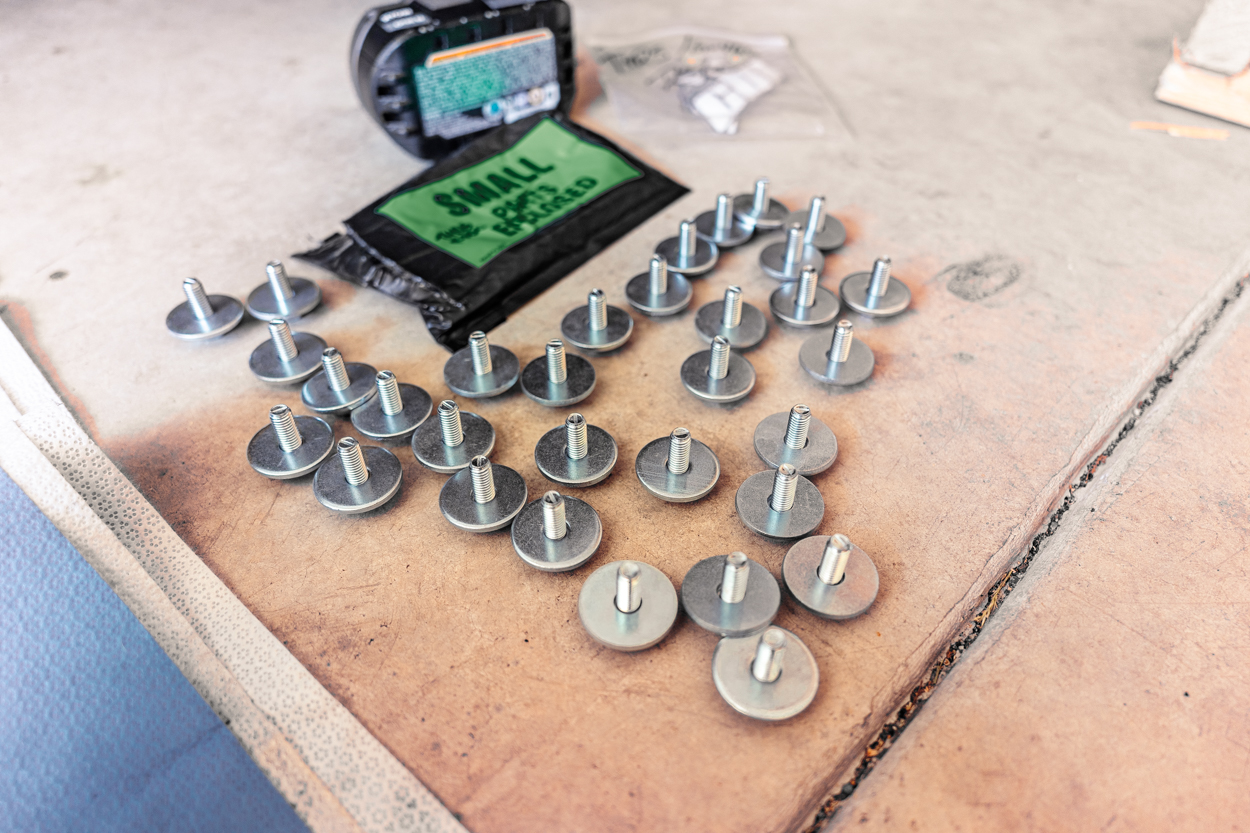
Installing bolt-on rock sliders in general is fairly straightforward on the 5th Gen. The frame already has plenty of pre-threaded bolt holes that are utilized to mount them. In the case of the CBI Overland ones, there are 32 bolts in total (16 on each side). Installation should take between 1-2 hours depending on your experience level and equipment.
Tools Required:
- 12mm & 13mm Socket & Ratchet
- Plastic Pry Tool
- Power Ratchet (Optional)
- Floor Jack (Optional)
- Second Set Of Hands (Optional)
I list the last three items as optional, however, I highly recommend all of them. I’ve installed another before on my own and while possible, it’s significantly more difficult and awkward. Having every item listed above at your disposal will make your installation exponentially quicker.
Step 1. Clean & Prepare Frame

From the factory, the 4Runner has a bunch of these plastic plugs in the frame. you’ll need to remove any that will be in the way of the rock slider mounting plates. They can be popped out fairly easily with a pry tool or flathead screwdriver. Be careful not to scratch up the frame too much when removing these.

Once all of the applicable plugs are out, wash off any dirt so that it doesn’t get trapped between the frame and slider mounting plates.

If you want, this is a great time to spray some surface protectant on the frame to inhibit rust. Since the rock slider mounting plates are metal, they can cause micro abrasions on the frame’s paint.
Step 2. Brake Line Bracket

On each side of the vehicle, there will be a brake line bracket towards the rear. Use a 12mm socket to unbolt this bracket. Later, this bracket will install over the rock slider’s mounting plate.
Step 3. Pre-Assemble Hardware

All of the bolts necessary for mounting the rock sliders are provided. I found it very helpful to have all of the bolts and washers assembled before mounting.
Step 4. Side Plates

The driver’s side has a front frame brace plate with two bolt holes. The passenger side has a similar plate but does not have bolt holes in it.
Step 5. Modify Brake Line Bracket

There is a little tab on the brake line bracket that is used to hook into the frame and help keep the bracket in place. In order for the bracket to sit flush on top of the rock slider mounting plate, you’ll need to bend the tab back. Once the bolt is tightened, the bracket won’t be going anywhere.
Step 6. Mount Rock Slider

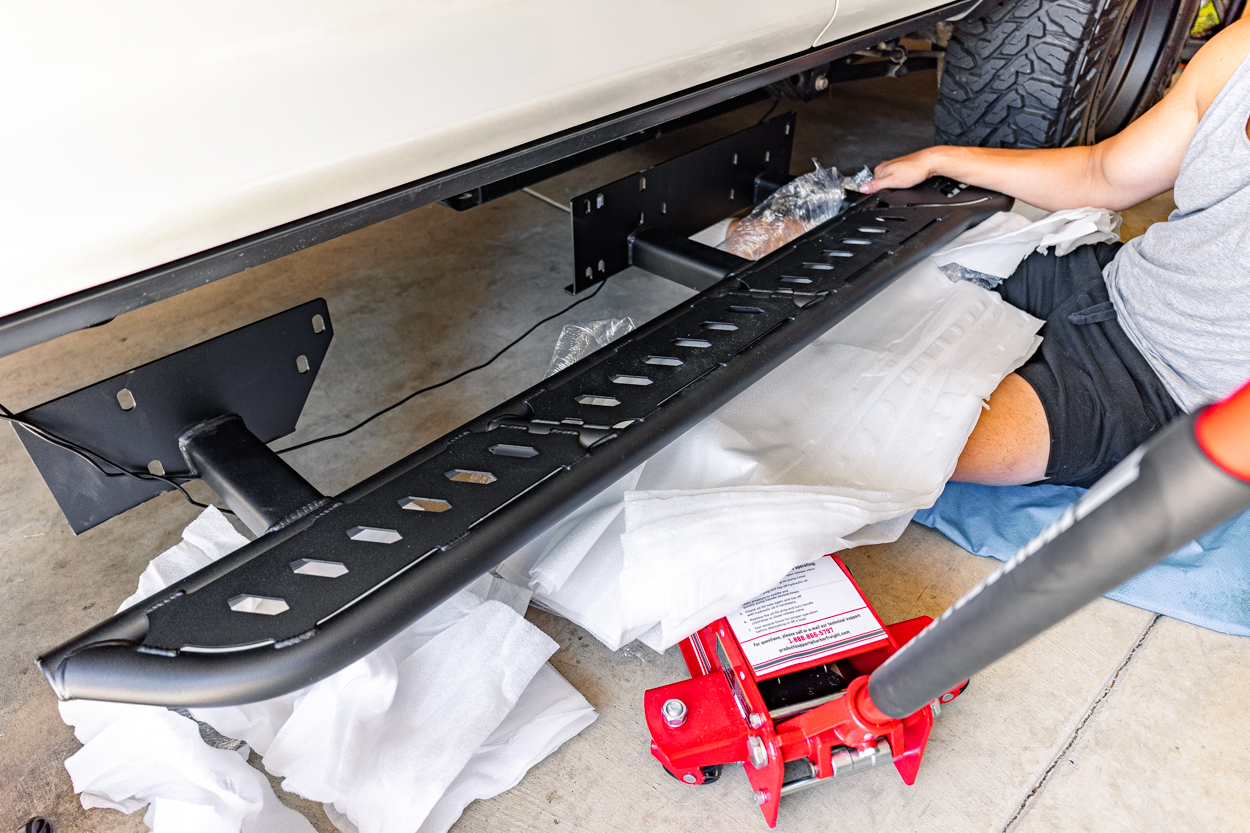
This is where either a floor jack or a second set of hands will be extremely useful. Lift up the slider so that the mounting plate holes line up with threaded holes on the truck’s frame. I found it easiest to loosely install one bolt on the front and rear to hold it in place. All of the mounting bolts are 13mm.
There is a small lip on the bottom of the rock sliders’ mounting plate that contours to the bottom of your frame. I used a floor jack to lift the slider up until that lip sat flush on the frame. Then, I worked on installing the rest of the bolts. All of the bolts are the same size, so there’s no need to worry about using specific ones in a particular order.
Important: Be sure to lift the brake line brackets over the mounting plates.
Step 7. Mounting Bolts

In total, each side should have 16 bolts. There is no official torque spec provided by CBI, so hand-tighten with moderate force. If you’re a stickler for exact measurements, these types of bolts can generally be torqued to around 45 ft/lbs.
Final Thoughts

I thought my previous ones were sturdy, but these up the ante. I really like the integrated lip that wraps ever so slightly under the frame. Not only does it provide additional support in the event of an impact on the trail, but it really helps with perfect alignment during installation.
The welds and powder coat seem to be flawless, and I’m both excited and dreading beating them up. I have no doubt that these will do their job on the trails and more commonly, in the parking lot against barbaric door swingers. CBI can have longer lead times (currently not bad at 6 weeks), but it’s worth the wait.

My cbi sliders were absolutely garbage. They would bend up any time they took a hit. It was so bad that if i had a fun enough day that they would bend upwards so much they would literally block the feont and back door from opening. I used my hi lift jack more as a pry bar to bend the sliders back down than a notmal jack. Cbi wouldnt do anything to warranty or take ownership of the issue. I was told by CBI, “if they are bending than they are obviously taking the hits, so they are doing their job”. Based on that reaction i wasn’t surprised when by bumpers and skids had issues with bending metal and breaking welds. I eventually spent another fortune on C4 and RSG armor. Way better.
My advice: do not buy anything from CBI.
if you’re bending the DOM tubing frequently, that’s not on CBI. i don’t know wtf you’re doing, but that’s not normal.
Measured distances from the bottom of the rear door edge to the outer edge of the main slider body and kickouts.
WIDE BOYS, haha. I dig it.
How much platform is visible at the driver door? My current sliders are very narrow and the wife does not like them as a step, curious if CBI protrudes further out at all.
These are probably the widest set of sliders I’ve had so far (I”ve had SSO, CBI, and Cali Raised LED). Albeit, they don’t sit as high and tight as other options. If your primary use is as a step, these are a good choice, though.
Ryan, can you drop us a photo here in the comments? To better visualize?