In the world of aftermarket parts, bump stops are relatively cheap, super easy to install, and a must if you are taking your 4Runner off-road. This complementary suspension component increases your comfort and decreases the potential for damage if you bottom out.
The stock stops that come on the 4Runner leave a lot to be desired and upgrading them after a suspension lift will improve your confidence and ride quality both on- and off-road. While there are many aftermarket options available, today we’ll be talking about Wheeler’s Off-Road’s SuperBumps, a solid option for anyone looking to upgrade their ride.
Find It Online:
- Wheeler’s Off-Road SuperBump Bump Stop Sets
Table Of Contents
Product Overview

Seen above – Wheeler’s Off Road SuperBumps (left) vs. OEM Front Bump Stops.
With so many options available, choosing the right upgraded bump stop for your 4Runner comes down to personal preference and price. Wheeler’s Off-Road SuperBumps are a great candidate for anyone looking to dial in their 4Runner’s ride quality and are built with durability and performance in mind.
In Wheeler’s Off Road’s own words, “This complete set of custom molded front and rear bump stops are made from our super durable micro-cellular polyurethane formula and provide a much more controlled, progressive and comfortable bottoming response from your front suspension compared to rubber or solid polyurethane.”
Features & Specs Summary:
- proprietary micro-cellular polyurethane construction
- no drilling required
- zinc-plated steel brackets
- mounting hardware included
- includes Allen wrench
- optional spacers available for fine tuning
- fits 2003-2024 4Runners
- also fits 2007-2014 FJ Cruiser
- 12-month limited warranty
- provide smooth, progressive resistance
Required Tools & Materials:
- Allen Wrenches
- 12mm Deep-Socket Wrench
- Pipe Wrench or Large Channel Lock Pliers
- WD-40
Step 1. Remove Front OEM Bump Stops

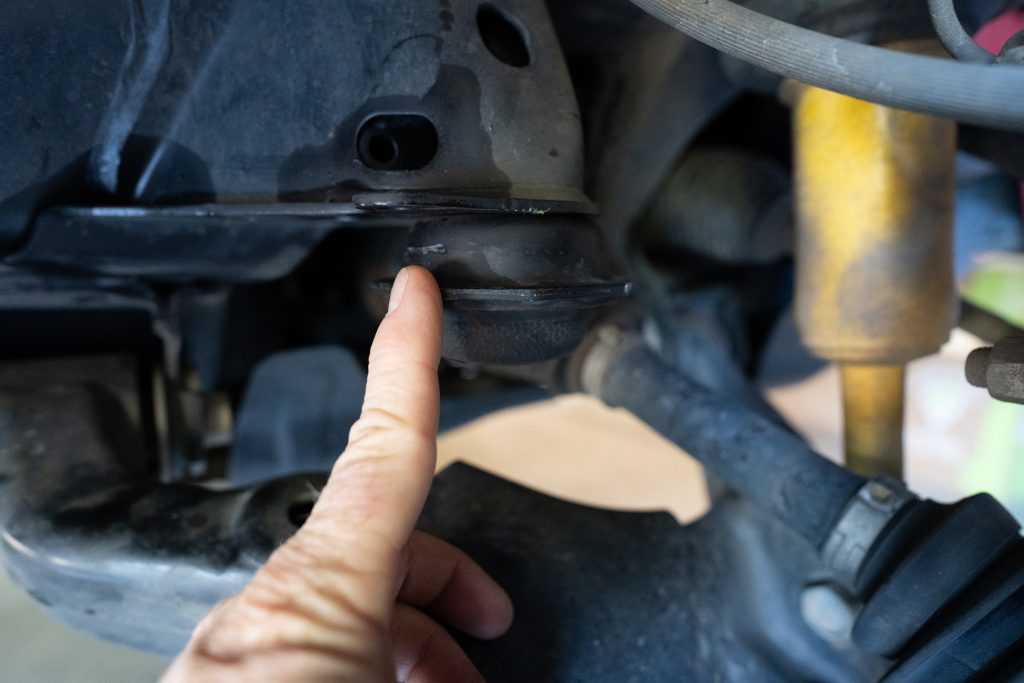
To remove the factory front stops, start with some WD-40, letting it soak in a few minutes before trying to wrench them off. You may need to use a medium pipe wrench to get around the large hex-shaped exterior.
Step 2. Install Front SuperBumps

Use the supplied Allen wrench to screw the front SuperBump into the same location the OEM one was in. Repeat on the other side of the vehicle.
Step 3. Remove Rear OEM Bump Stops

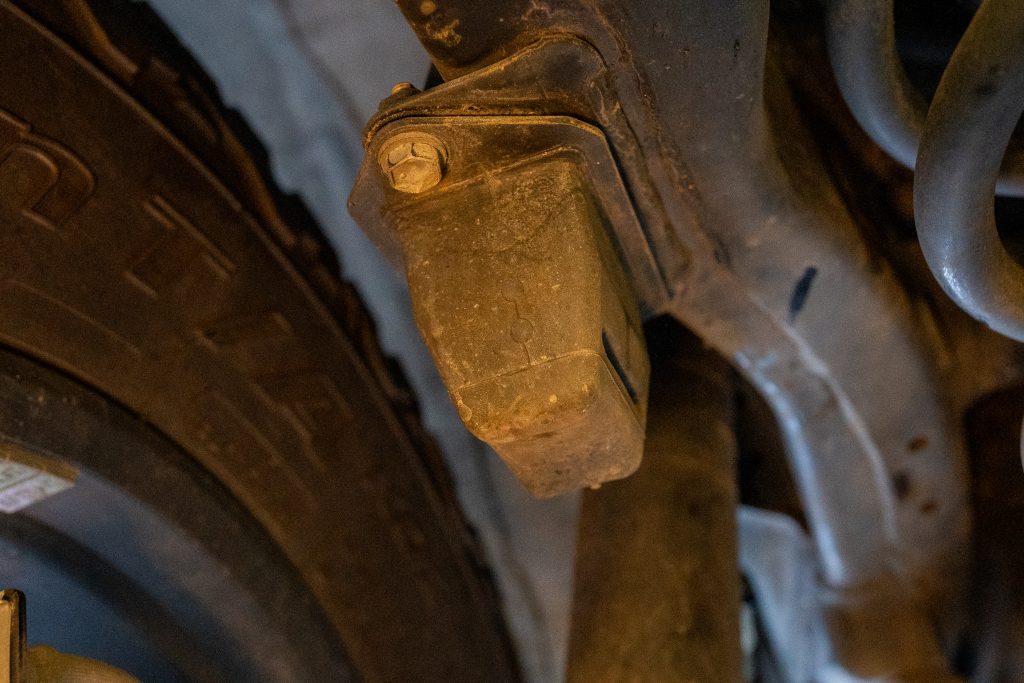
Like with the front, spray WD-40 on the bolts that mount the rear stop to the frame. Let them soak before wrenching. After a couple of minutes, loosen the two bolts with a 12mm deep socket and remove the factory stop. Take care to not strip the OEM bolts as you will use these for your new rear SuperBumps.
Step 4. Assemble Rear SuperBumps

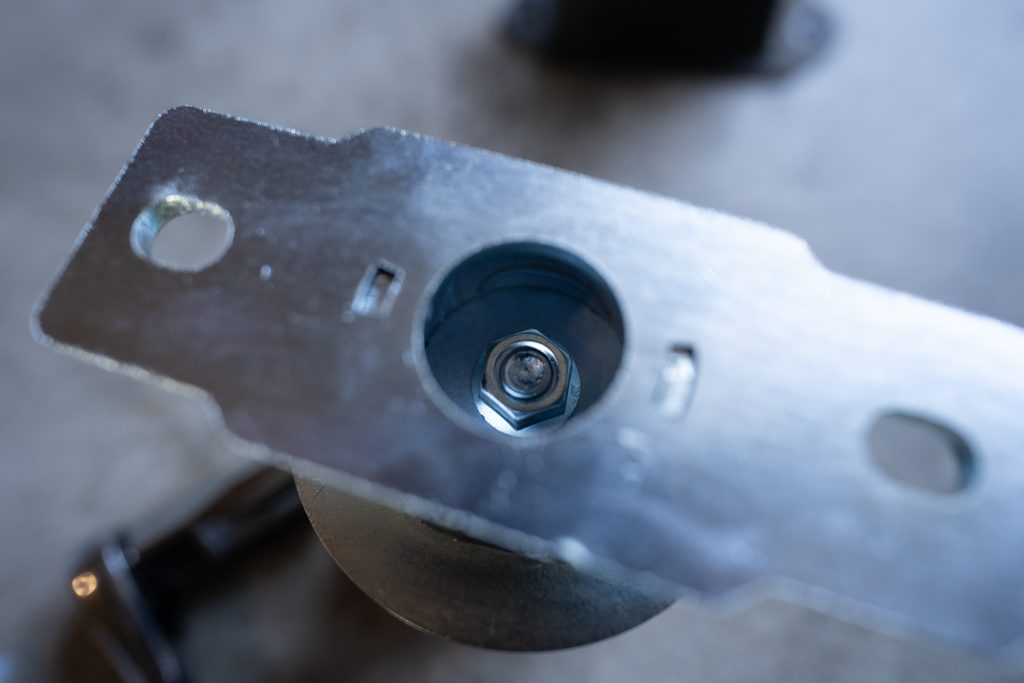
Using the supplied Allen wrench and a long socket, attach the rear SuperBumps to the mounting brackets and tighten.
Step 5. Install Rear SuperBumps

Using a 12mm deep socket and the 2 bolts removed earlier, attach the SuperBump in the same location as the old stops. Repeat on the other side of the vehicle and you’re done!
Performance & General Impressions

Seen above – 5th Gen 4Runner OEM (left) vs. Wheeler’s Off-Road SuperBumps (right).
I’ve only had the stock version to compare the SuperBumps to, but they are a noticeable improvement over the factory equipment. Not only do they stop the harshness of bottoming out when driving, but they smooth out corners on the road.
One of the downfalls of the 4Runner is the softness of the stock suspension. I upgraded my suspension last year with 3″ lift springs and coilovers and didn’t upgrade the bump stops till last September. I am impressed at how often I notice them stiffening up the ride of my 4Runner as it enters a turn.
Author’s Note: Wheeler’s Off-Road only recommends installing these on lifted vehicles. They are taller than the OEMs, so they may limit up-travel if installed on a vehicle at stock ride height.
Final Thoughts

SuperBump bump stops are rad, and a huge upgrade from the stock ones. They improve your ride both on- and off-road and increase driver confidence. Installing SuperBumps from Wheeler’s Off-Road, like many of the aftermarket options, is easy to do with minimal tools. It is hard to find a downside for this mod, other than they aren’t free (haha). After a suspension lift, this is an easy and worthwhile modification that has nothing but benefits for your ride.

Courtney – thanks for the information. I recently installed a 3” OME lift as well and am now looking to upgrade my bump stops. I see that Wheelers offers 1/4” and 3/8” spacers. It doesn’t look like you used the spacers in your installation. Would you recommend adding a spacer with a 3” lift or is the basic set up sufficient? I’m assuming the basic set up is just fine but looking for thoughts before I place the order.
Basic setup is totally fine on my 3” lift.