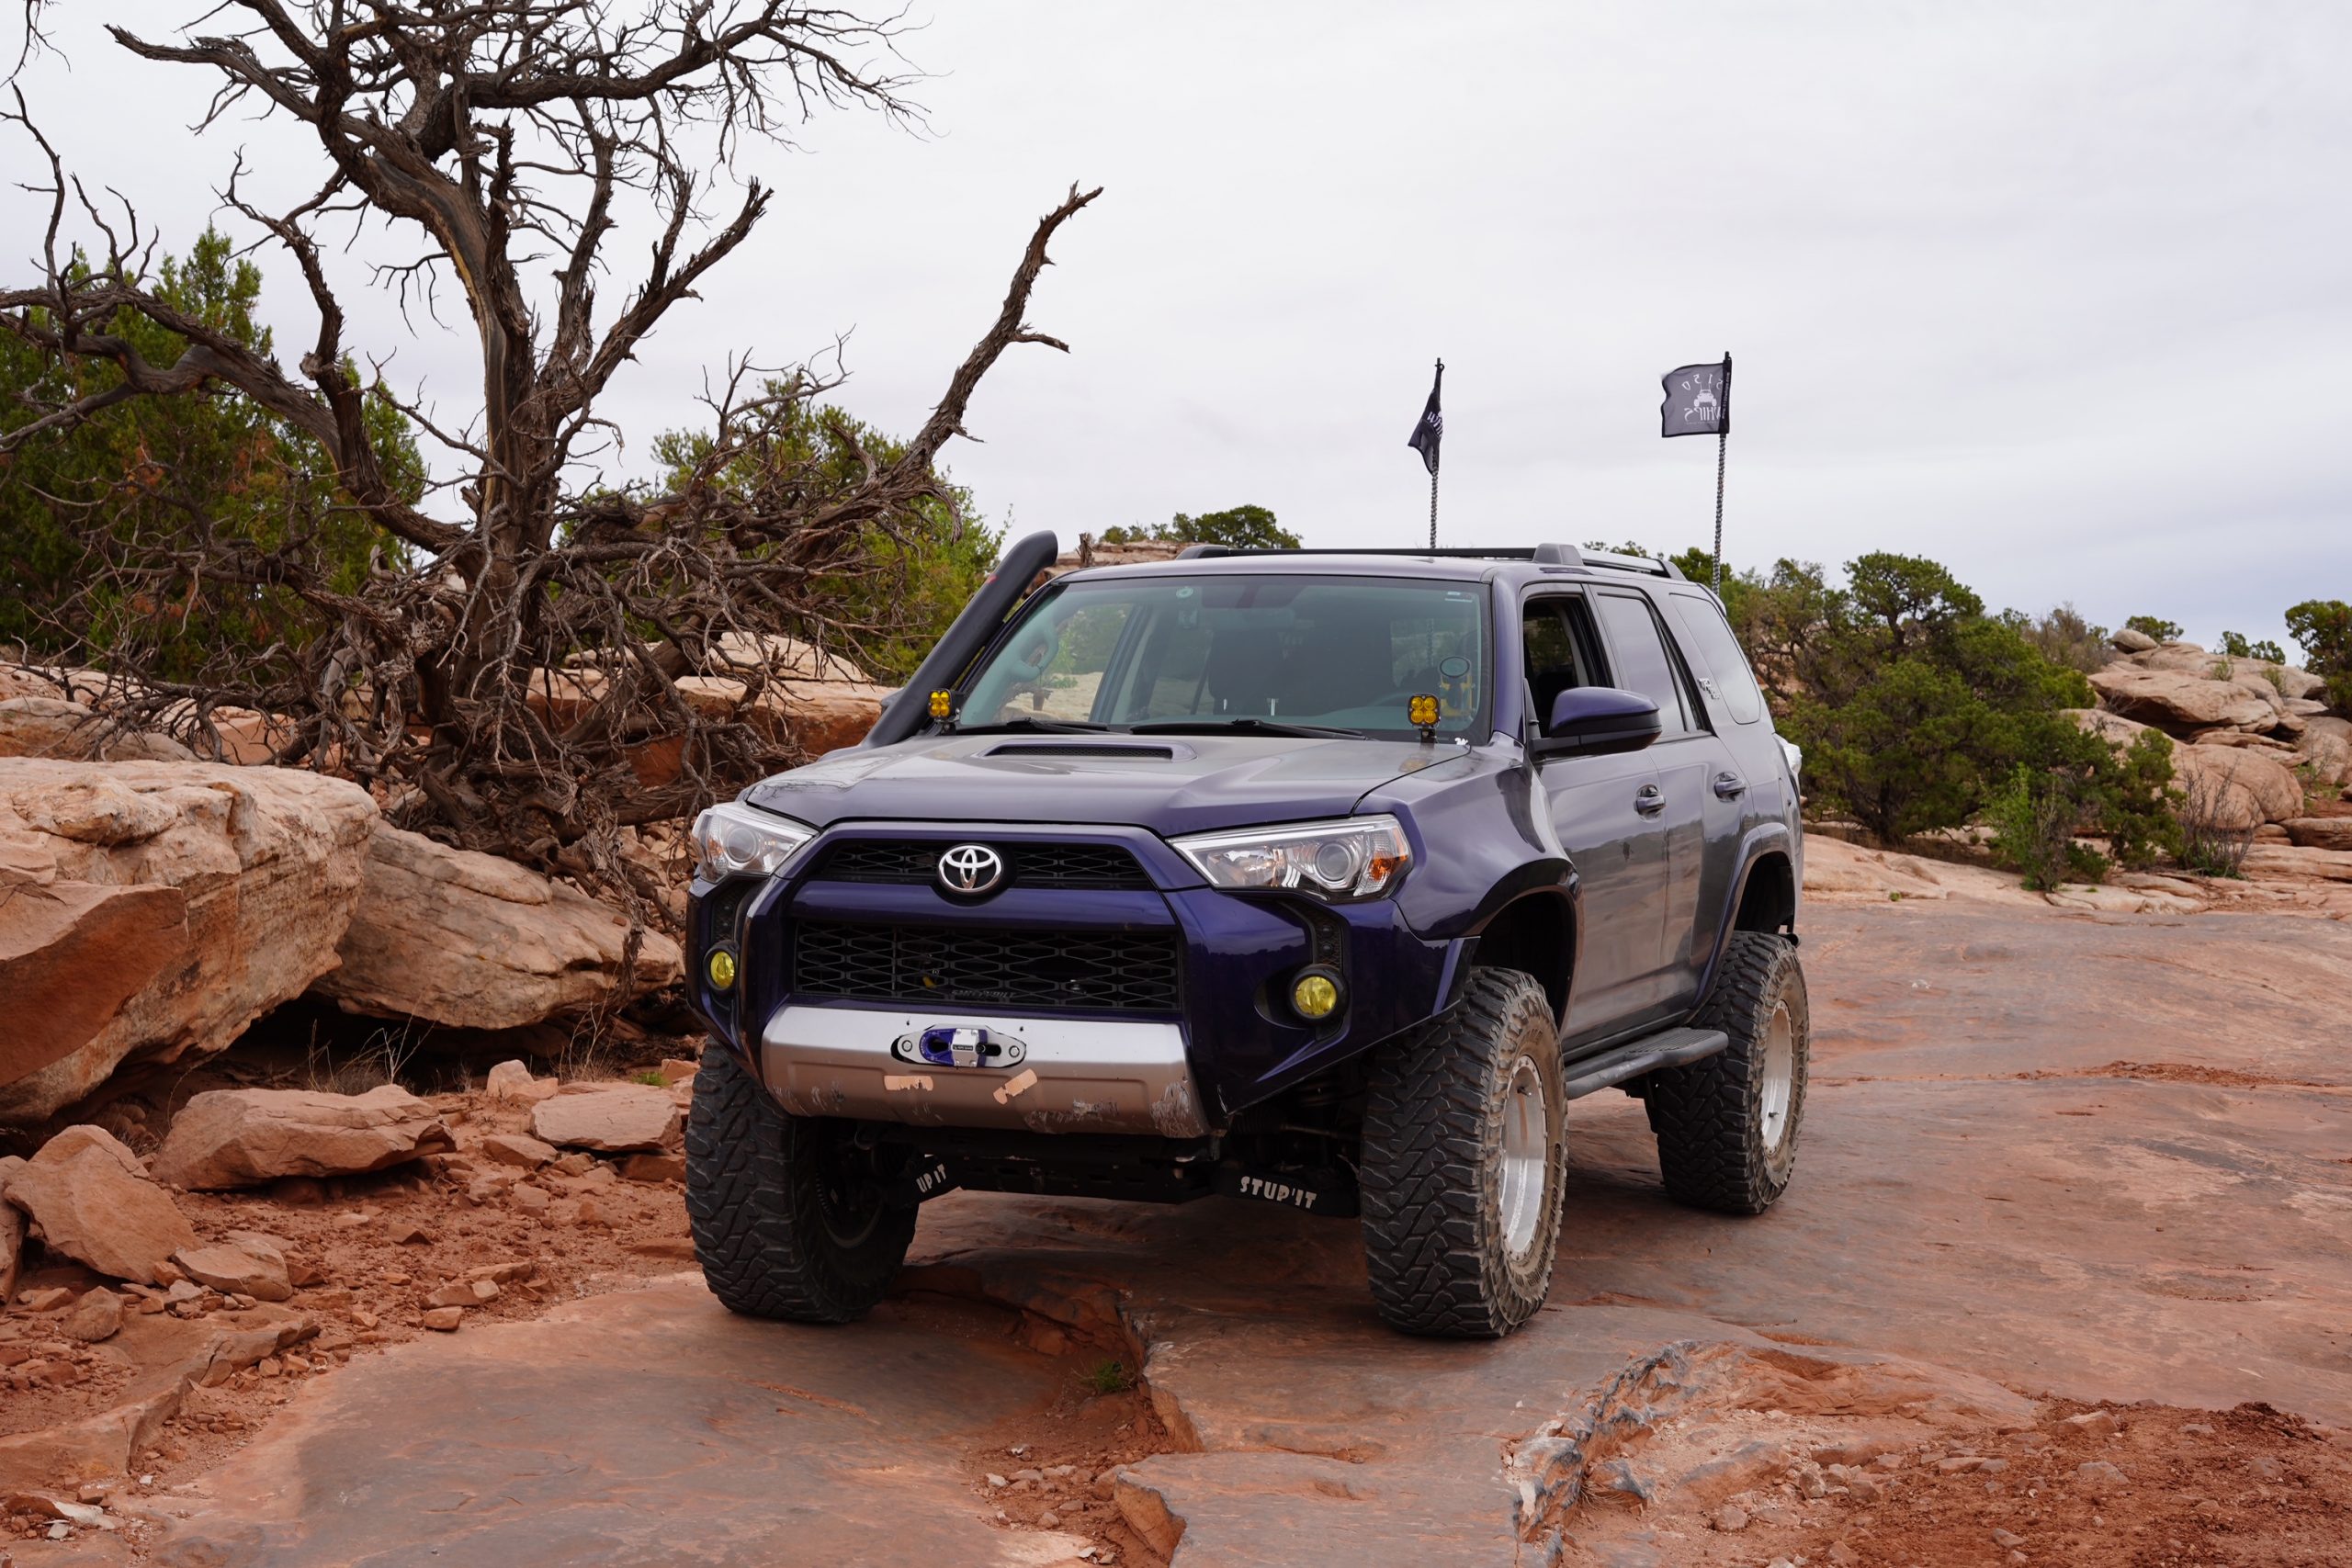
Artec Industries Venture Cross Bars for 5th Gen 4Runner Non-TRD Pro Models
Oh no, not another roof rack post…
Almost every 4Runner comes equipped with the factory roof rack. Some love it and some hate it. I happen to be in the love-it category. One of my concerns is that I cannot add more than three inches in order to still fit in the garage. I looked at all the major roof rack companies with their fancy mounts and fancy price tags, but what about those who don’t want the fancy rack but want something more substantial than the factory crossbars?
While shopping, I had one requirement: as low profile as possible. Thankfully, Artec Industries has just the product.
Artec Industries Roof Rail Crossbars

The crossbars are incredibly low profile and disappear from view without losing functionality. The crossbars can be purchased in sets of 2 and 4 with an option for a bolt-on top rail. The install takes about 20 minutes for a set of two crossbars.
Find It Online
- Toyota 4Runner 5G Venture Cross Rails: Check Price
- Toyota 4Runner 5G Venture Roof Rack: Check Price
Tools & Materials
- Flathead (multi-use) screwdriver (optional)
- Plastic pry/trim tools (preferred)
- Metric Socket Set
- Towel
- Step ladder (optional)
Step 1. Pop off Roof Rack Mount Covers

Remove the black caps on the rear of the roof rack. This is where you are most likely to damage the vehicle during the install if you end up breaking a tab on the caps. To prevent that, you should use plastic pry tools, not a screwdriver. But if you only have a screwdriver, you can get the job done.
Begin by placing a towel on the body and then sliding the screwdriver or plastic pry tool between the black plastic and the rubber gasket. Gently pry the plastic cap off the rack. It is quite soft so take your time. The plastic will pop off and expose the slot to install the captured nuts.
Step 2. Insert Captured Nuts

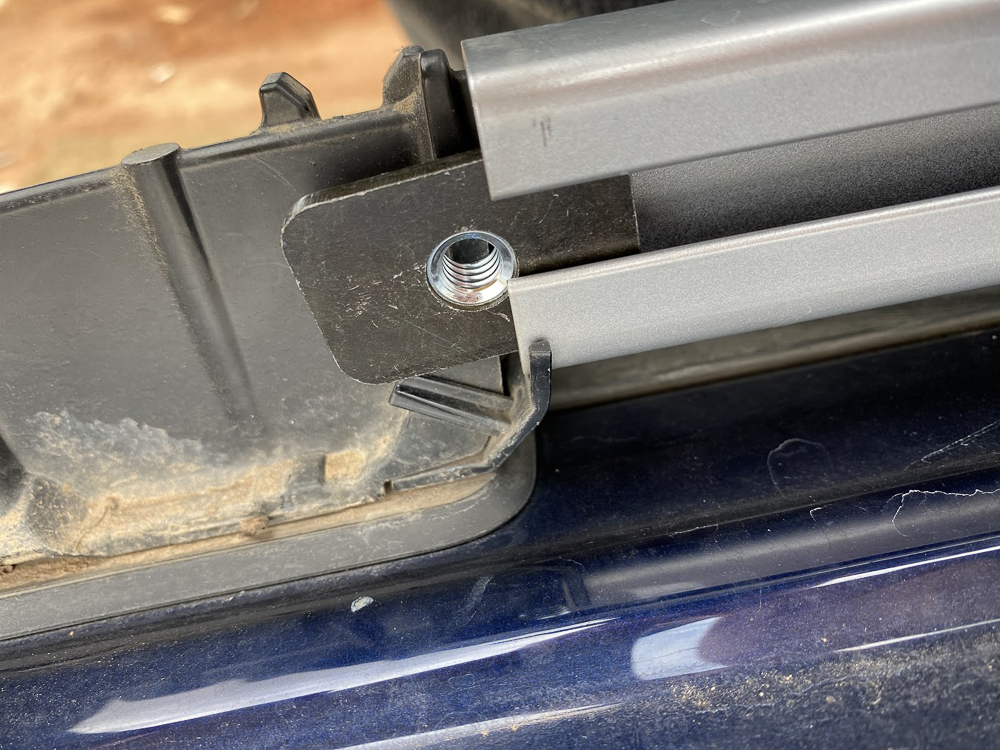
Insert four captured nuts on each side. Be sure that the flat side of the nut is facing the centerline of the vehicle as shown above. Slide two nuts to the front on each rail and leave two in the rear. Do this on both the driver and passenger sides.
Carefully place the crossbars on the roof preferably on a towel so you don’t scratch or dent the roof.
If you’re installing more than two crossbars, be sure to space the nuts out so that you can slide them all where you need them to be.
Due to the low profile of the crossbars getting under them getting a nut unstuck from the rail is incredibly difficult and will require the removal of the crossbar
Note: If you slide the nut too far forward, then you will have to pop off the front cap to retrieve the nut.
Step 3. Install Cross Bar

Space out the two front nuts so that they are wider than the crossbar. Using the supplied bolt, align the front mounting hole with the front nut and tighten the bolt leaving a little wiggle room. Next, slide the rear nut inline with the rear mounting hole and install the bolt with a few threads exposed. Repeat these steps for the remaining crossbars.
When all the bolts are installed, tighten the bolts with a socket or box wrench.
Step 4. Re-Install Rail Caps

Place the caps over the rail, line them up with the gasket and push down. It’s really that simple. Before you hop down, make sure the caps are securely attached so they don’t fly off when you’re driving down the road.
Final Thoughts

This install was super easy as it was pretty fast and very straightforward.
The crossbars are low enough that they do not create any wind noise and do not add to the overall height of the vehicle. I did stand on them and they were solid. For reference, I am about 220 lbs. I would have no hesitation mounting a rooftop tent to the Artec crossbars.
The top of the crossbar has ⅜-16 threaded press nuts installed which are intended to be used for the Artec industries rail system but can be used for any other accessory you choose. I will be putting some scene lights on mine to illuminate camp.
In the step 4 image, you can see there are many ⅜” slots for mounting accessories or tying loads down. As you can see above, the crossbars are maybe and I mean MAYBE ¼” off the roof.

It might be ideal to get some t-slot nuts for adding accessories. I am not sure how feasible it is to get a wrench or socket under the rack to tighten down anything that is bolted on.
I have had the crossbars installed for a few weeks now and they have not moved and I have had absolutely no issues with them so far. They appear to be very stout and have not shifted or moved around at all.

Hi Adam. I am really looking inyo adding some cross bars. I do NOT want any additional noise. Can you eleborate on any true noise that was added, how much, and compared to the factory rails? Thx